
The Genesis had a healthy heart. It got a triple bypass anyway.
Sold with "some glitches". The glitches turned out to be my TV, which couldn't follow the Genesis's wider picture mode over RF. With nothing to fix, this Model 1 got new capacitors and a triple bypass, a small board that gives it a clean picture and sound.
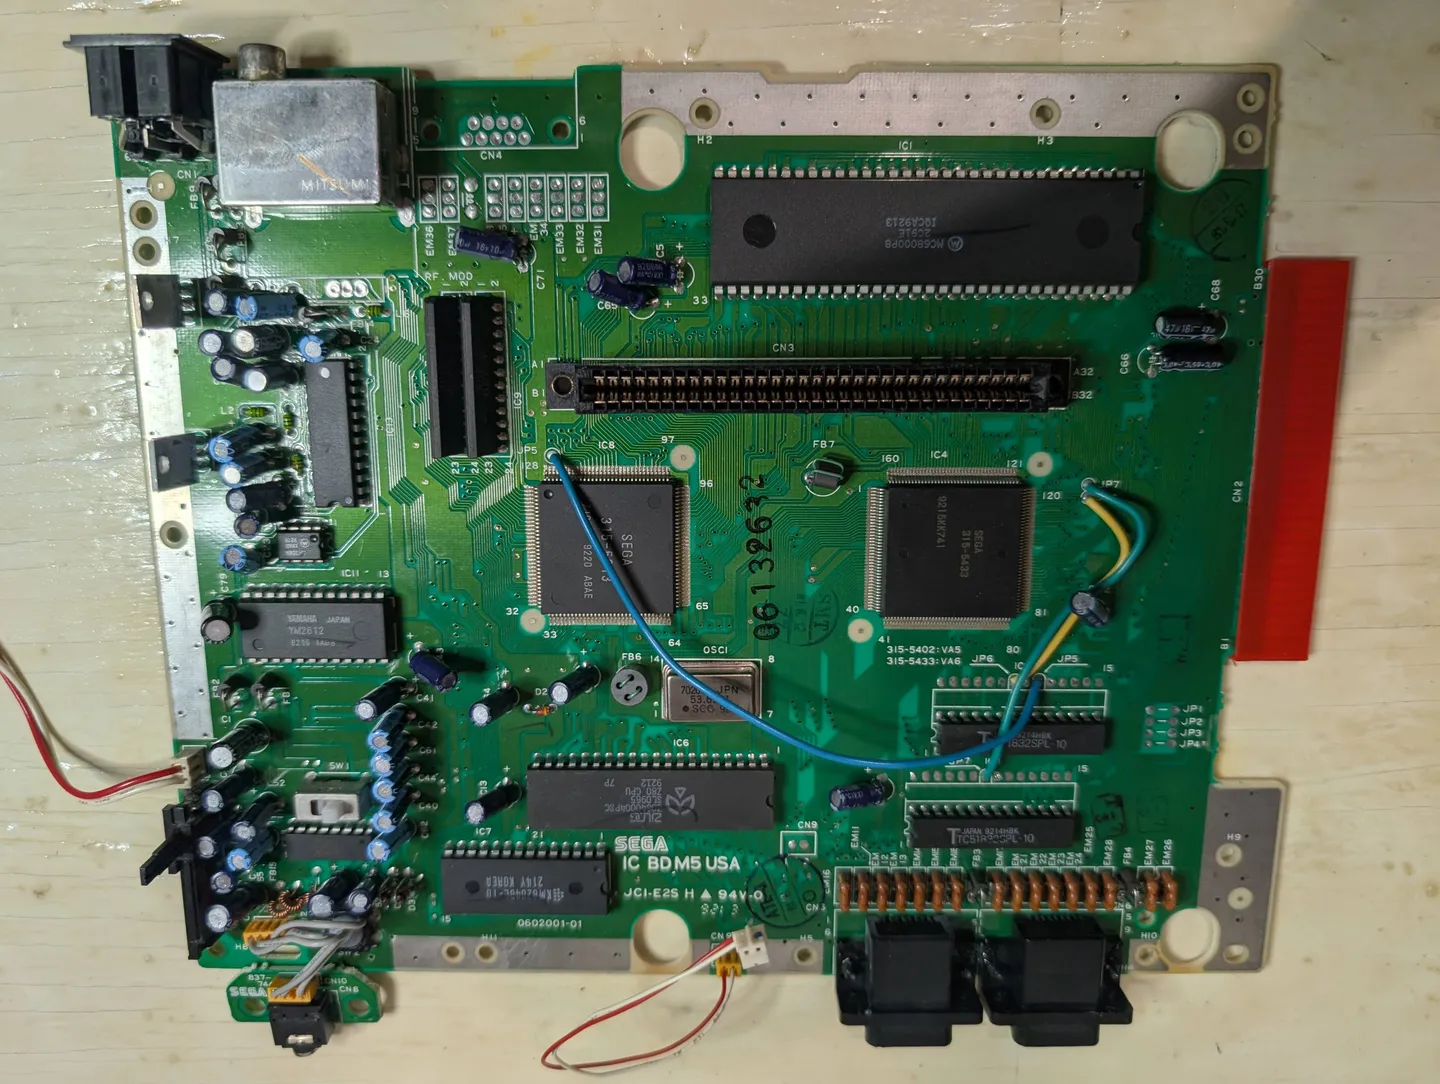
 Before
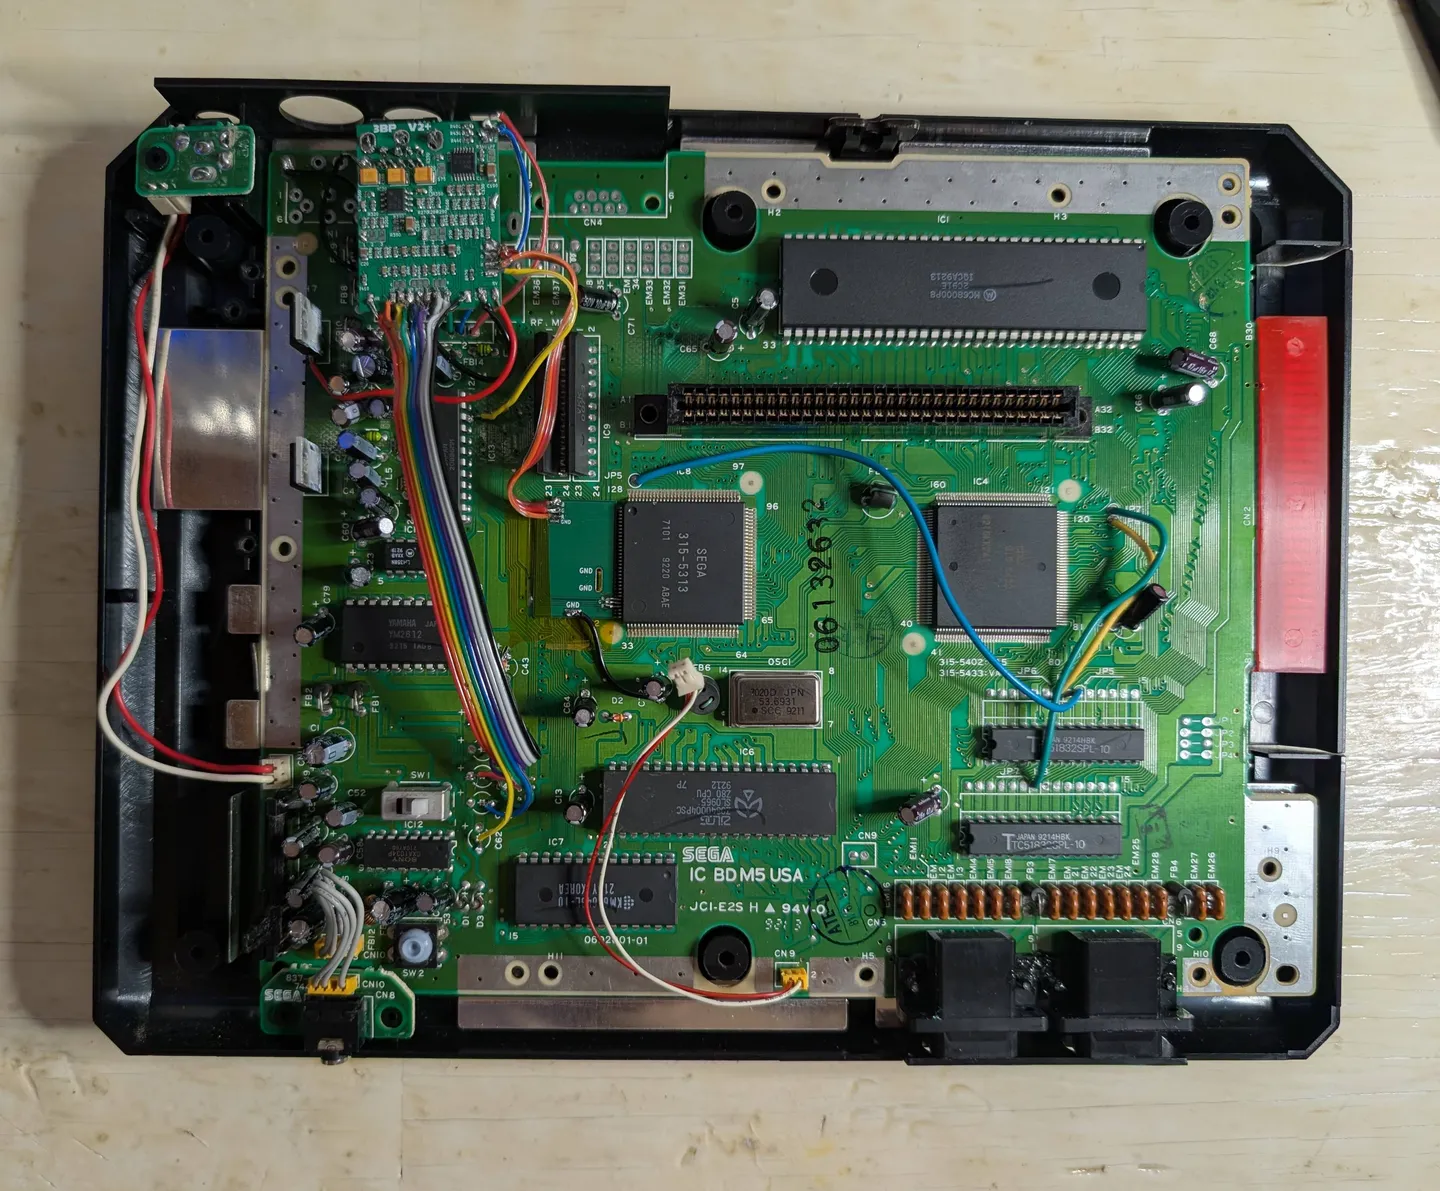
After
The first Sega to land on my bench came from a Kijiji ad in Pointe-Claire. The seller was asking C$50 for a Model 1 Genesis with its power brick, an RF switch, two third-party pads and eight boxed EA Sports games, five of them hockey. They agreed to C$30 cash.
The whole description of the fault was two sentences: "Some glitches when operating, not sure of the cause. If you're good with electronics or a tinkerer this is for you." I like that kind of ad. Somebody telling you what they saw instead of guessing at what's broken.
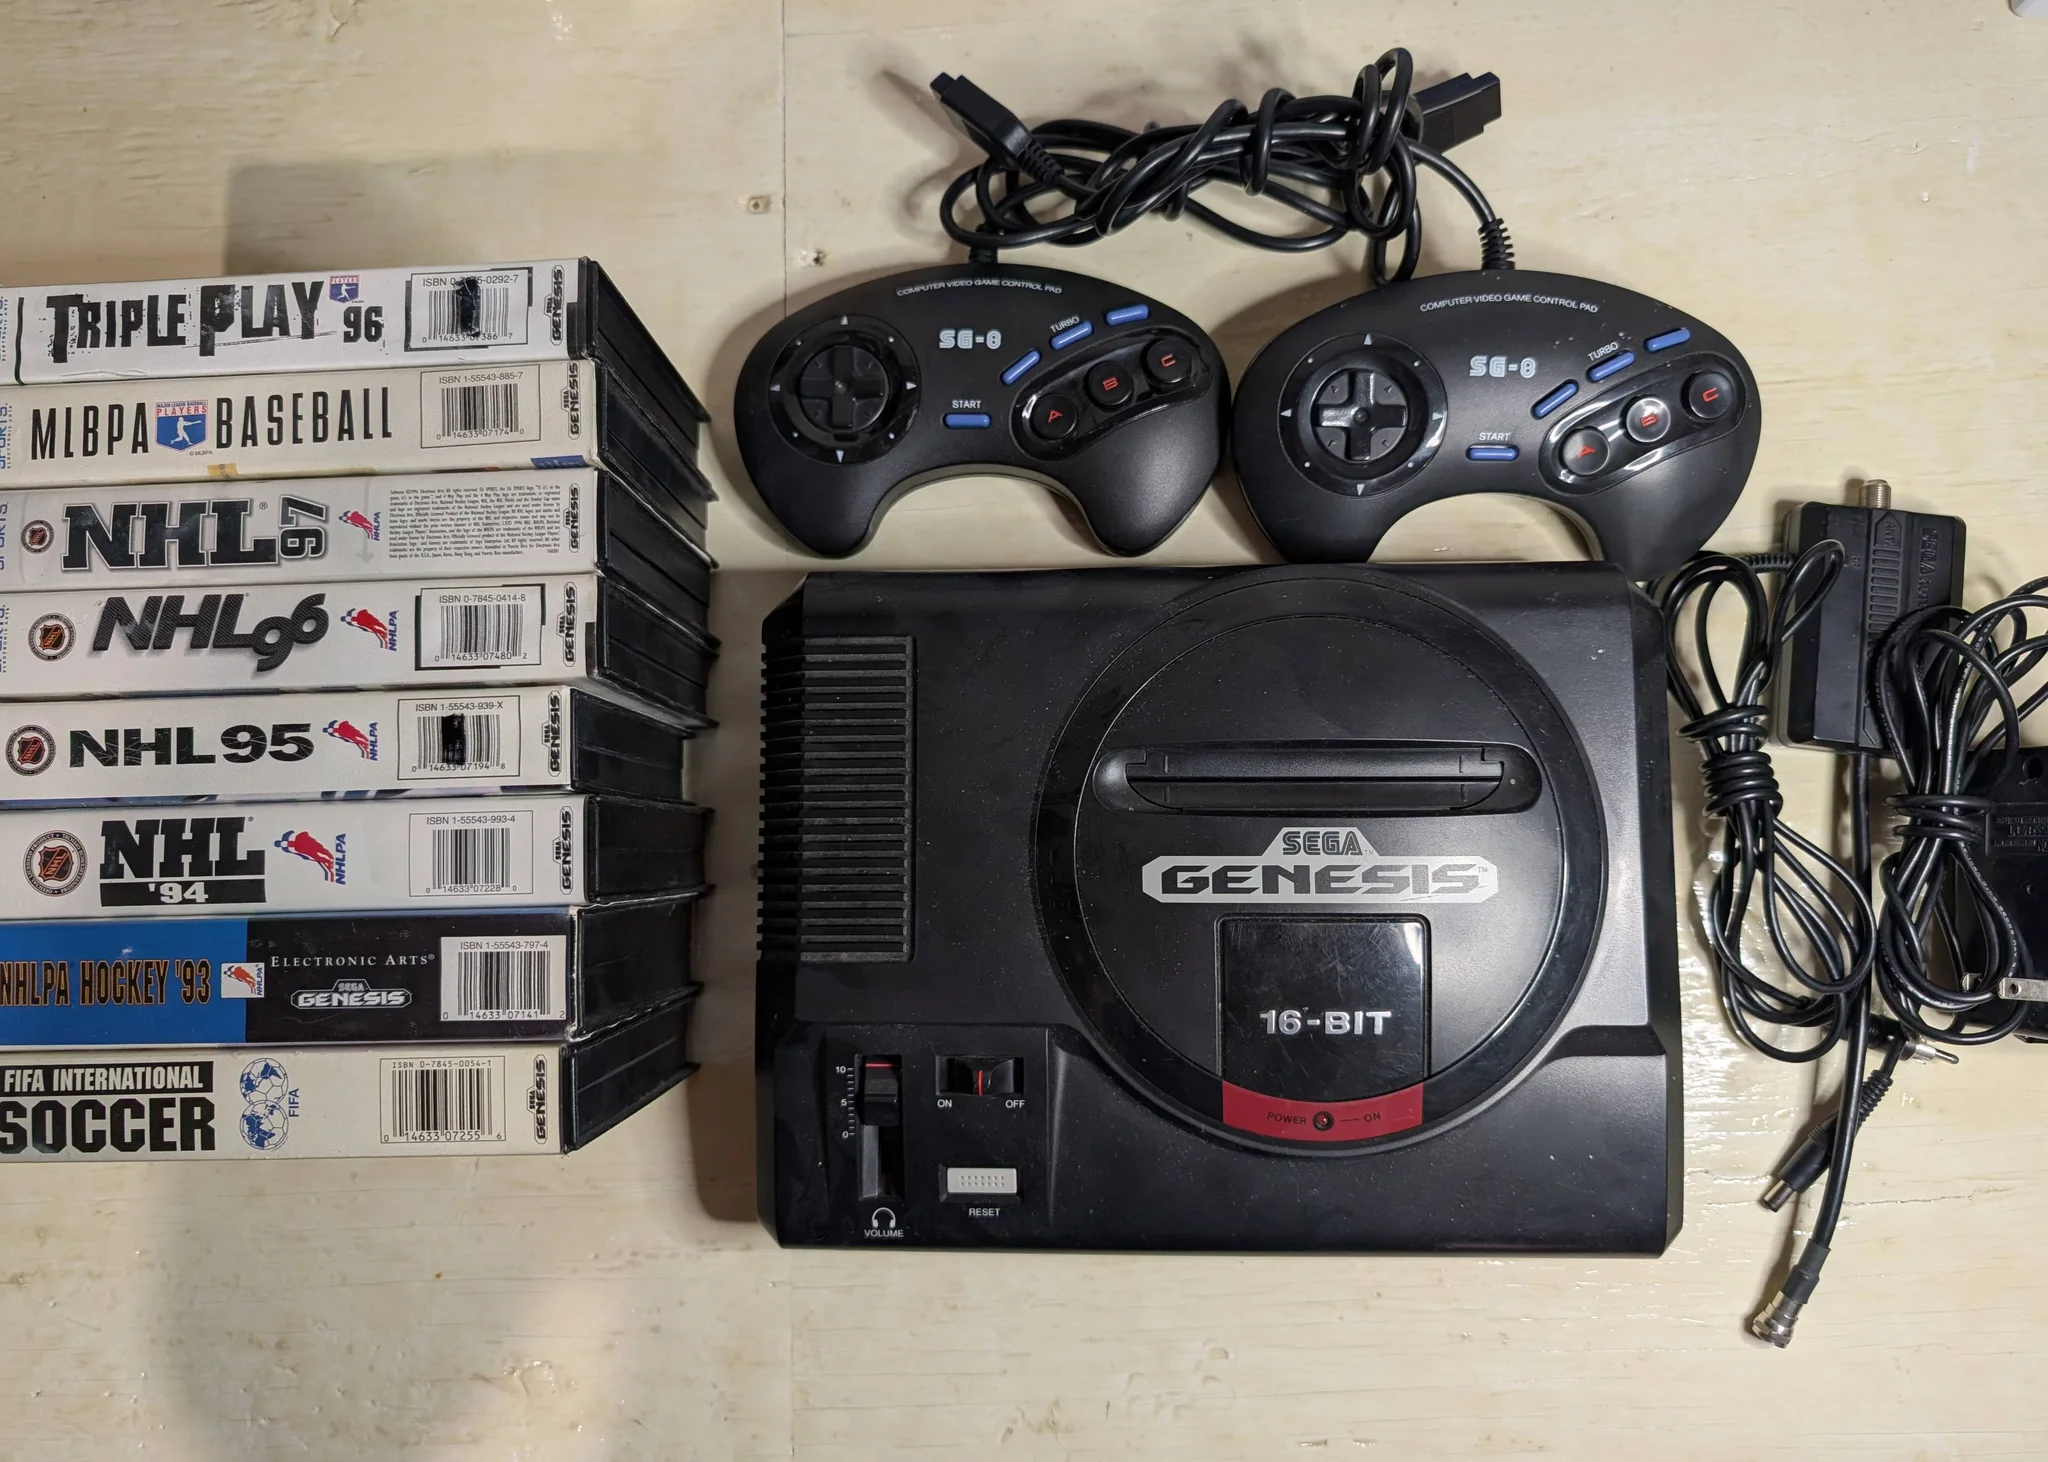
Five hockey games and a wobble
I started with the games from the box, over RF, on my Samsung TV. RF is the oldest way to hook a console to a TV: picture and sound go in through the antenna input, like a TV channel.
NHL 94 first. The picture waved like an old VCR playing a worn tape, mostly during the intro and the black transitions between screens. On the ice, it held still. I even managed to score a goal.
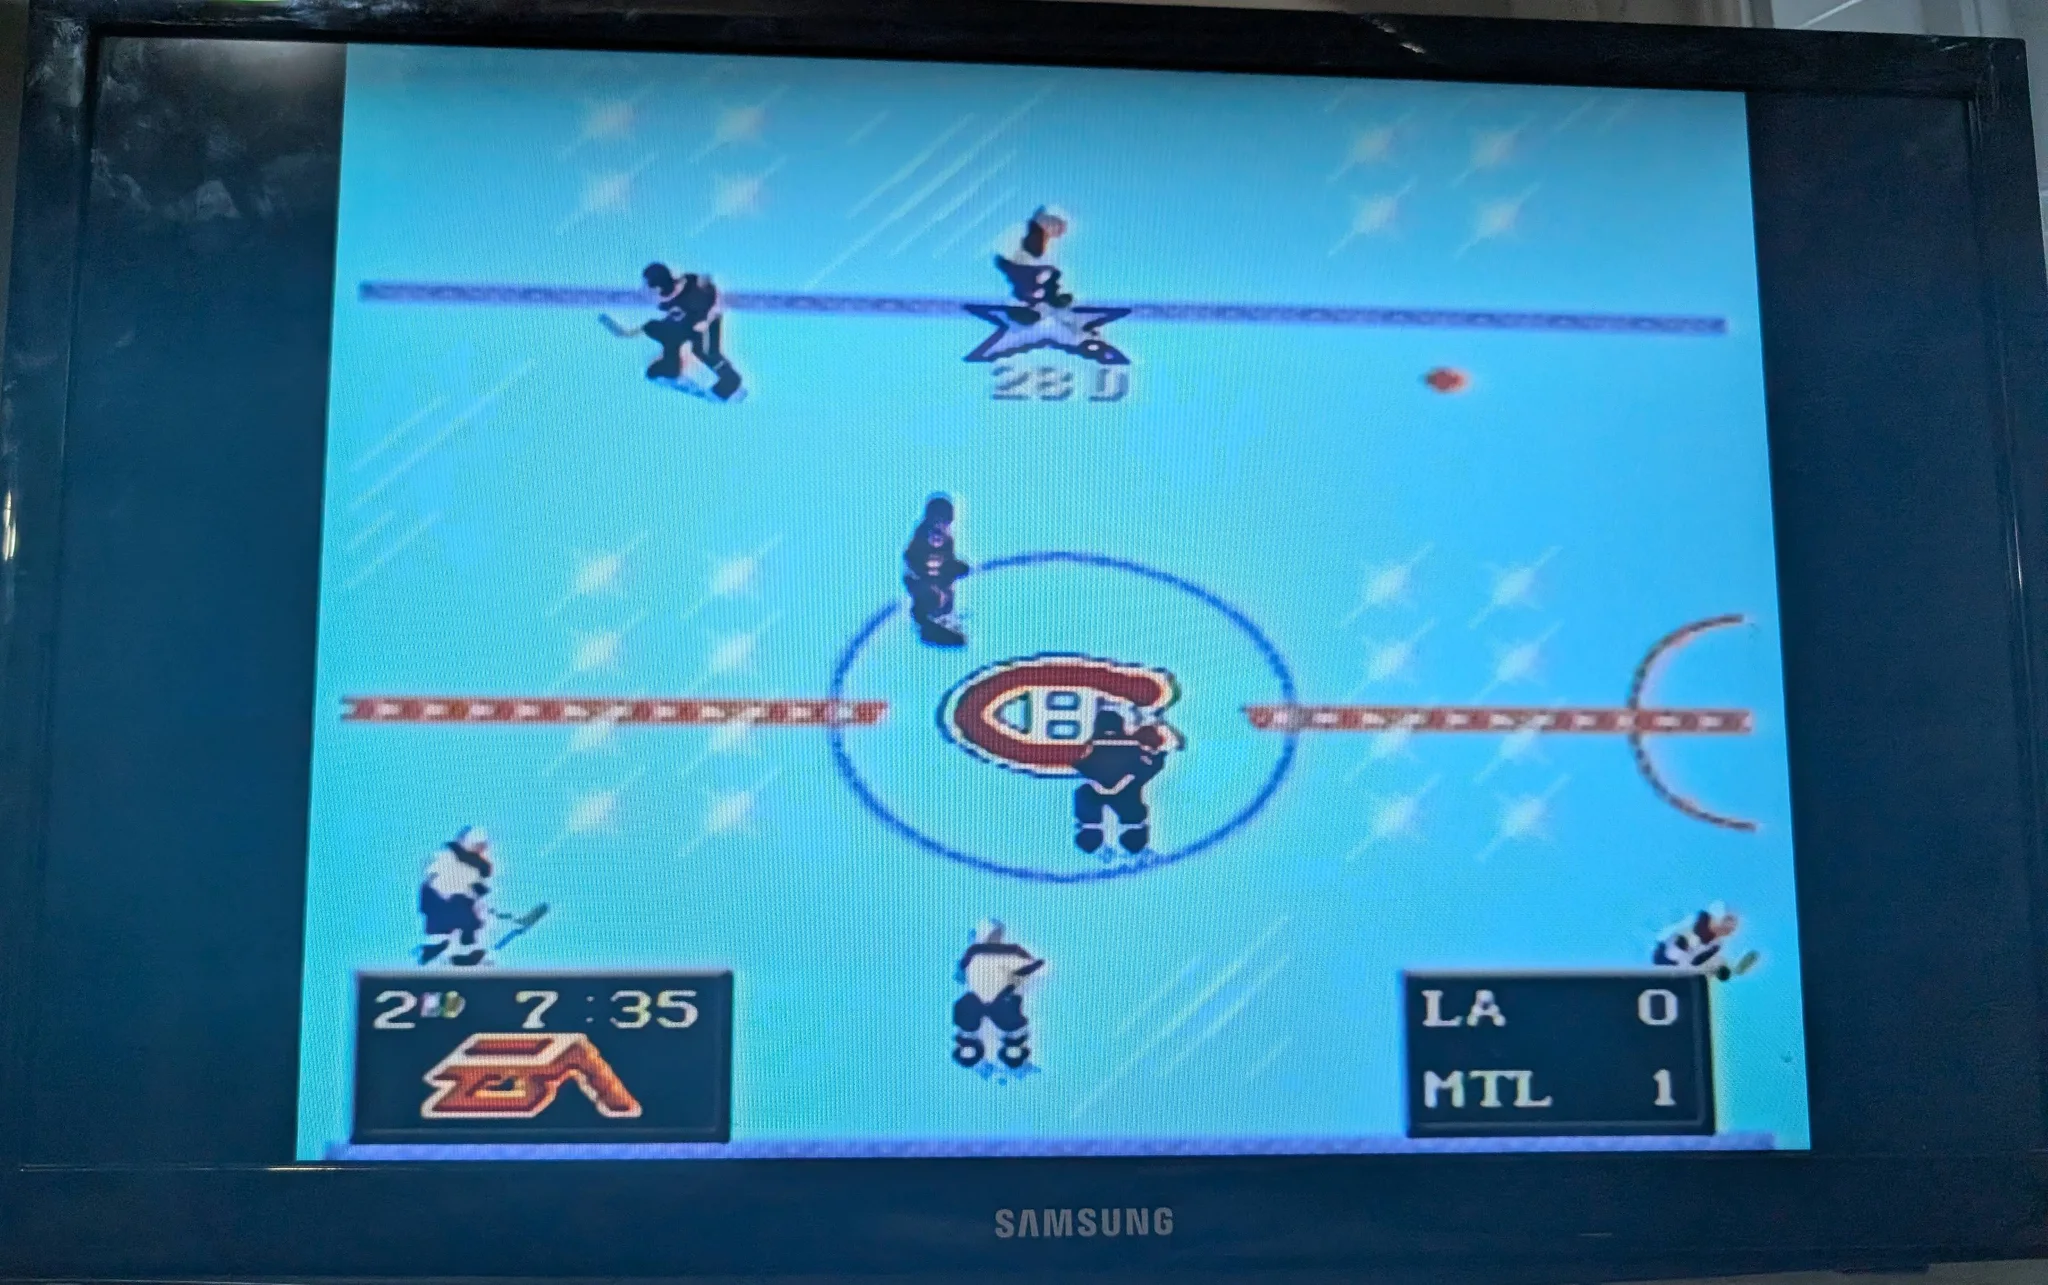
NHL 95 did the same wave. During play there was something subtler: the whole picture shifted up and down a little whenever the screen scrolled, like when crossing the middle of the ice.
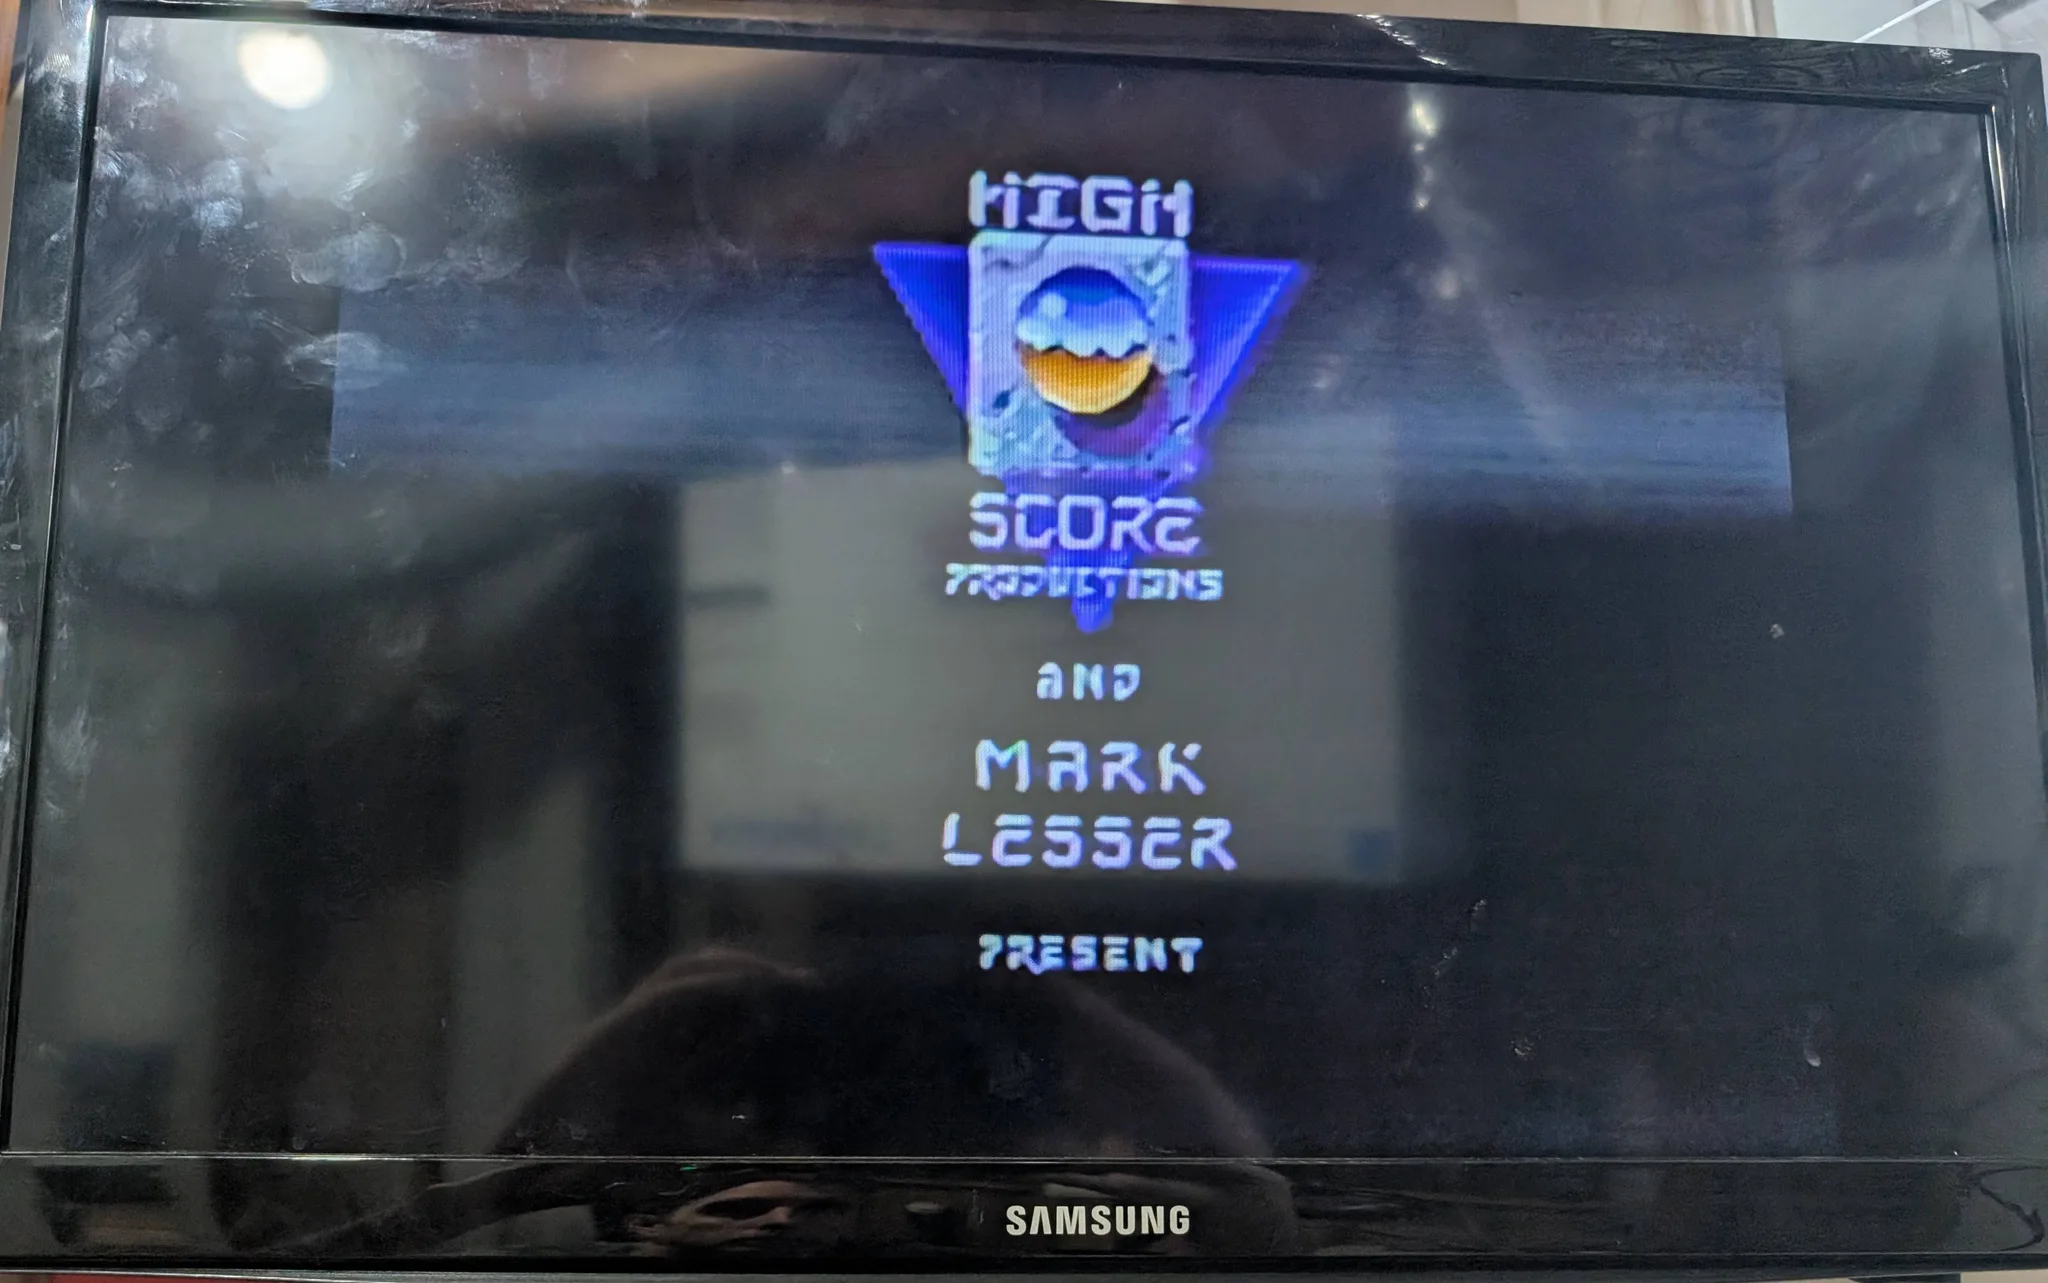
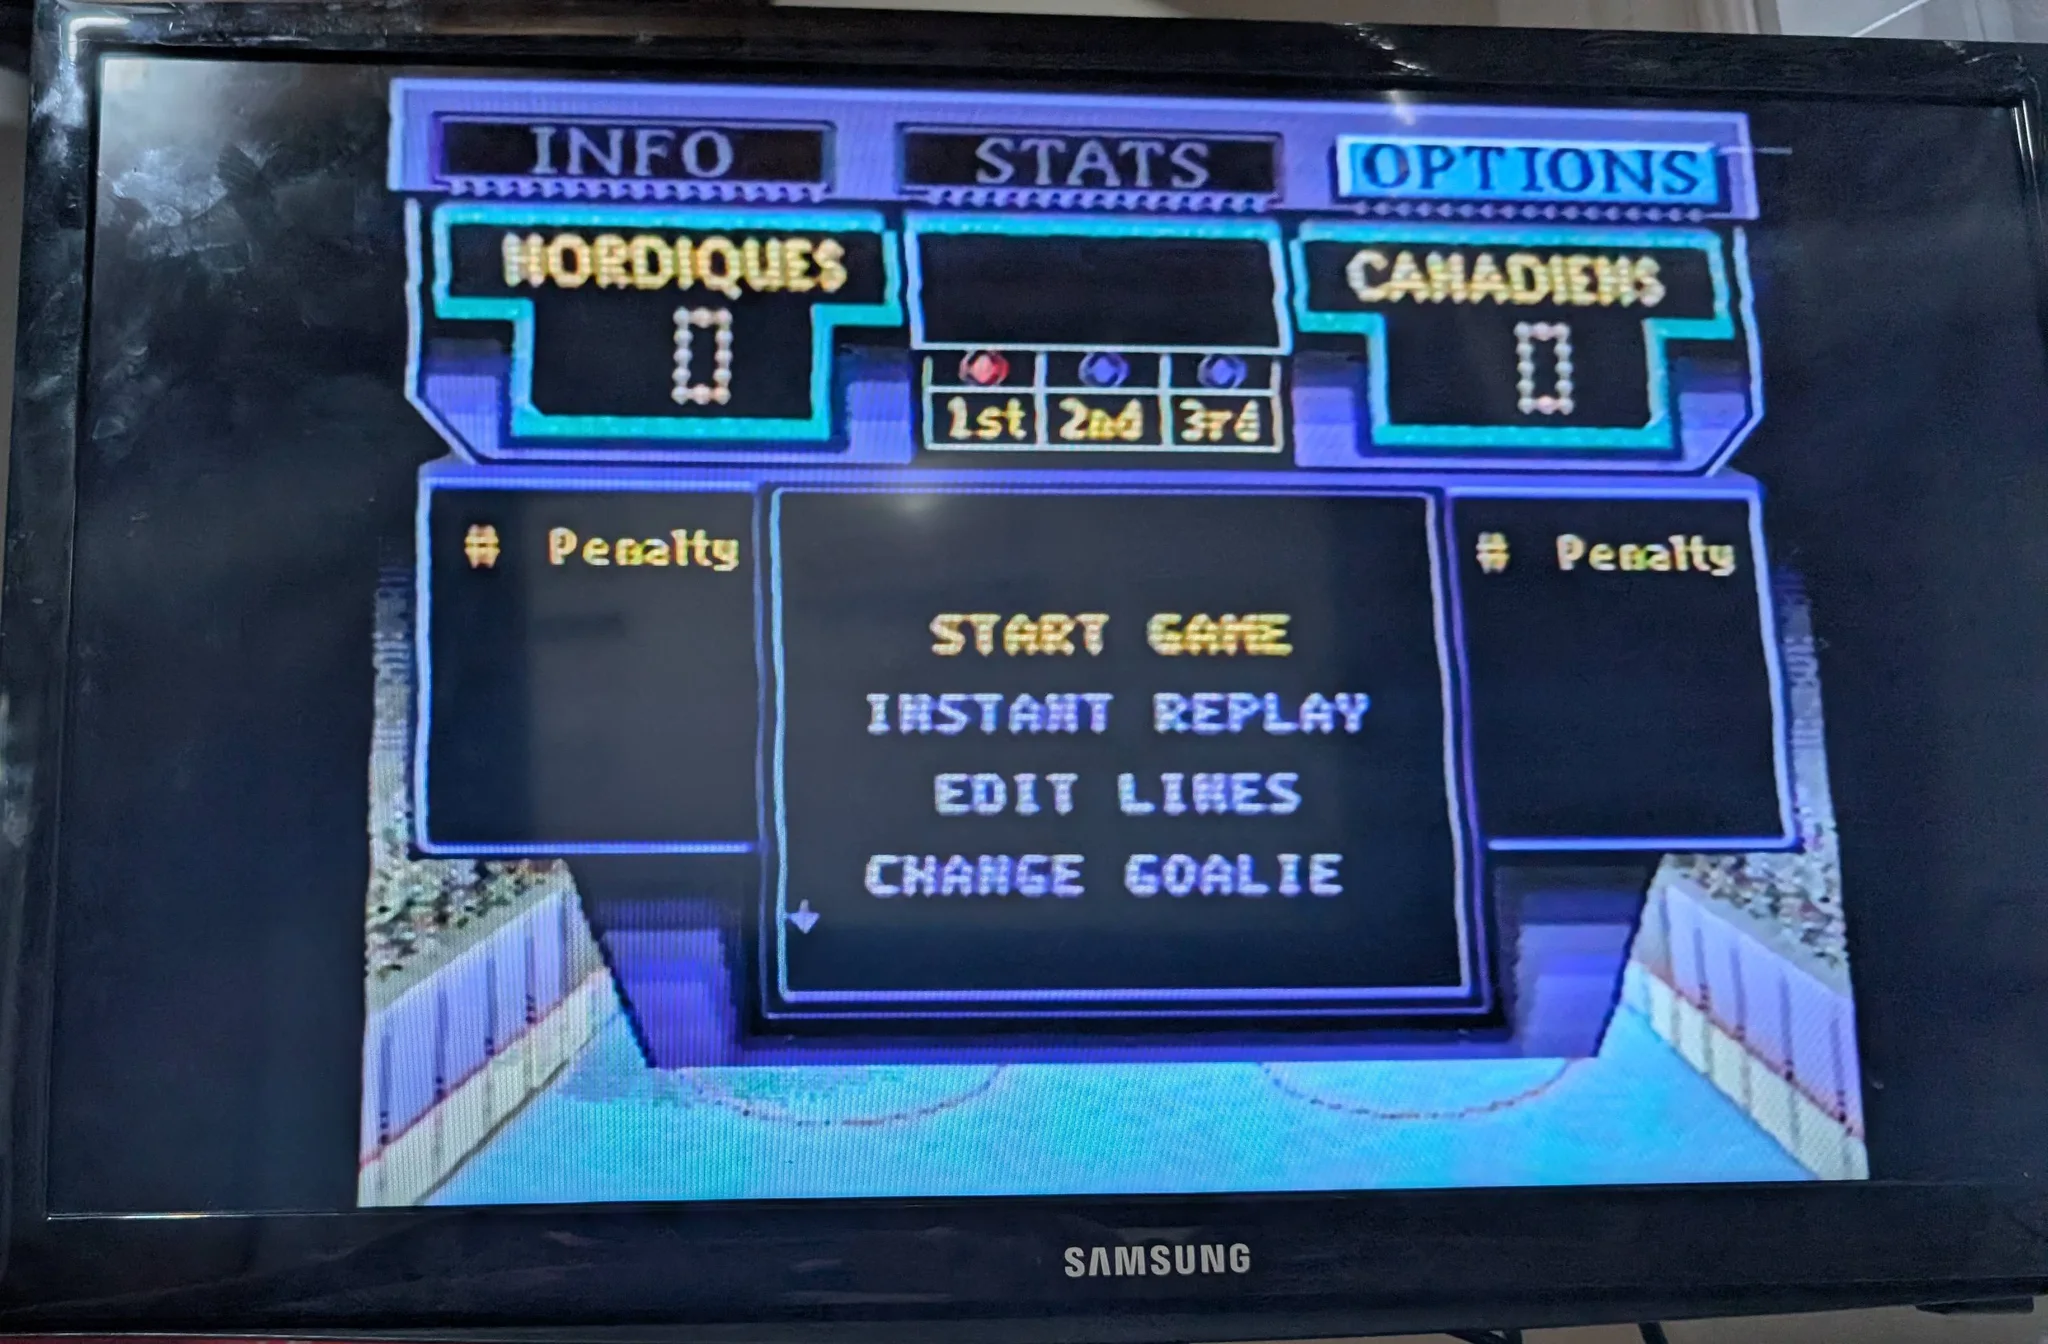
NHL 96 was worse. Every menu wiggled, sometimes up and down, sometimes side to side, but the game itself ran smoothly. That cartridge was also hard to push in and hard to pull out, and the first time I turned it on I got a black screen. I pulled it out, put it back, and it started.
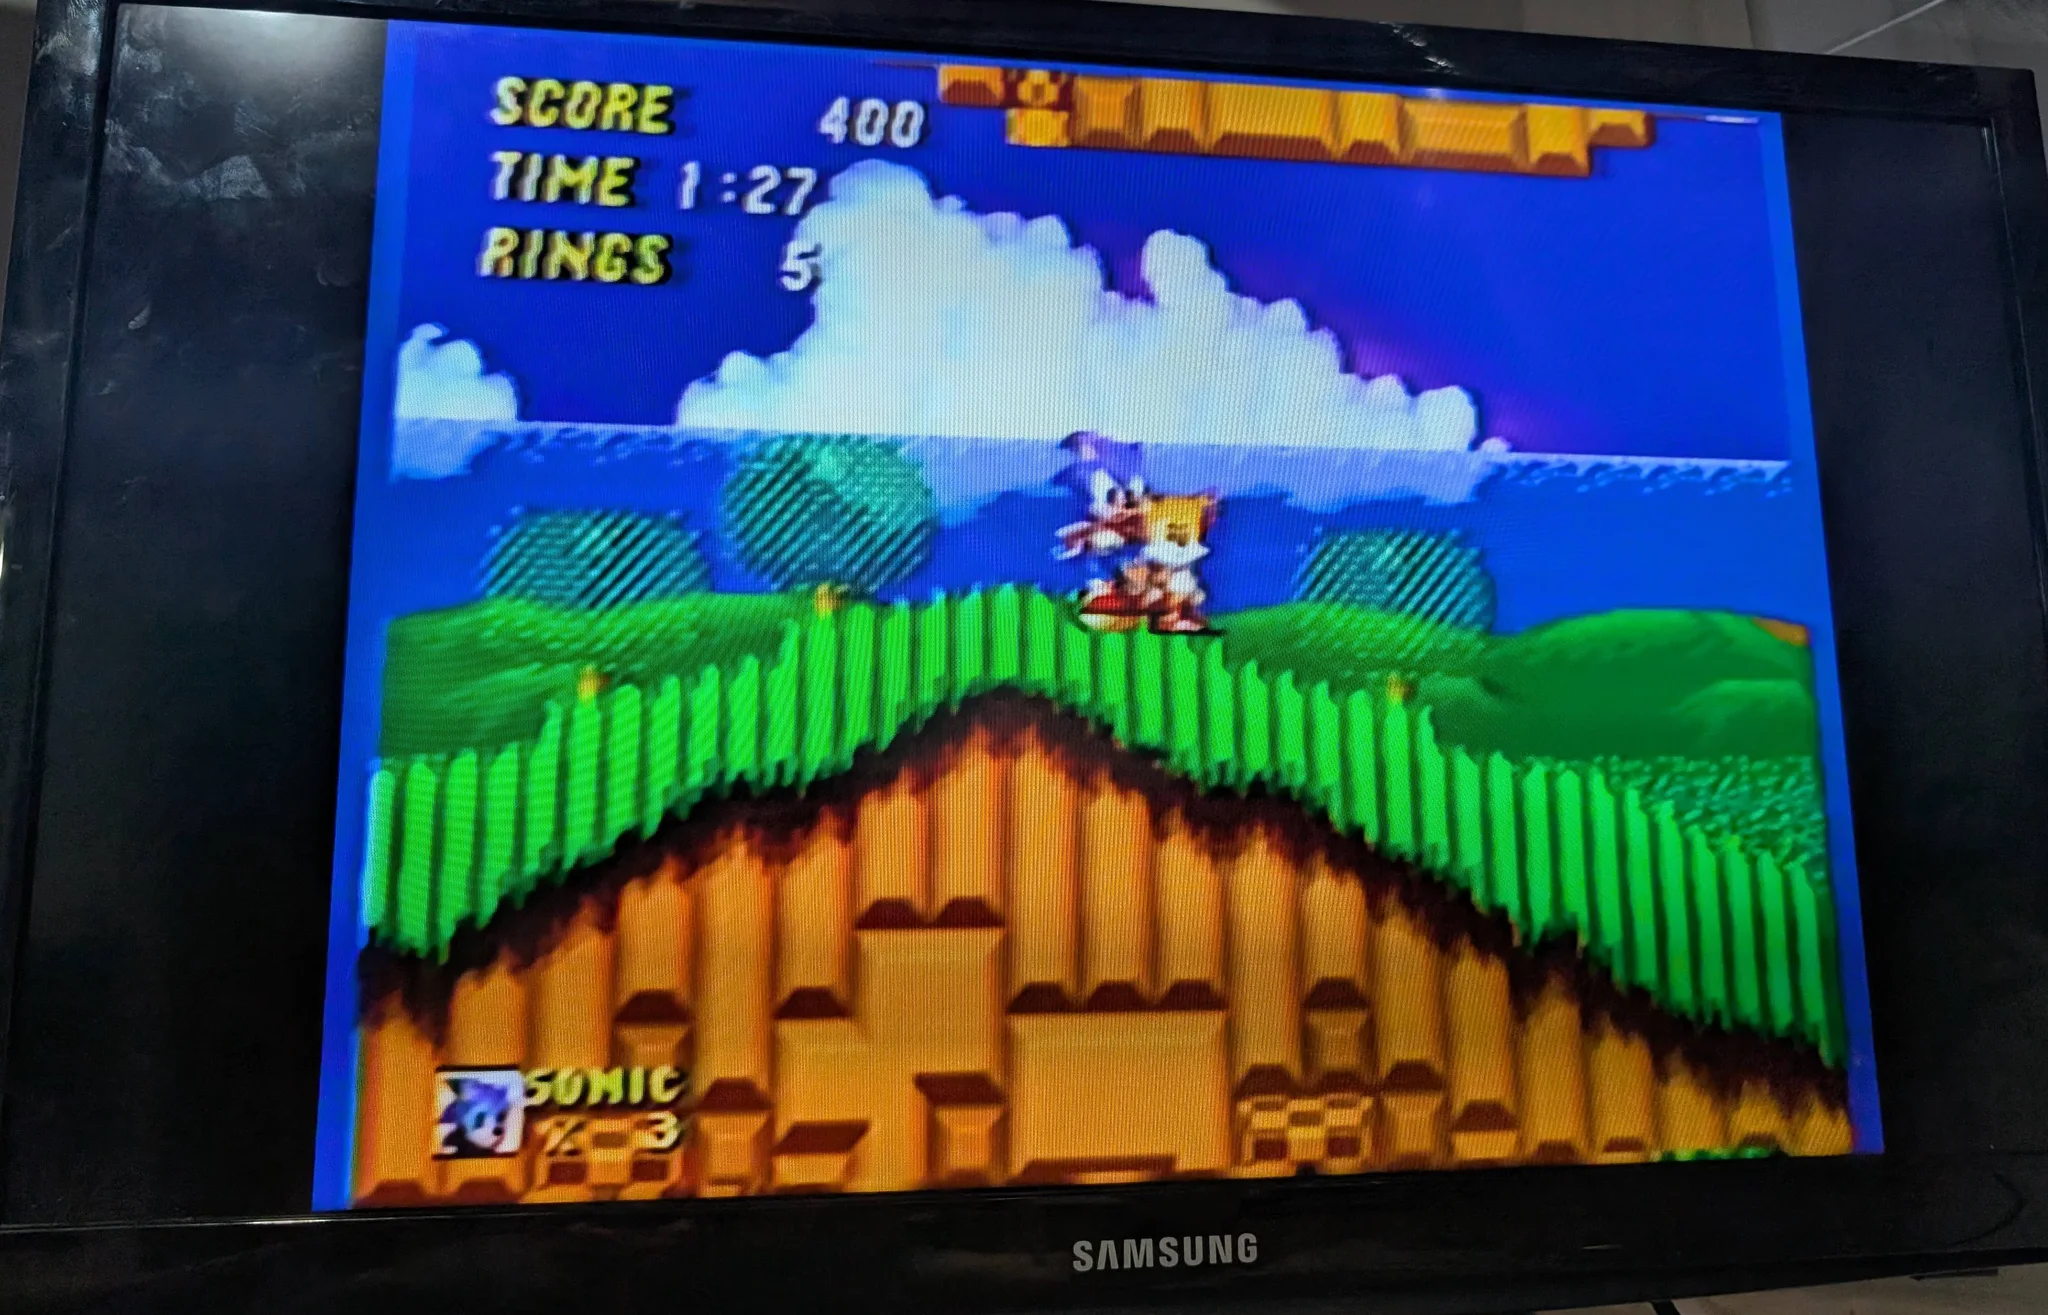
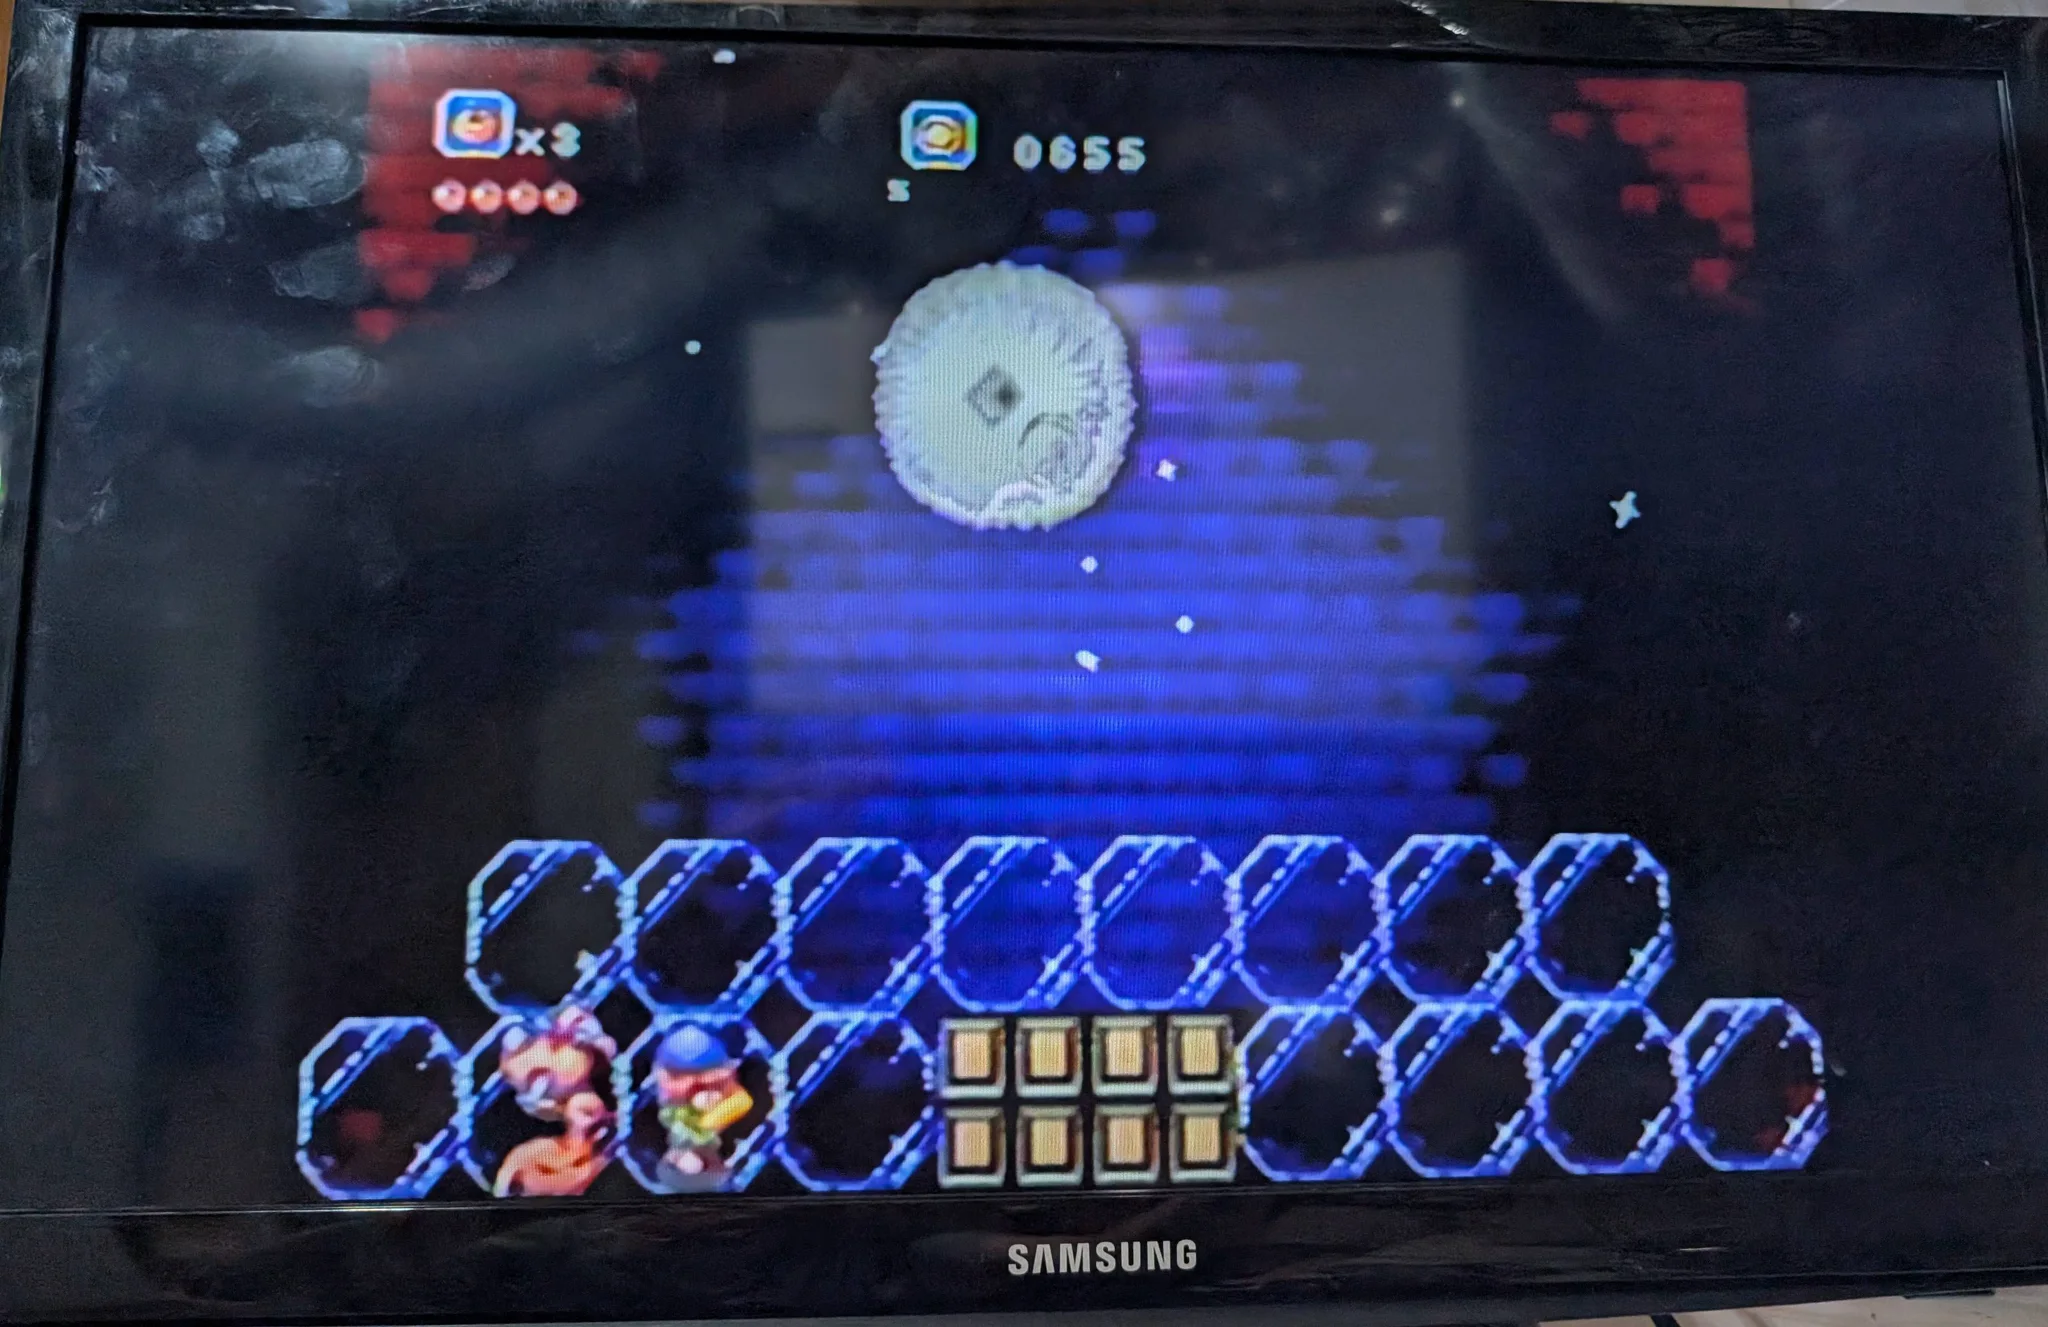
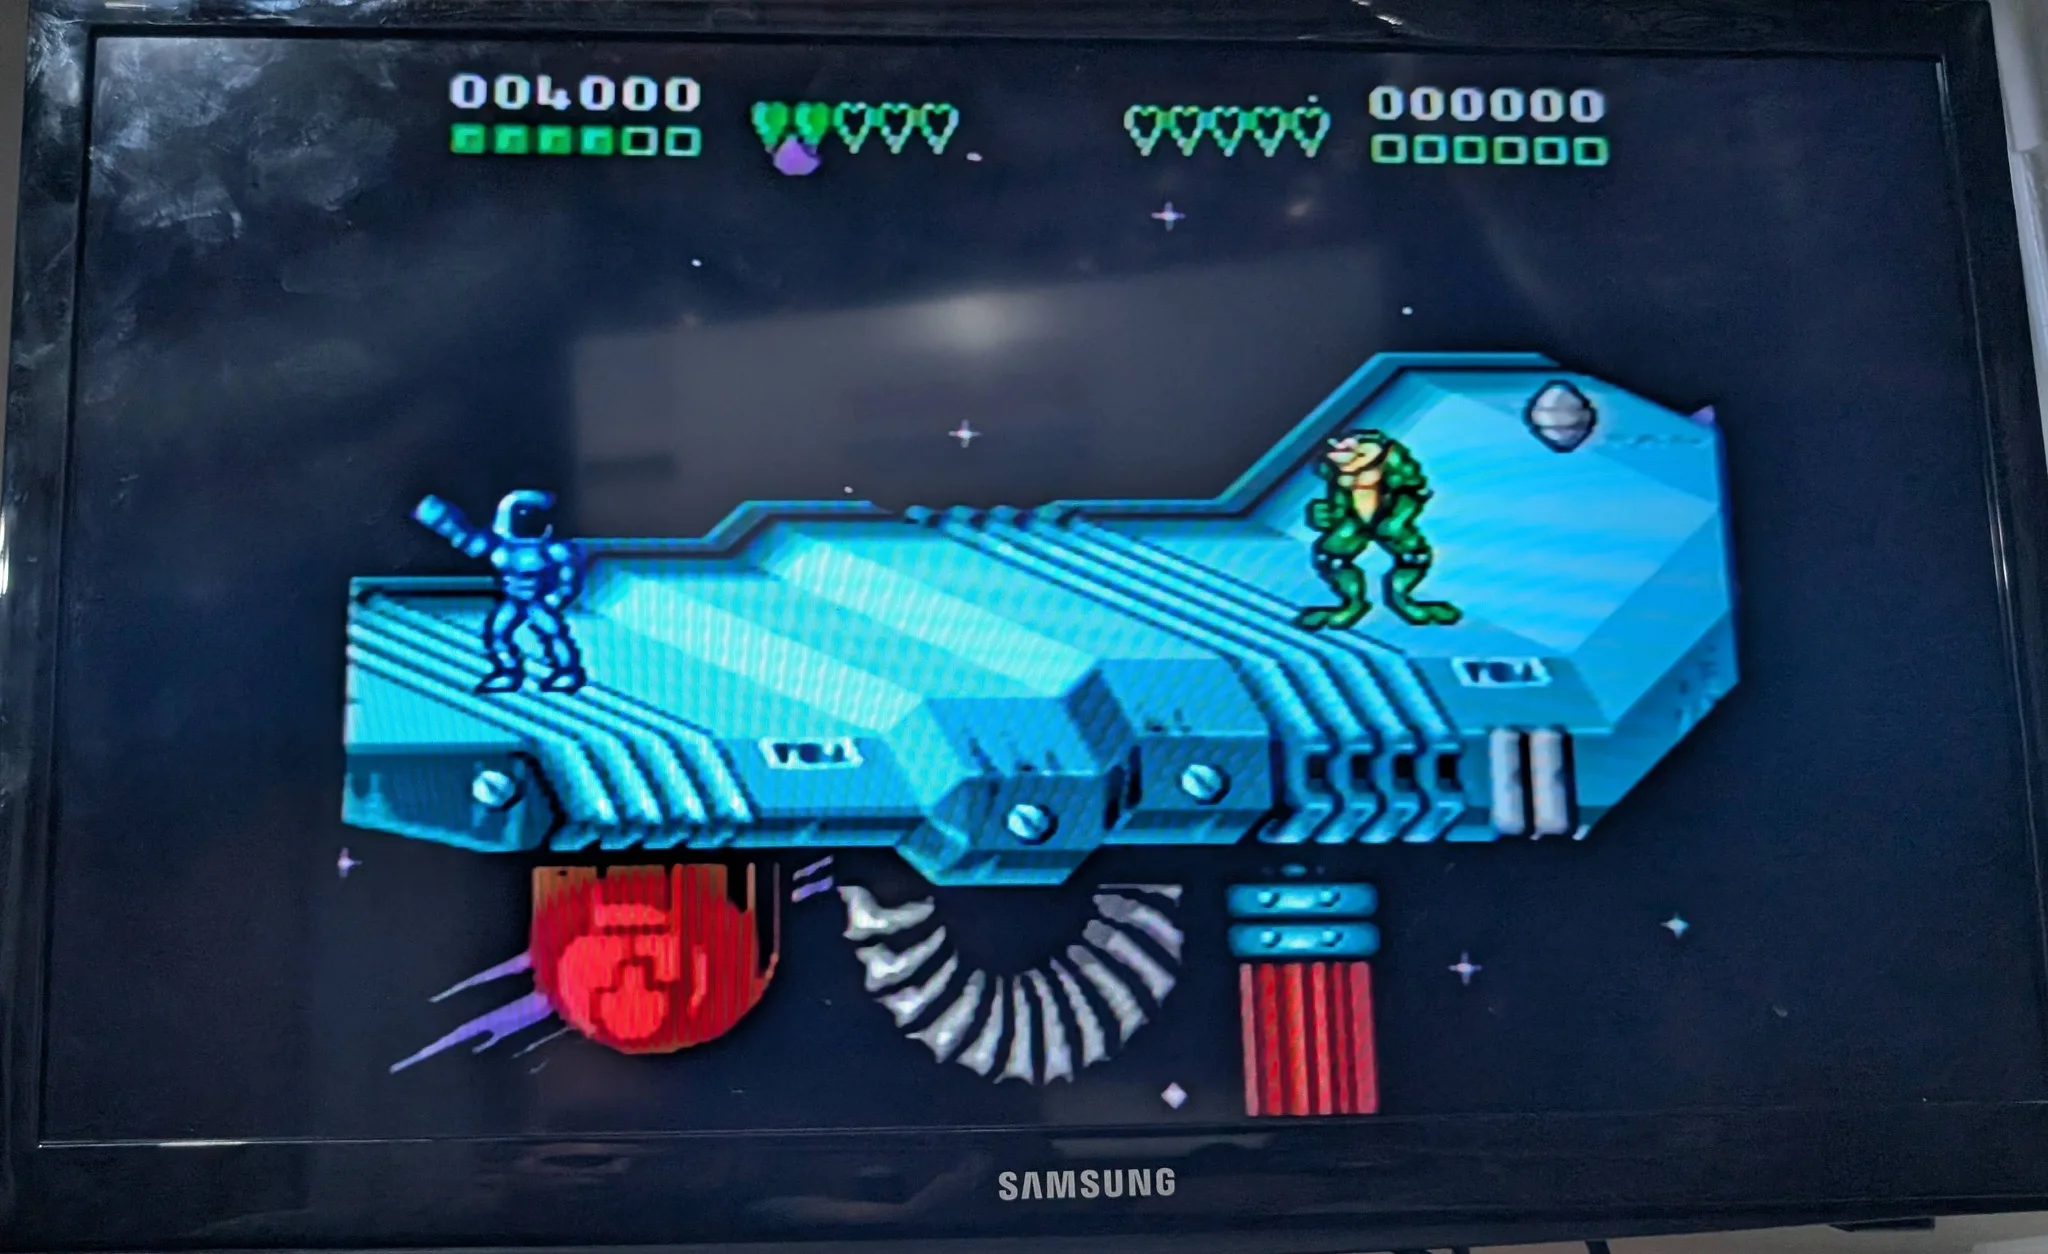
Then I tried three of my own cartridges. Sonic 2 and Crusader of Centy wiggled from start to finish. Battletoads & Double Dragon wiggled only on the opening screen when I powered up the console. After that, the picture on the TV was steady.
Not the cable
An RF cable is an easy suspect, so I swapped it for one of mine. Same wobble. I tried an NES RF cable. Same again. Then I did the opposite and put this console's cable on a working NES, where the picture was perfect. The cable was out.
It was my TV
The Genesis can draw its picture at two widths. The wide mode, H40, is 320 pixels across. The narrow one, H32, is 256. Every screen that wobbled was a wide one and every steady screen was narrow. The NHL games use the wide mode for their menus and switch to the narrow one on the ice. Battletoads & Double Dragon uses the narrow one once the game is running.
So I tried another TV of mine, a Panasonic plasma, with the same console and the same cable. No wiggling. Then I ordered a composite cable, which skips RF entirely, and everything looked perfect.
The console was mostly fine. My Samsung's RF input just couldn't handle the Genesis's 320-pixel picture. An NES never uses that wider mode, which is why one looked perfect on the same TV with the same cable. I can't know what the seller's TV did, but I'd bet on the same thing.
Making it better
With no fault to repair, I decided to make the console better instead. I ordered two things: a capacitor kit from Console5 and a triple bypass from Zaxour.
Capacitors are the little cans that steady the voltages on the board, and they age. The triple bypass needs its own explanation.
What a triple bypass is
A stock Model 1 sends its picture and sound out through its own output circuit, to the RF box and to a round A/V socket beside it. Every Model 1 also puts faint vertical lines on the picture, some more than others, called jailbars. They come from the way the board is laid out, not from a fault.
The triple bypass, or 3BP, is a small board that takes over that job. It gets the red, green and blue straight from the video chip, picks up the sound, and sends out clean RGB, composite video and sound on a new connector. The name fits: three things now go around the console's original output circuit instead of through it. It also cuts down the jailbars.
RGB keeps red, green and blue on three separate wires all the way to the TV, so nothing gets mixed together on the way. Composite, the single yellow plug, puts everything on one wire.
The kit came as two boards.
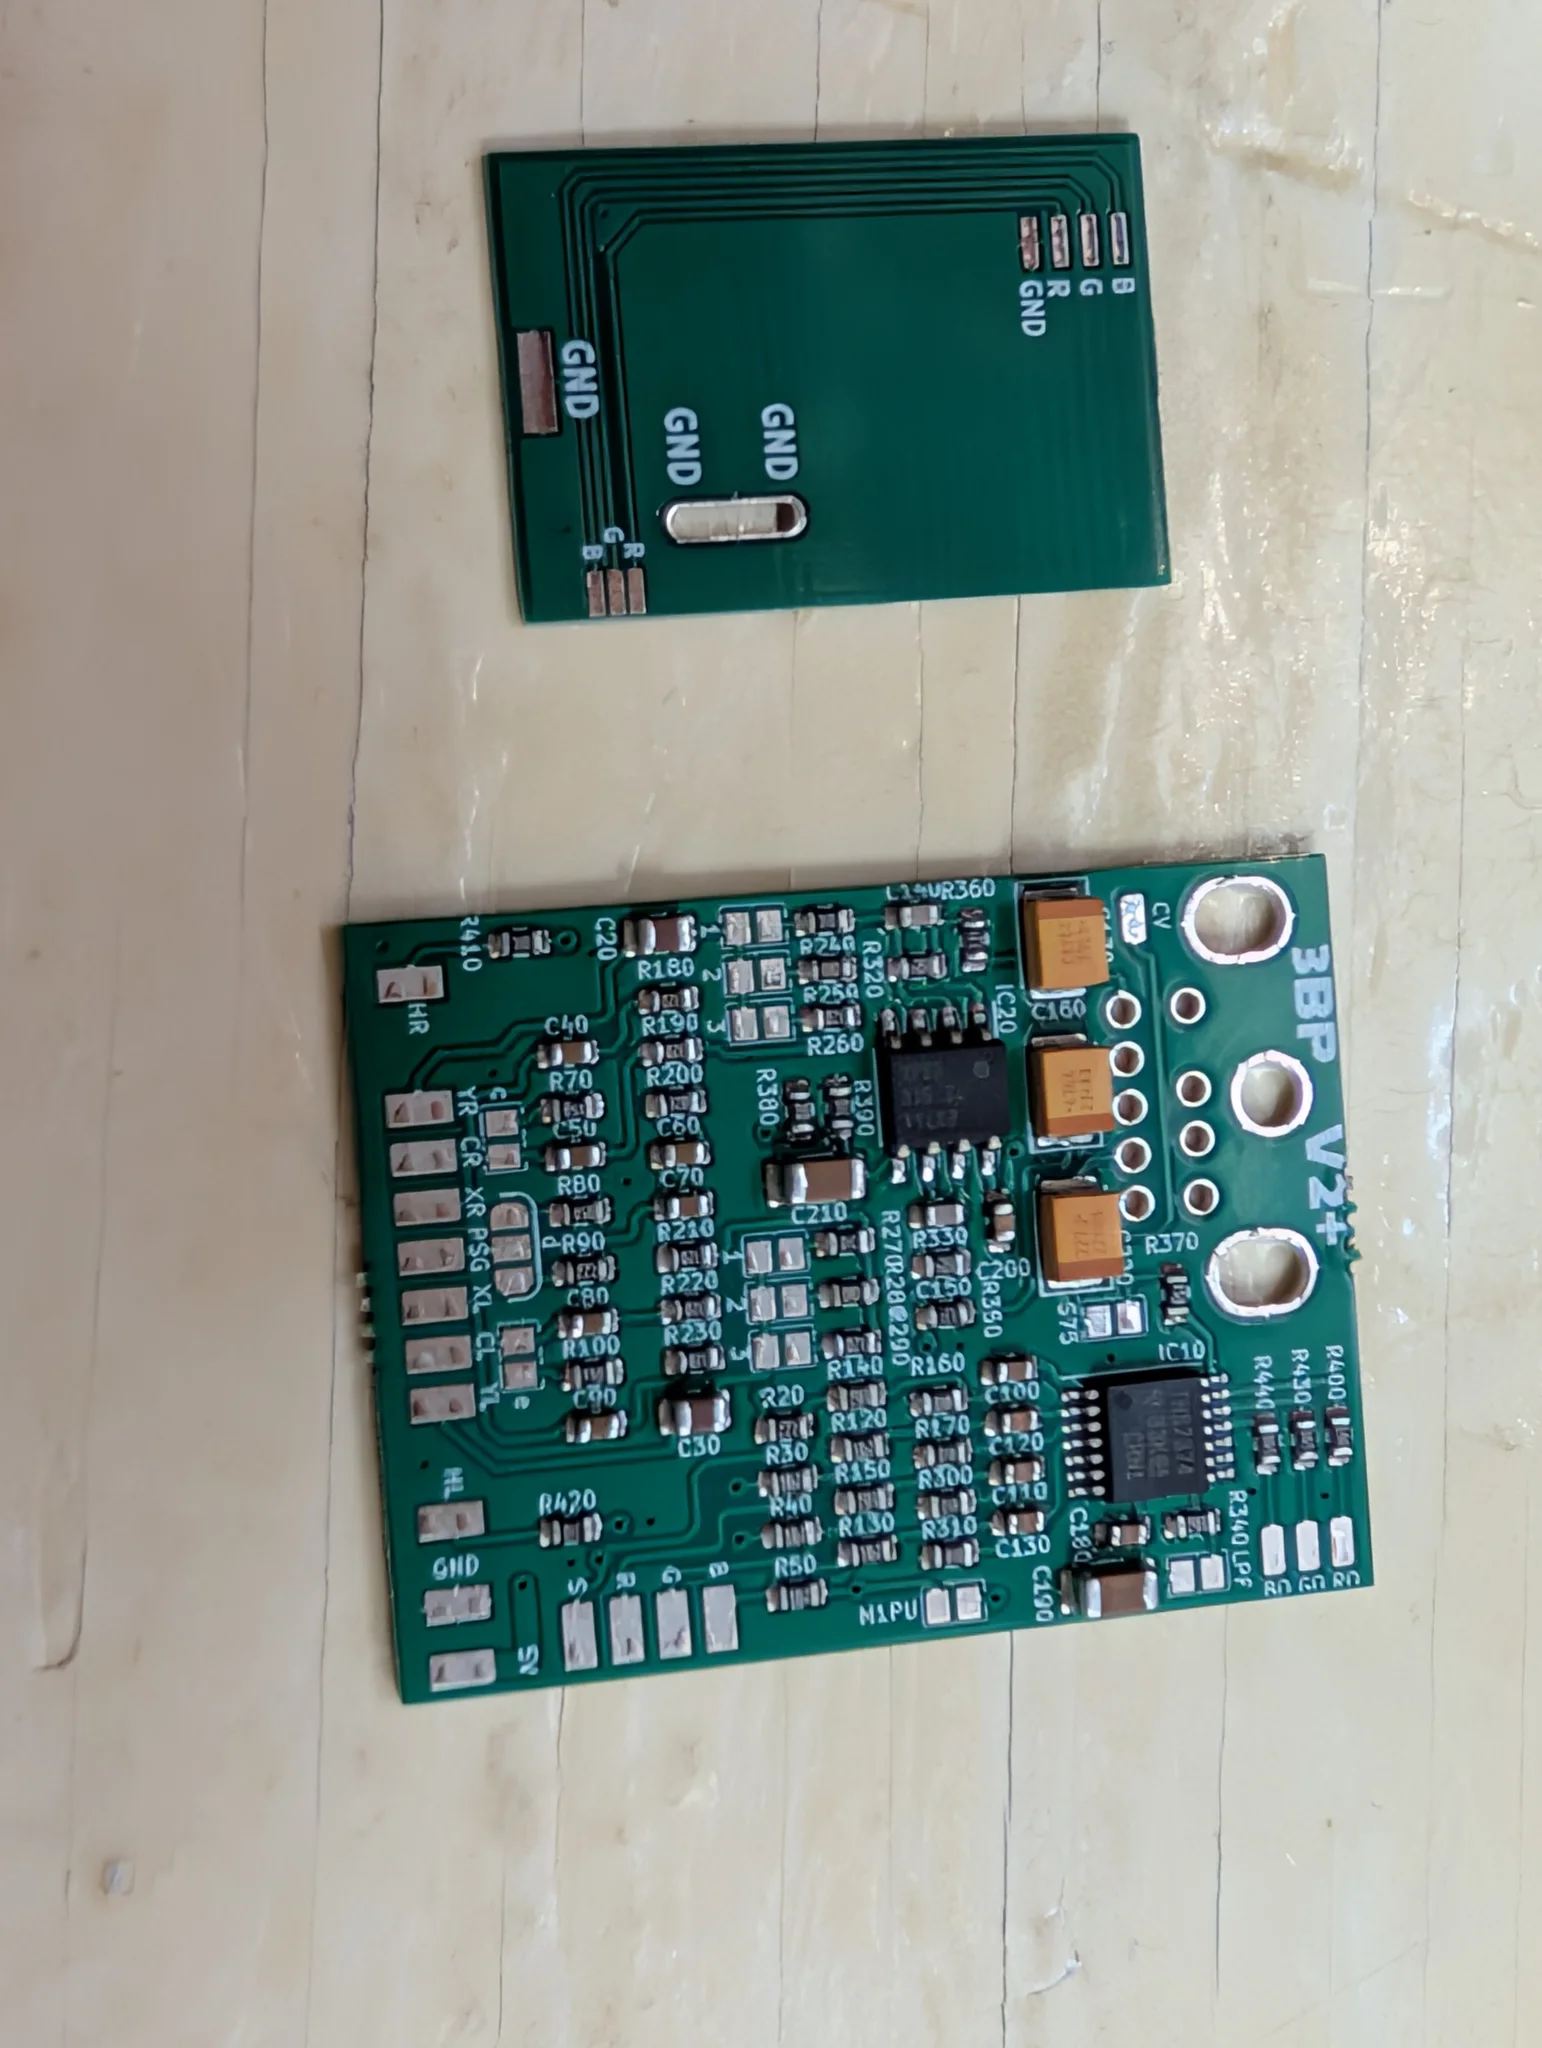
The small one on top is the relief board. The three pads in its bottom corner, marked B, G and R, take the three video chip legs that carry the colours. Its traces run them to the R, G and B pads in the other corner, where wires leave for the 3BP. The big one is the 3BP itself. Its pads say what goes where: R, G and B along the bottom edge for the colours, 5V and GND for power, and a column down the left side for the sound. HL and HR at either end of that column, by their names, go to the headphone jack on the front. The holes at the right end, beside the 3BP V2+ lettering, are where it sits on the new 9-pin connector.
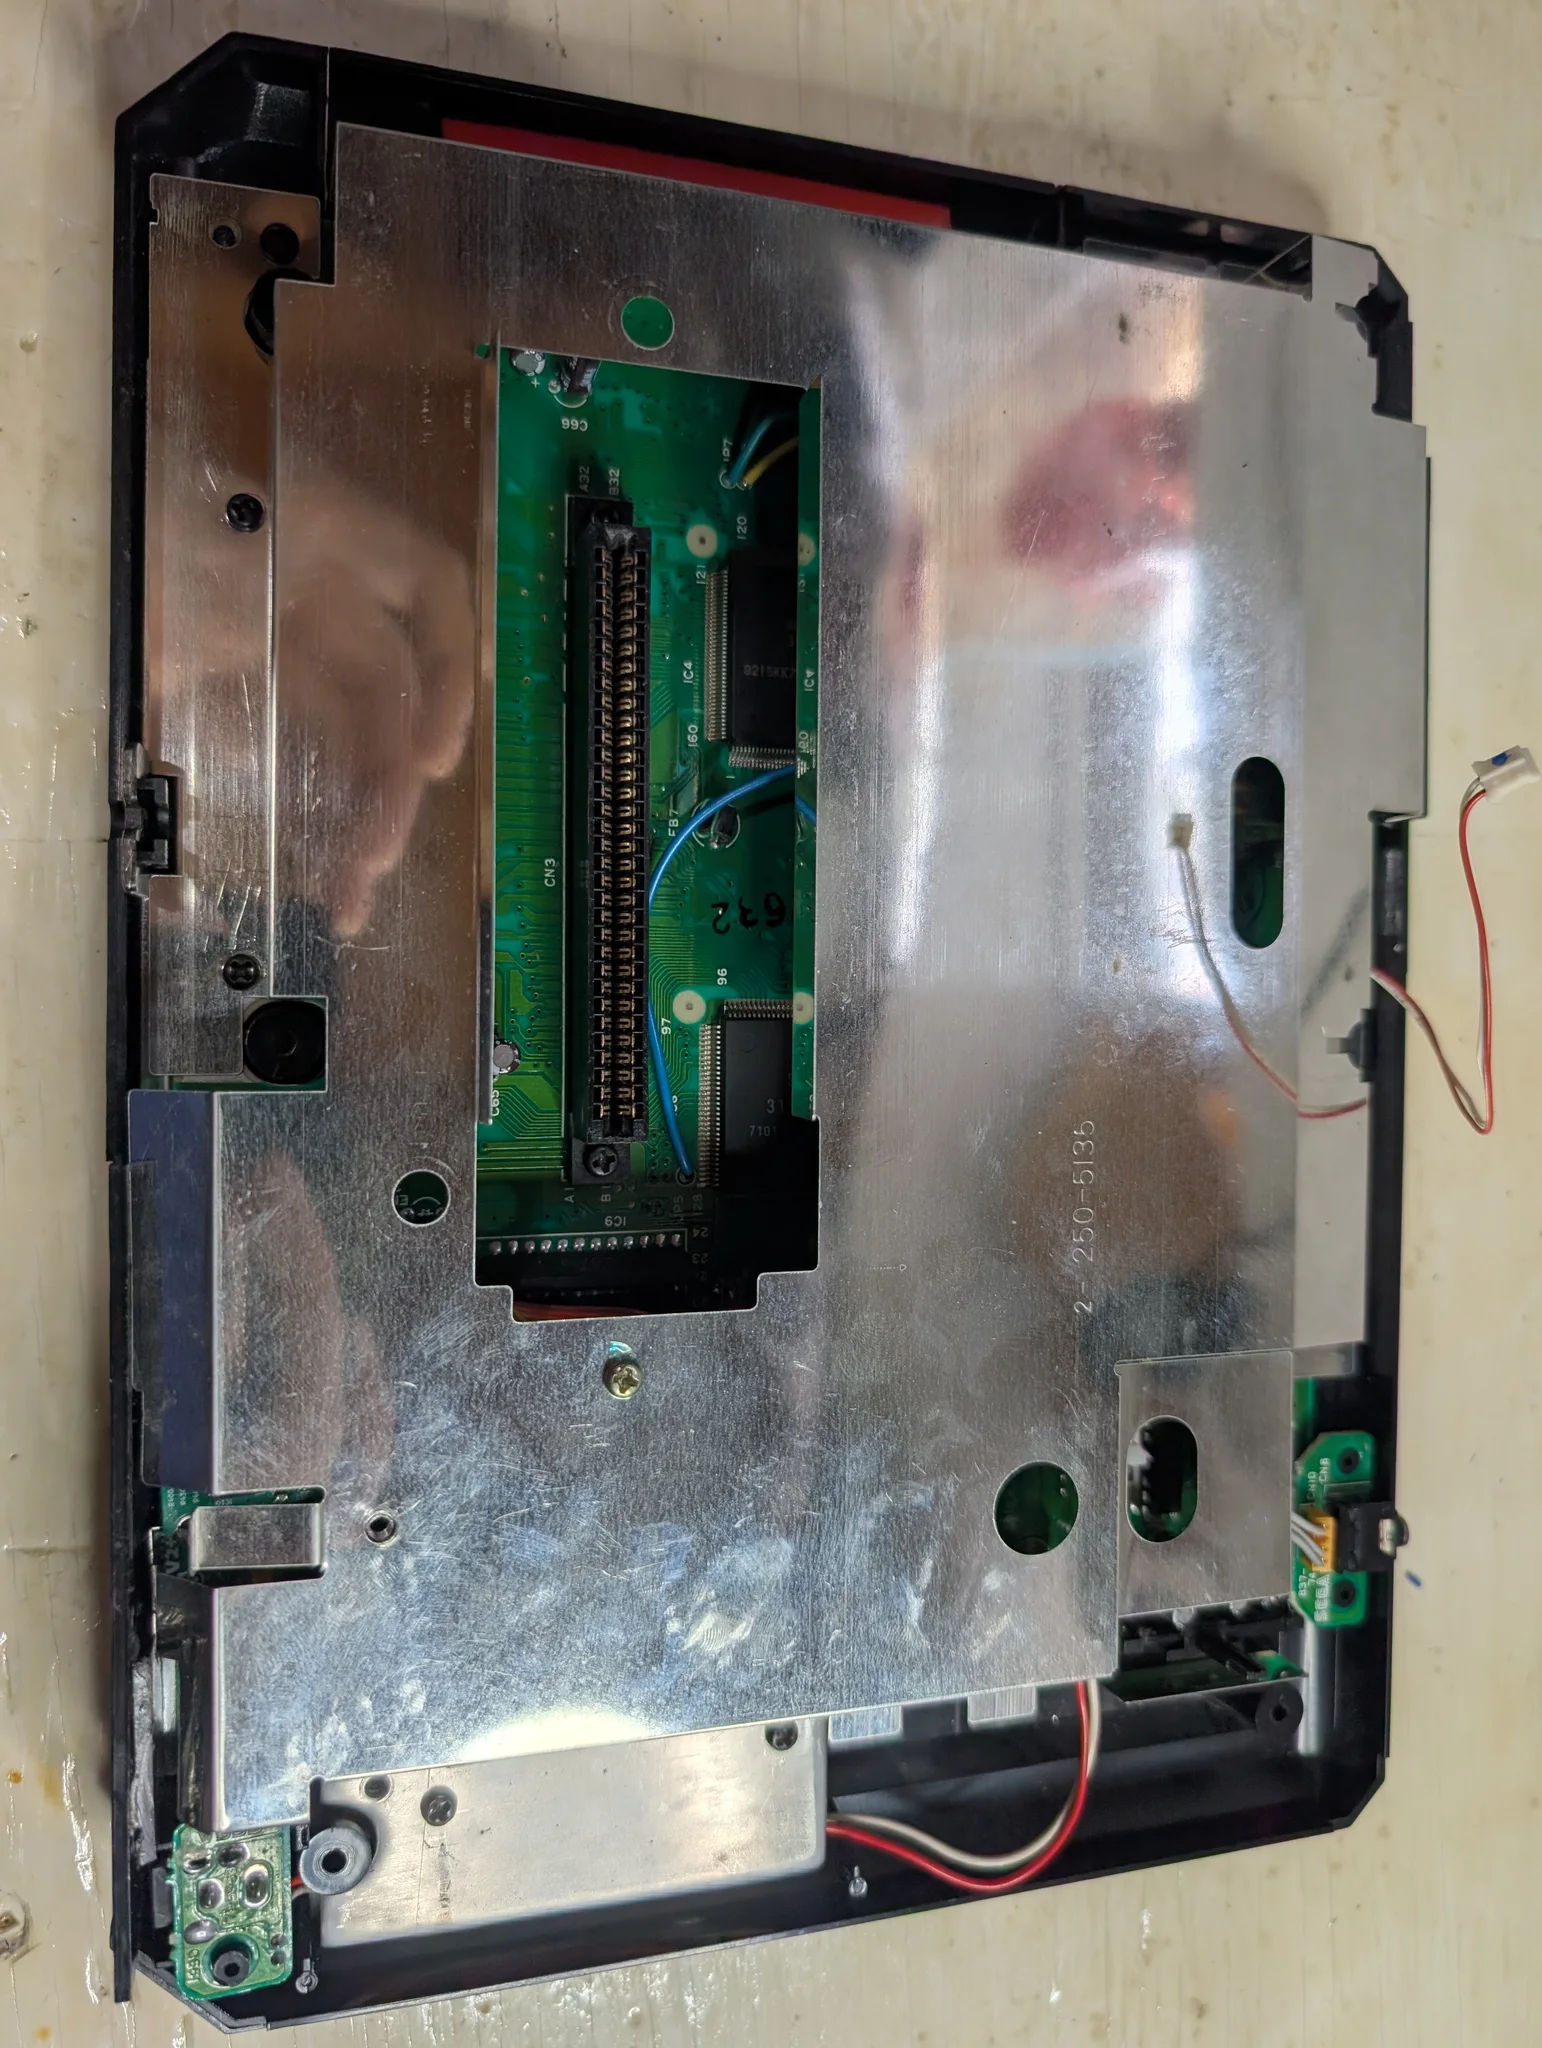
Opening it
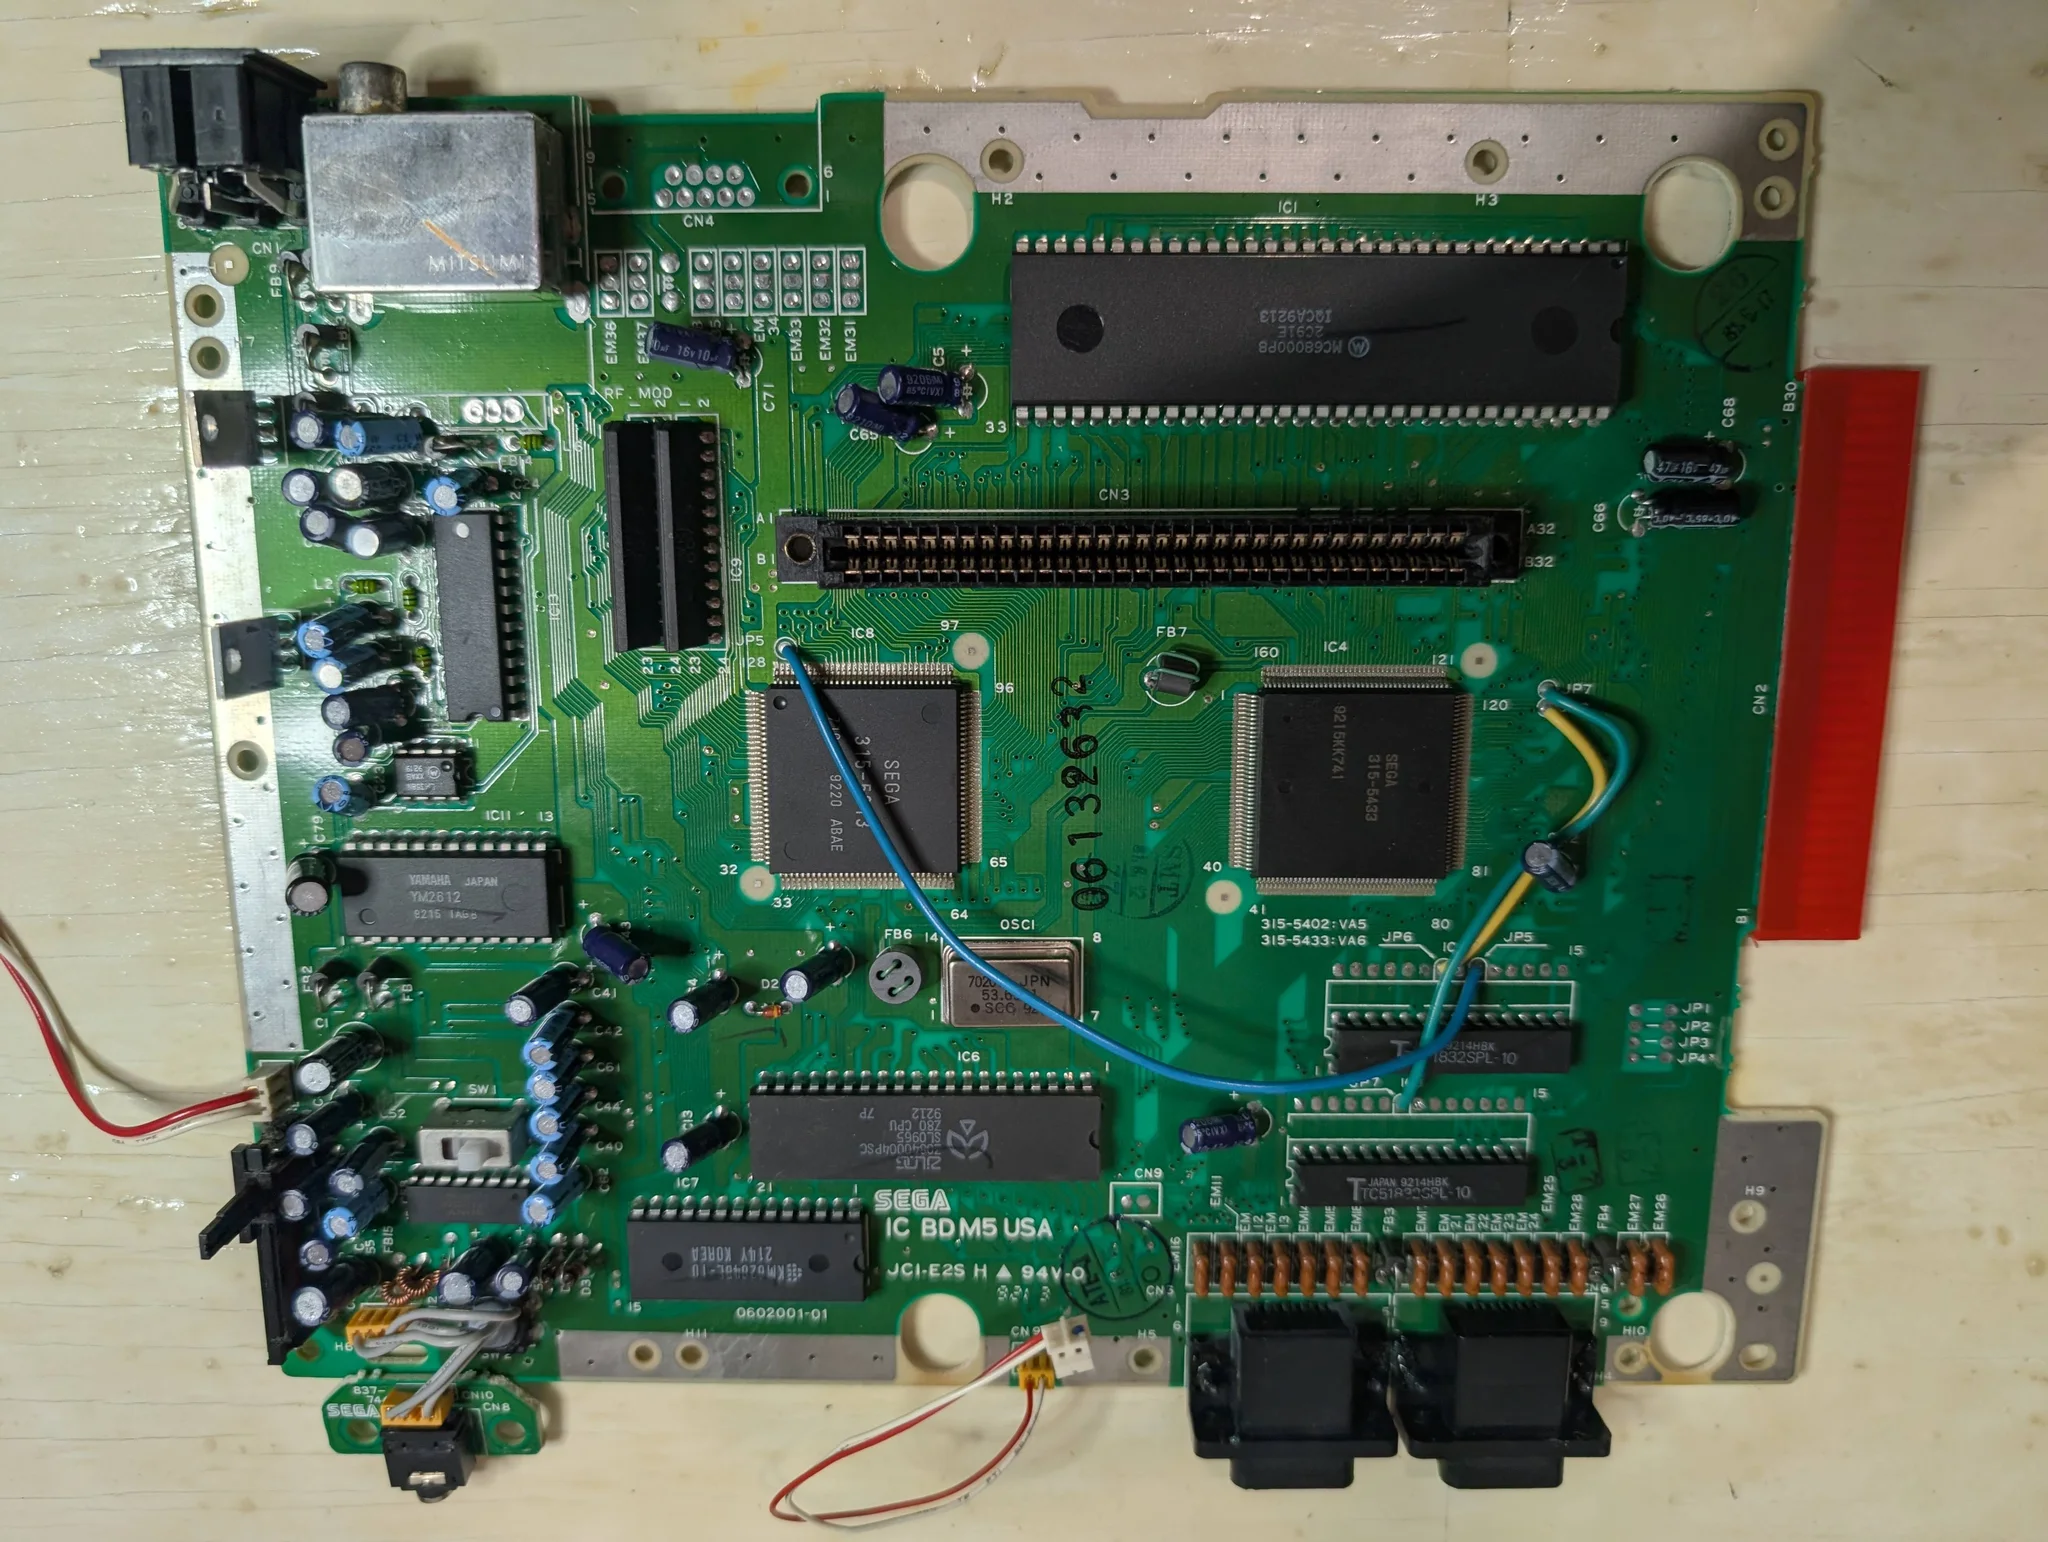
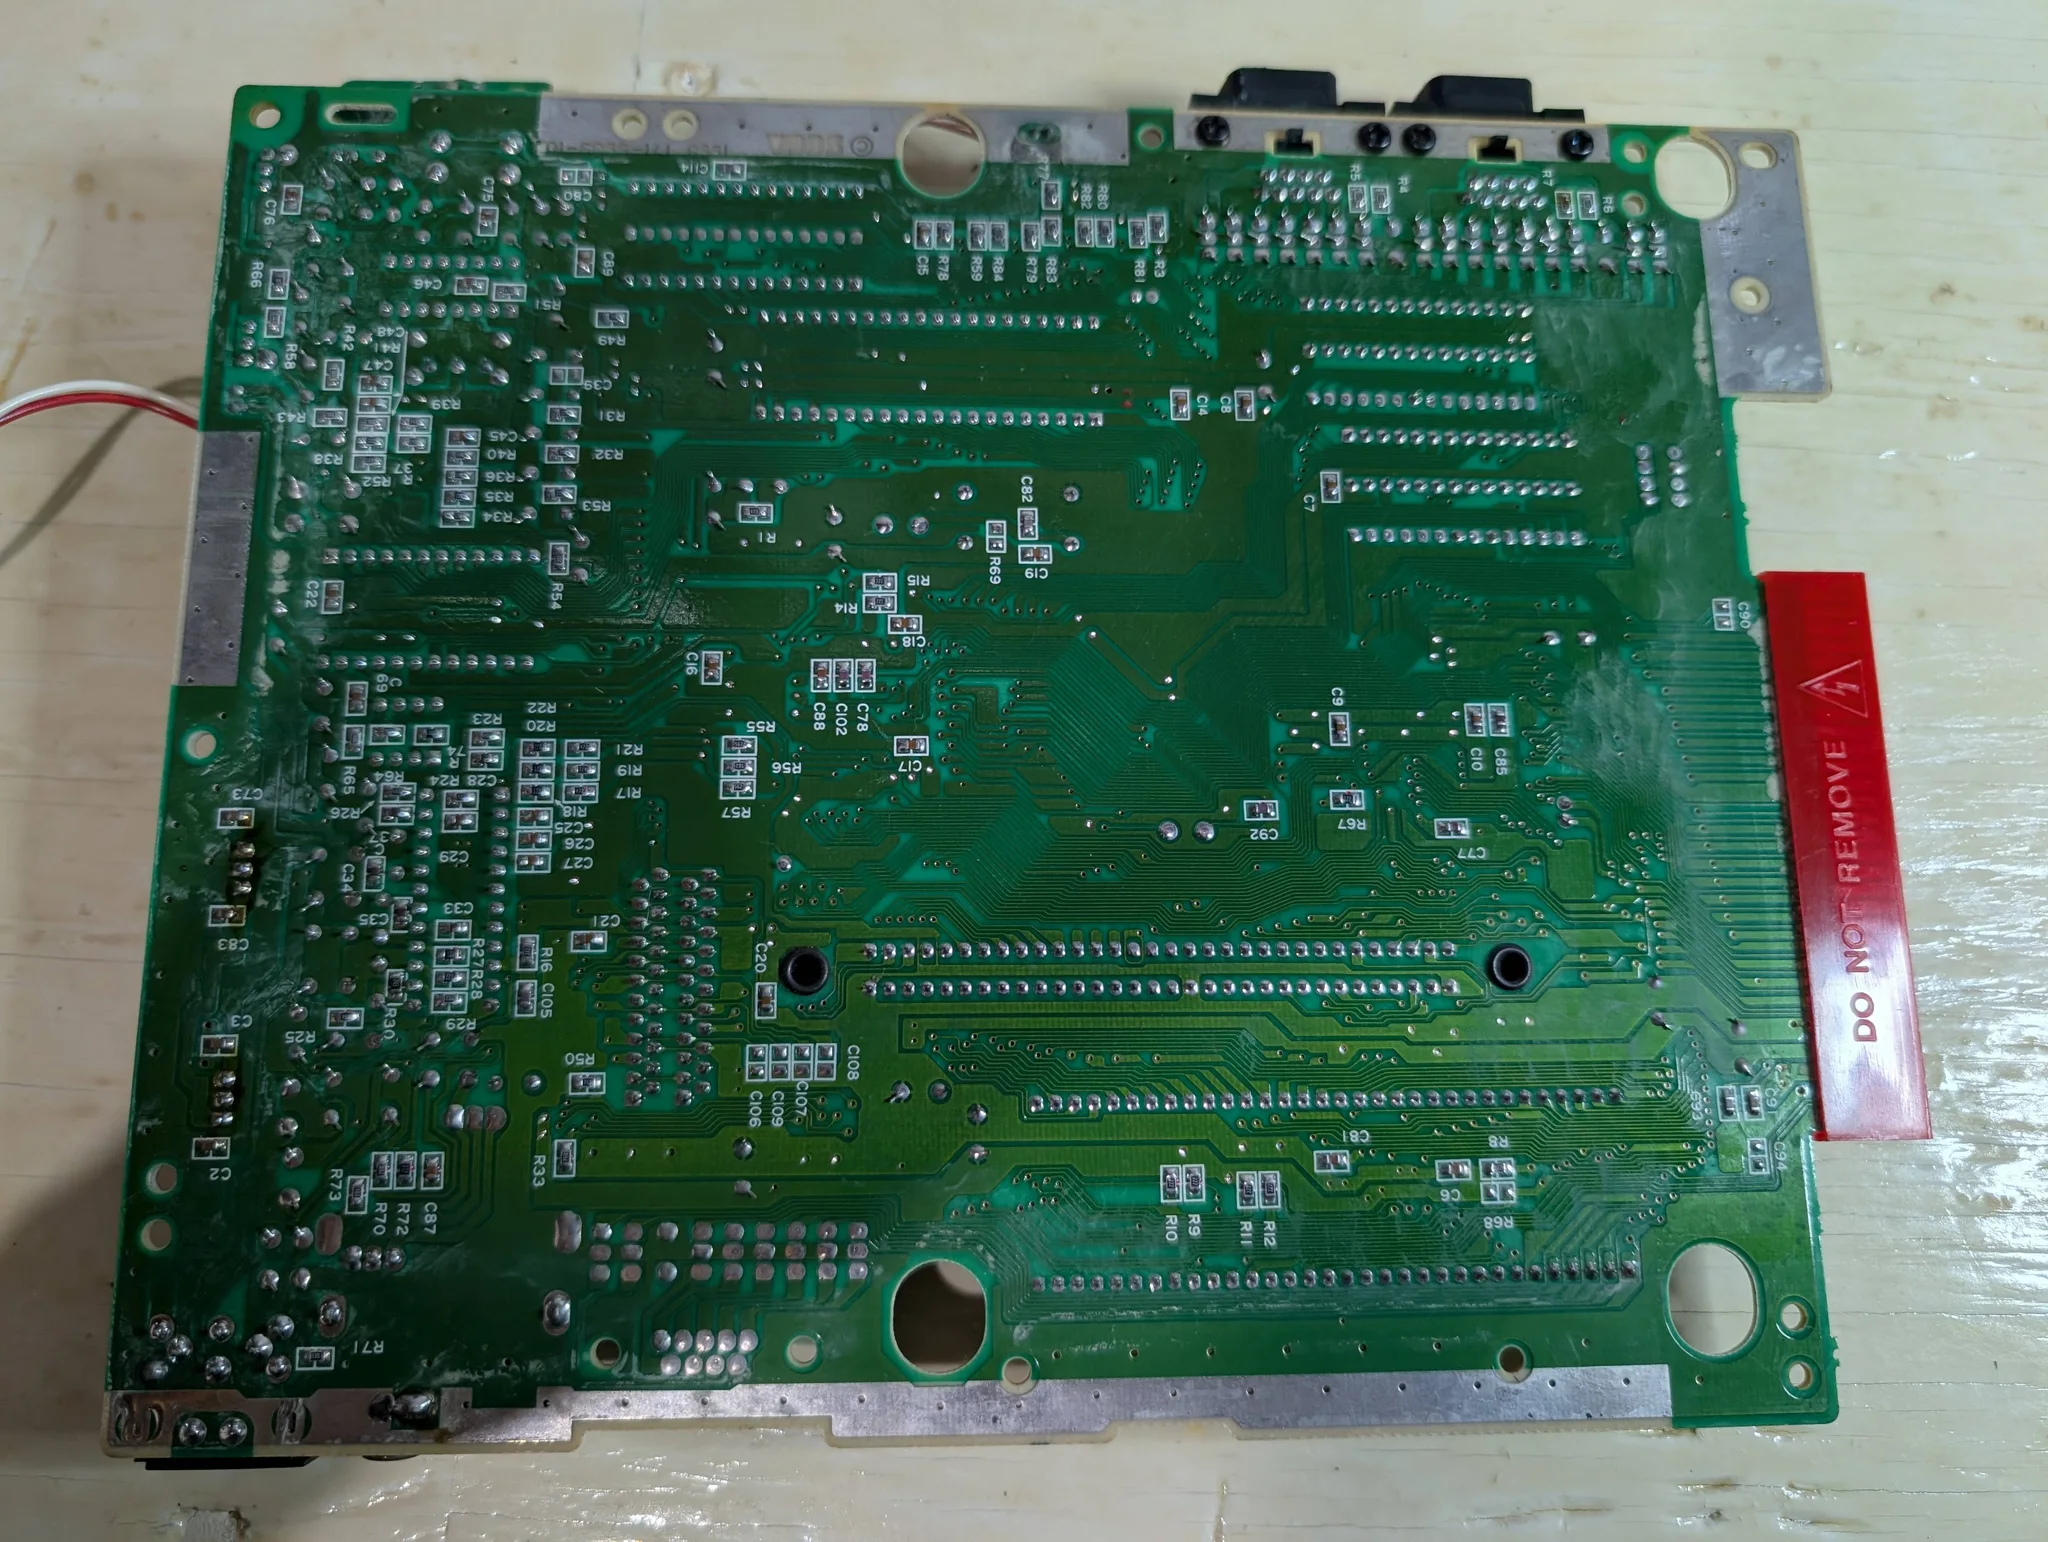
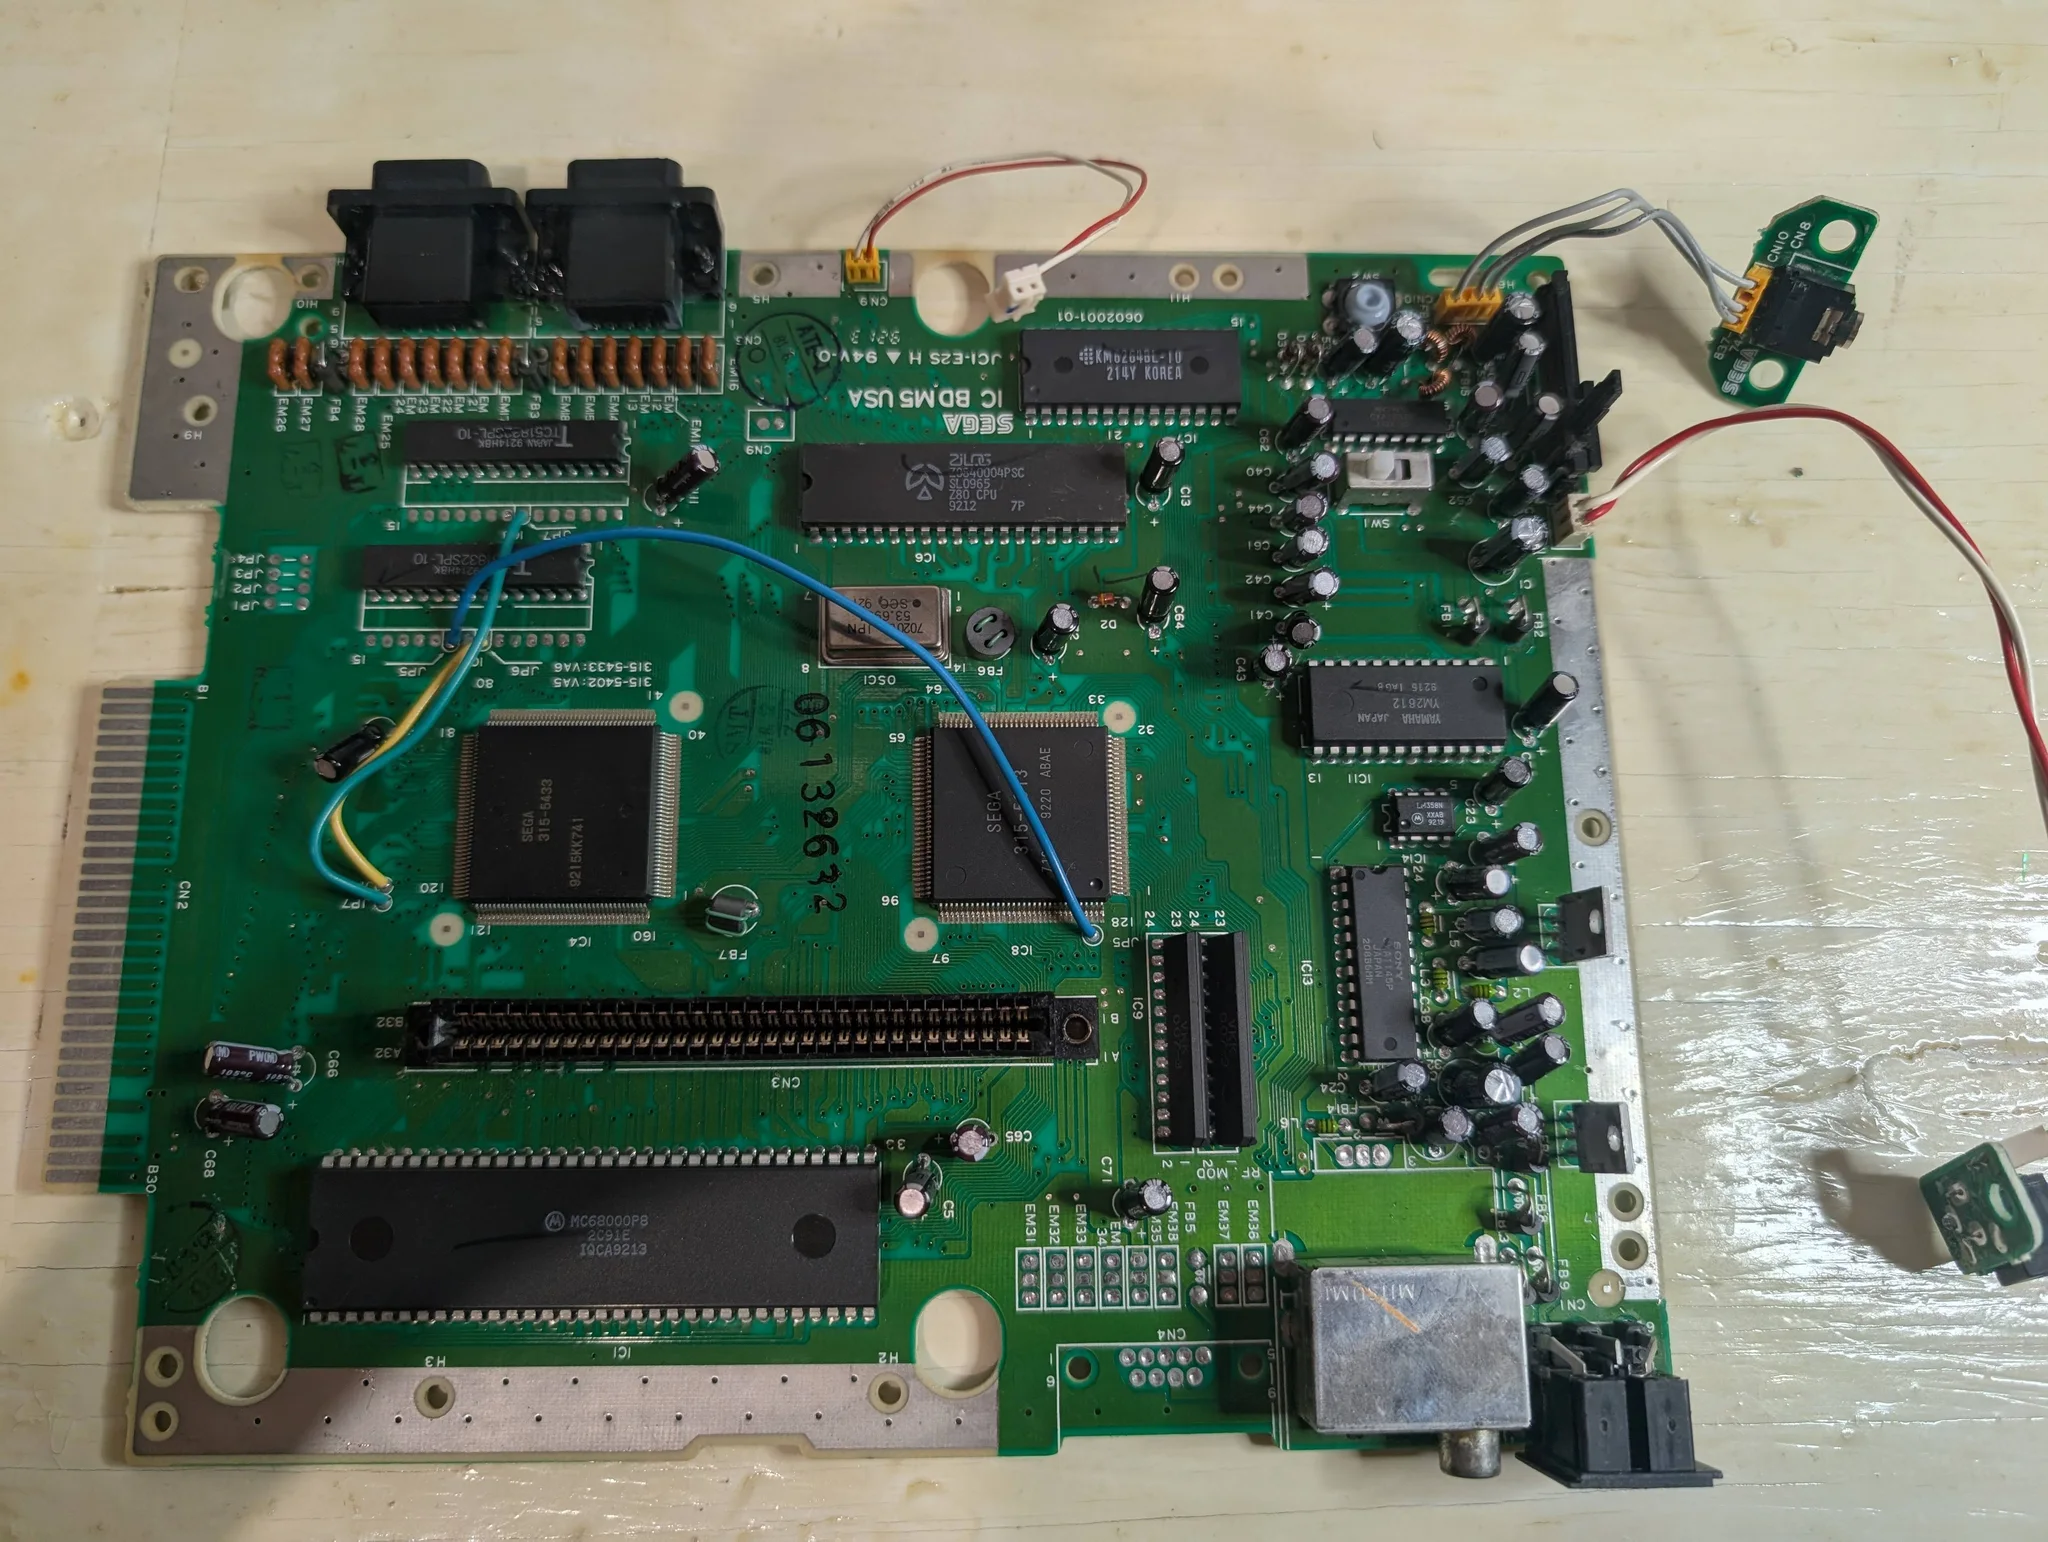
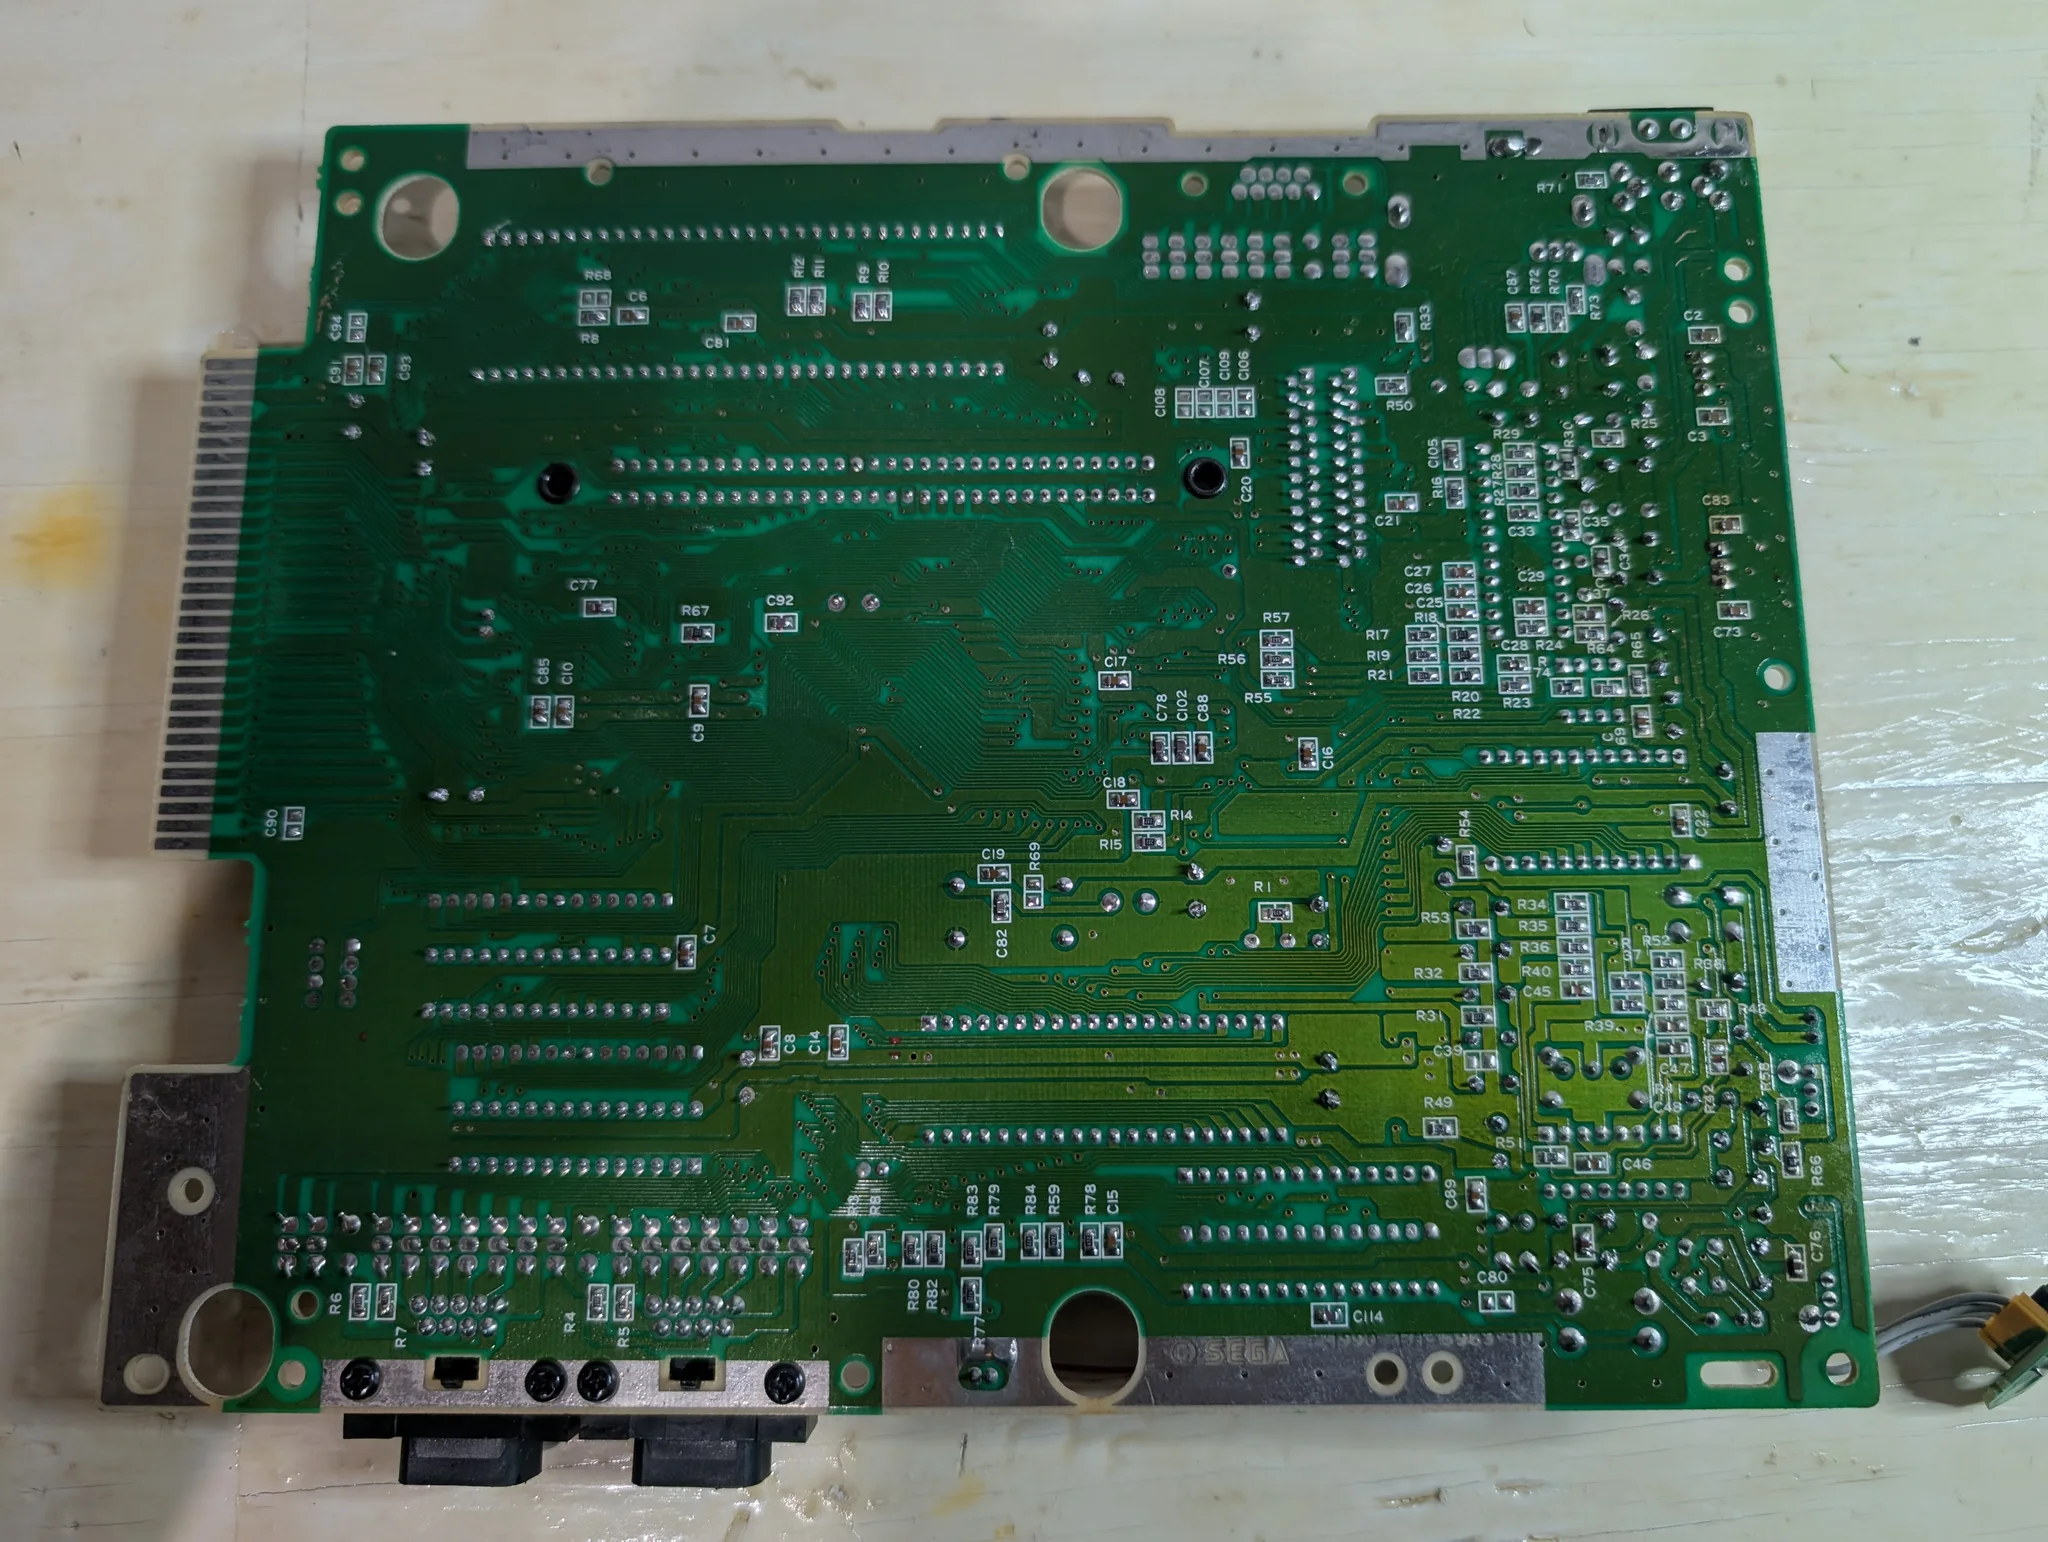
The board is a VA6, Sega's name for this revision, and it looked pretty clean. The underside could use a little cleanup, but nothing bad. It's in very good shape.
The blue, yellow and teal wires looping across the top look like somebody's old repair. They're Sega's: every VA5 and VA6 board left the factory with them.
The recap
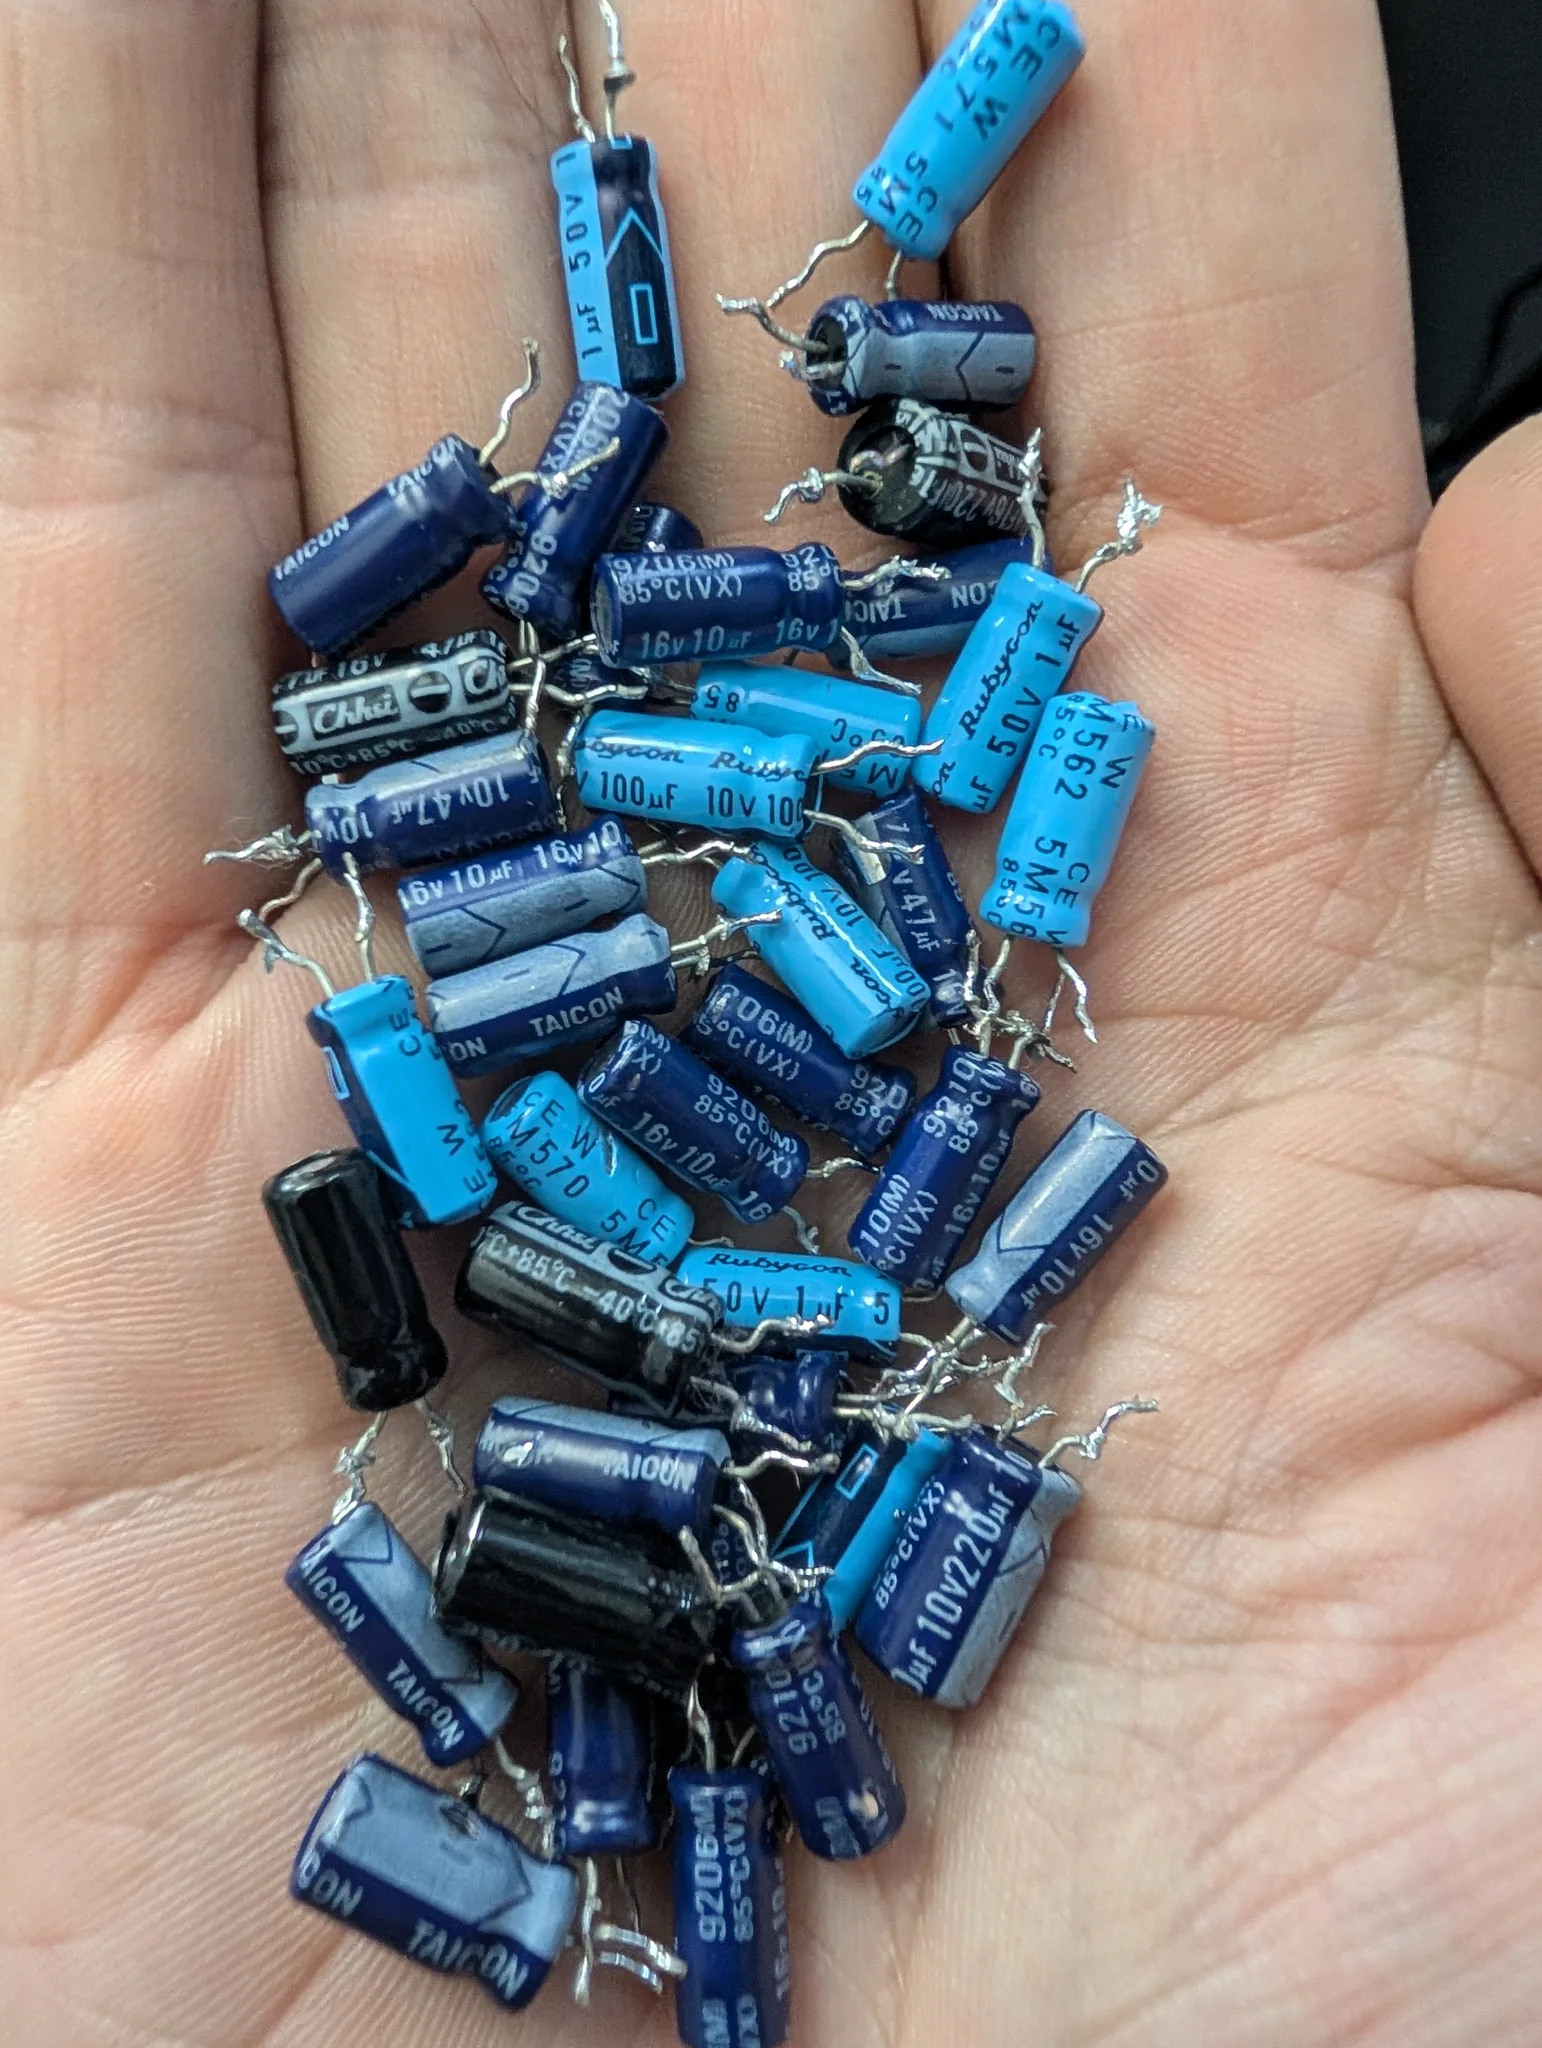
Console5's list for this board has 39 capacitors on it. There are a lot of capacitors inside a Genesis.
The install
First, the RF box and the old A/V socket came out. Then I marked where the new connector would go and scratched through the board's green coating with a scratch pen, to reach the ground underneath.
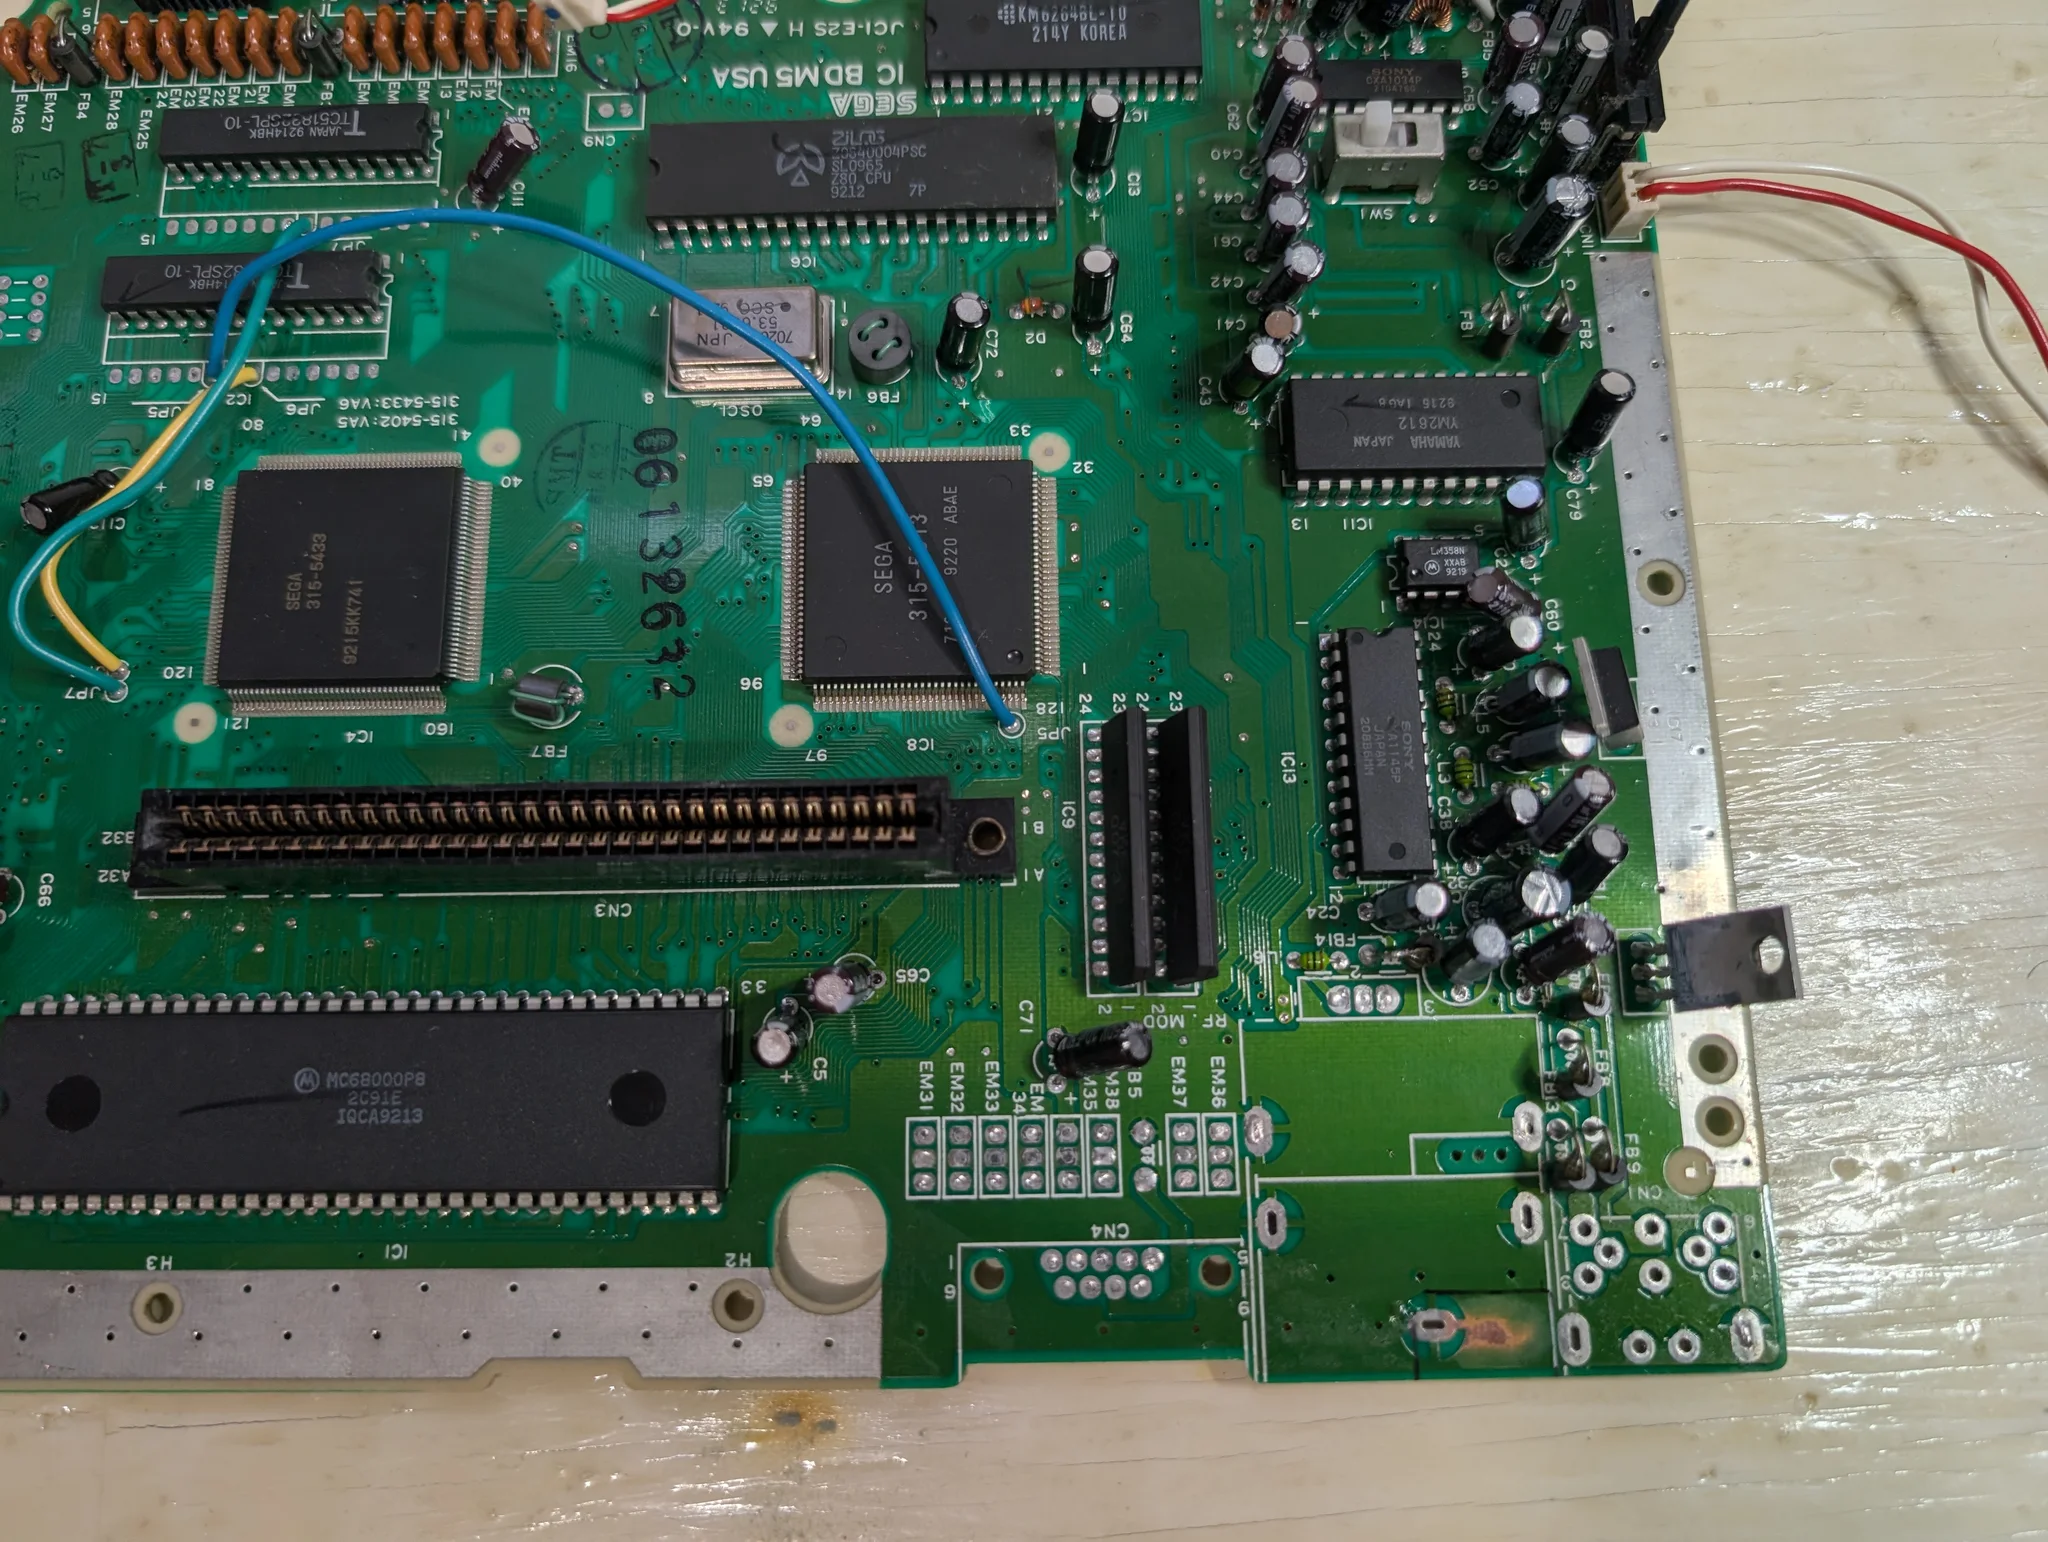
Then I soldered the new connector in place. Not my prettiest soldering job, but it works.
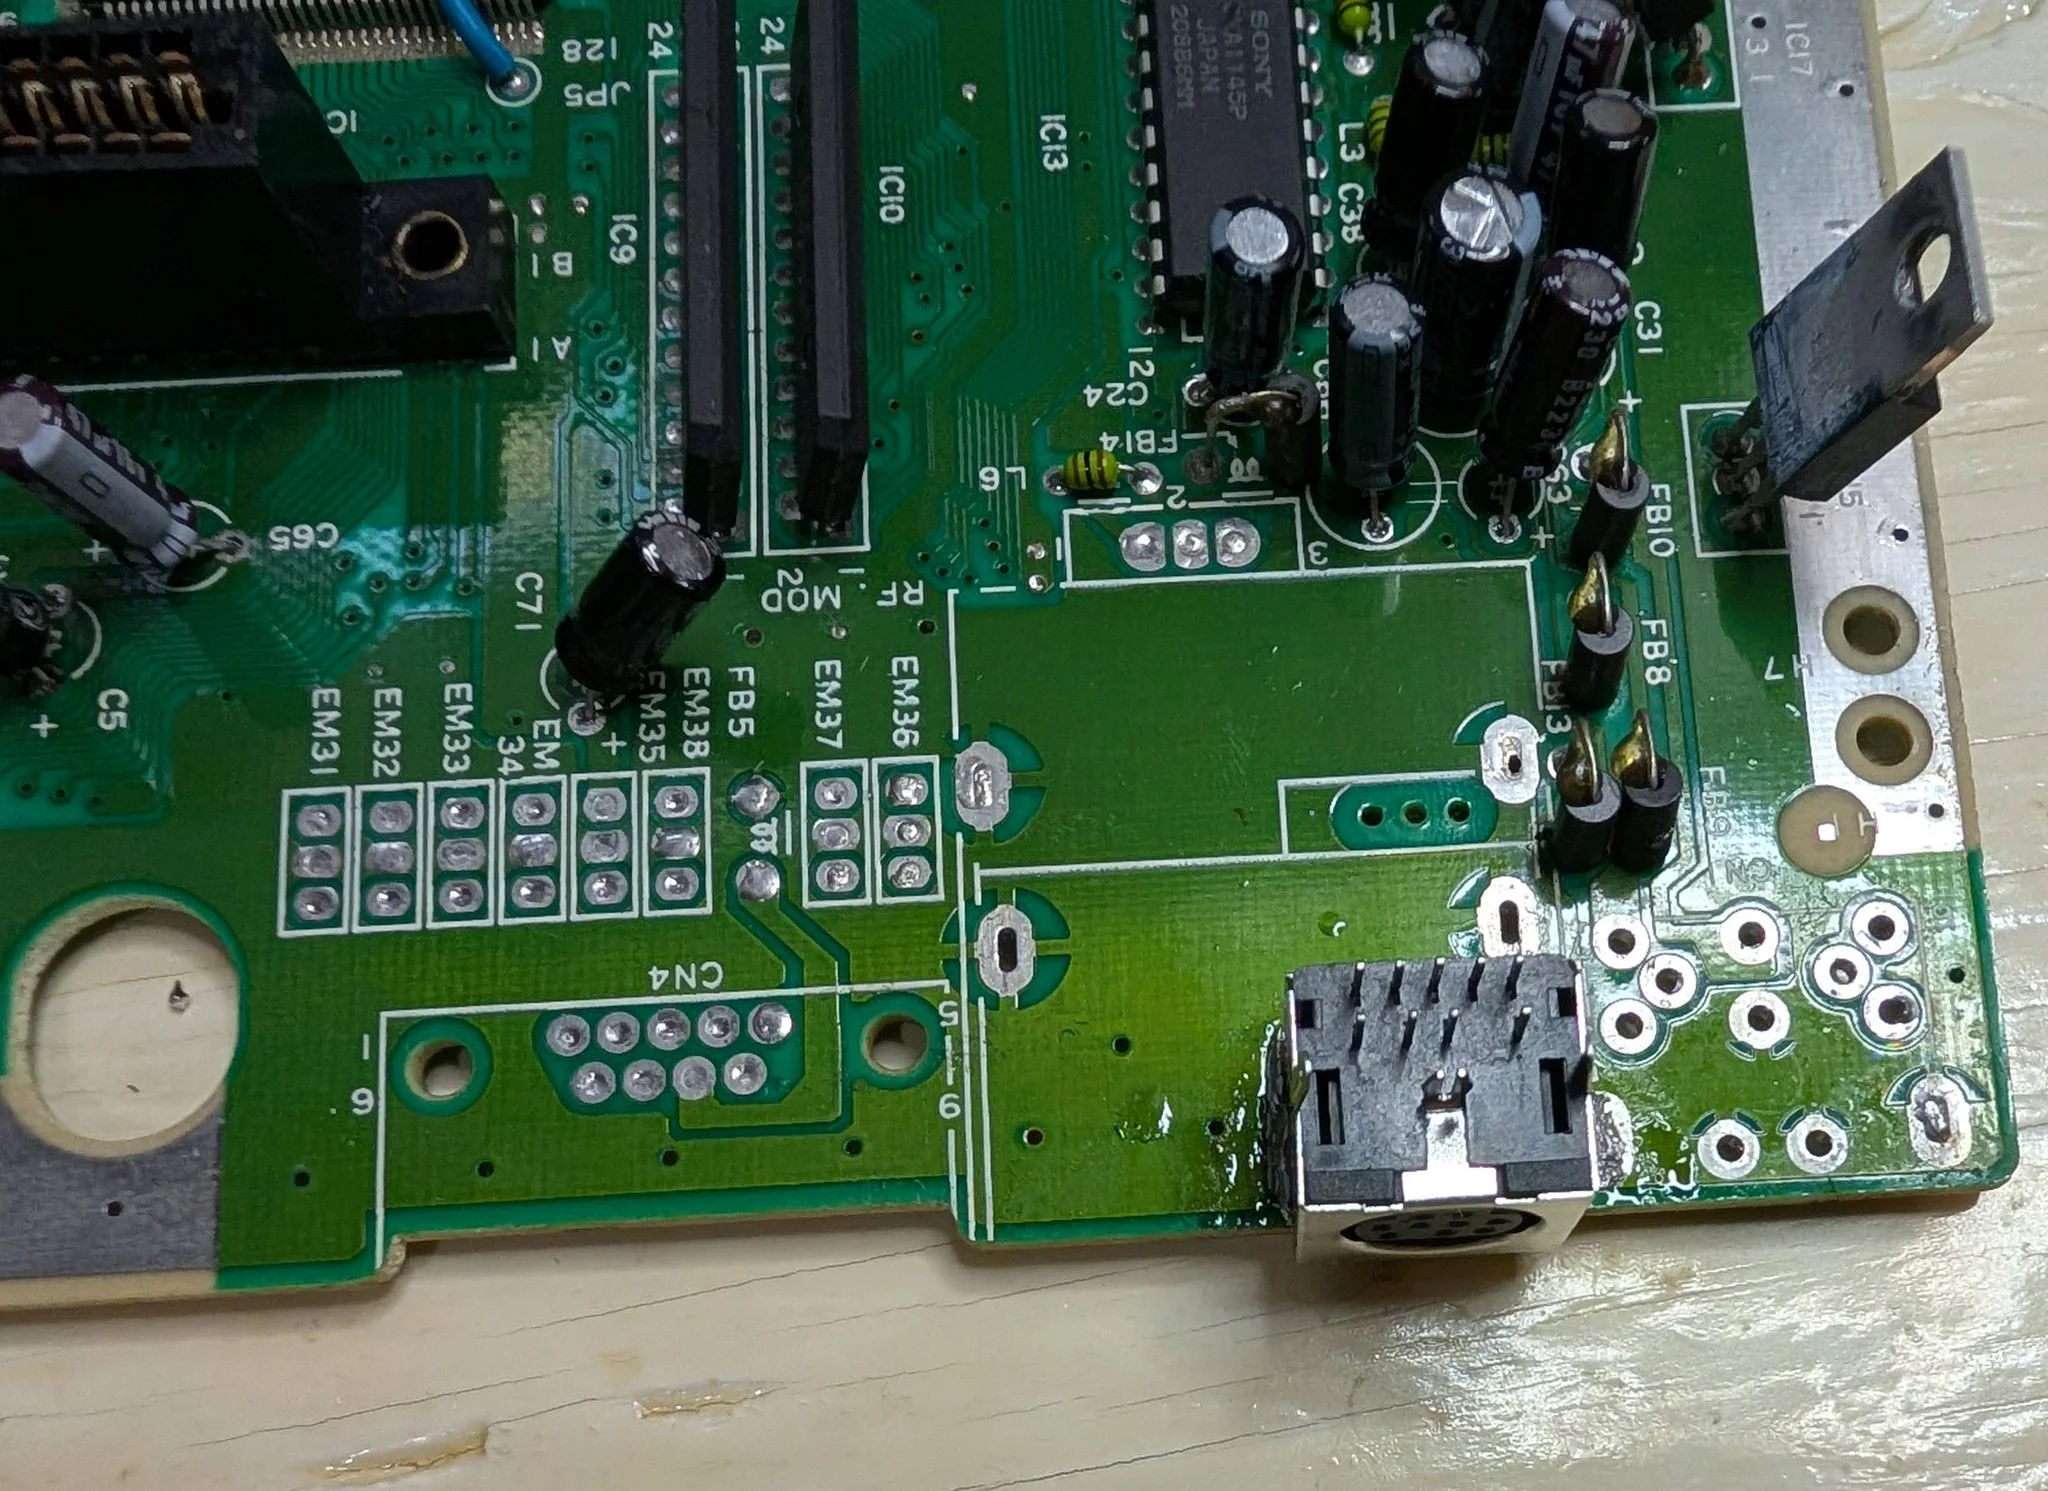
Next, the three legs of the video chip that carry red, green and blue had to come off the board, so the 3BP could connect to them. I unsoldered them and lifted them off their pads.
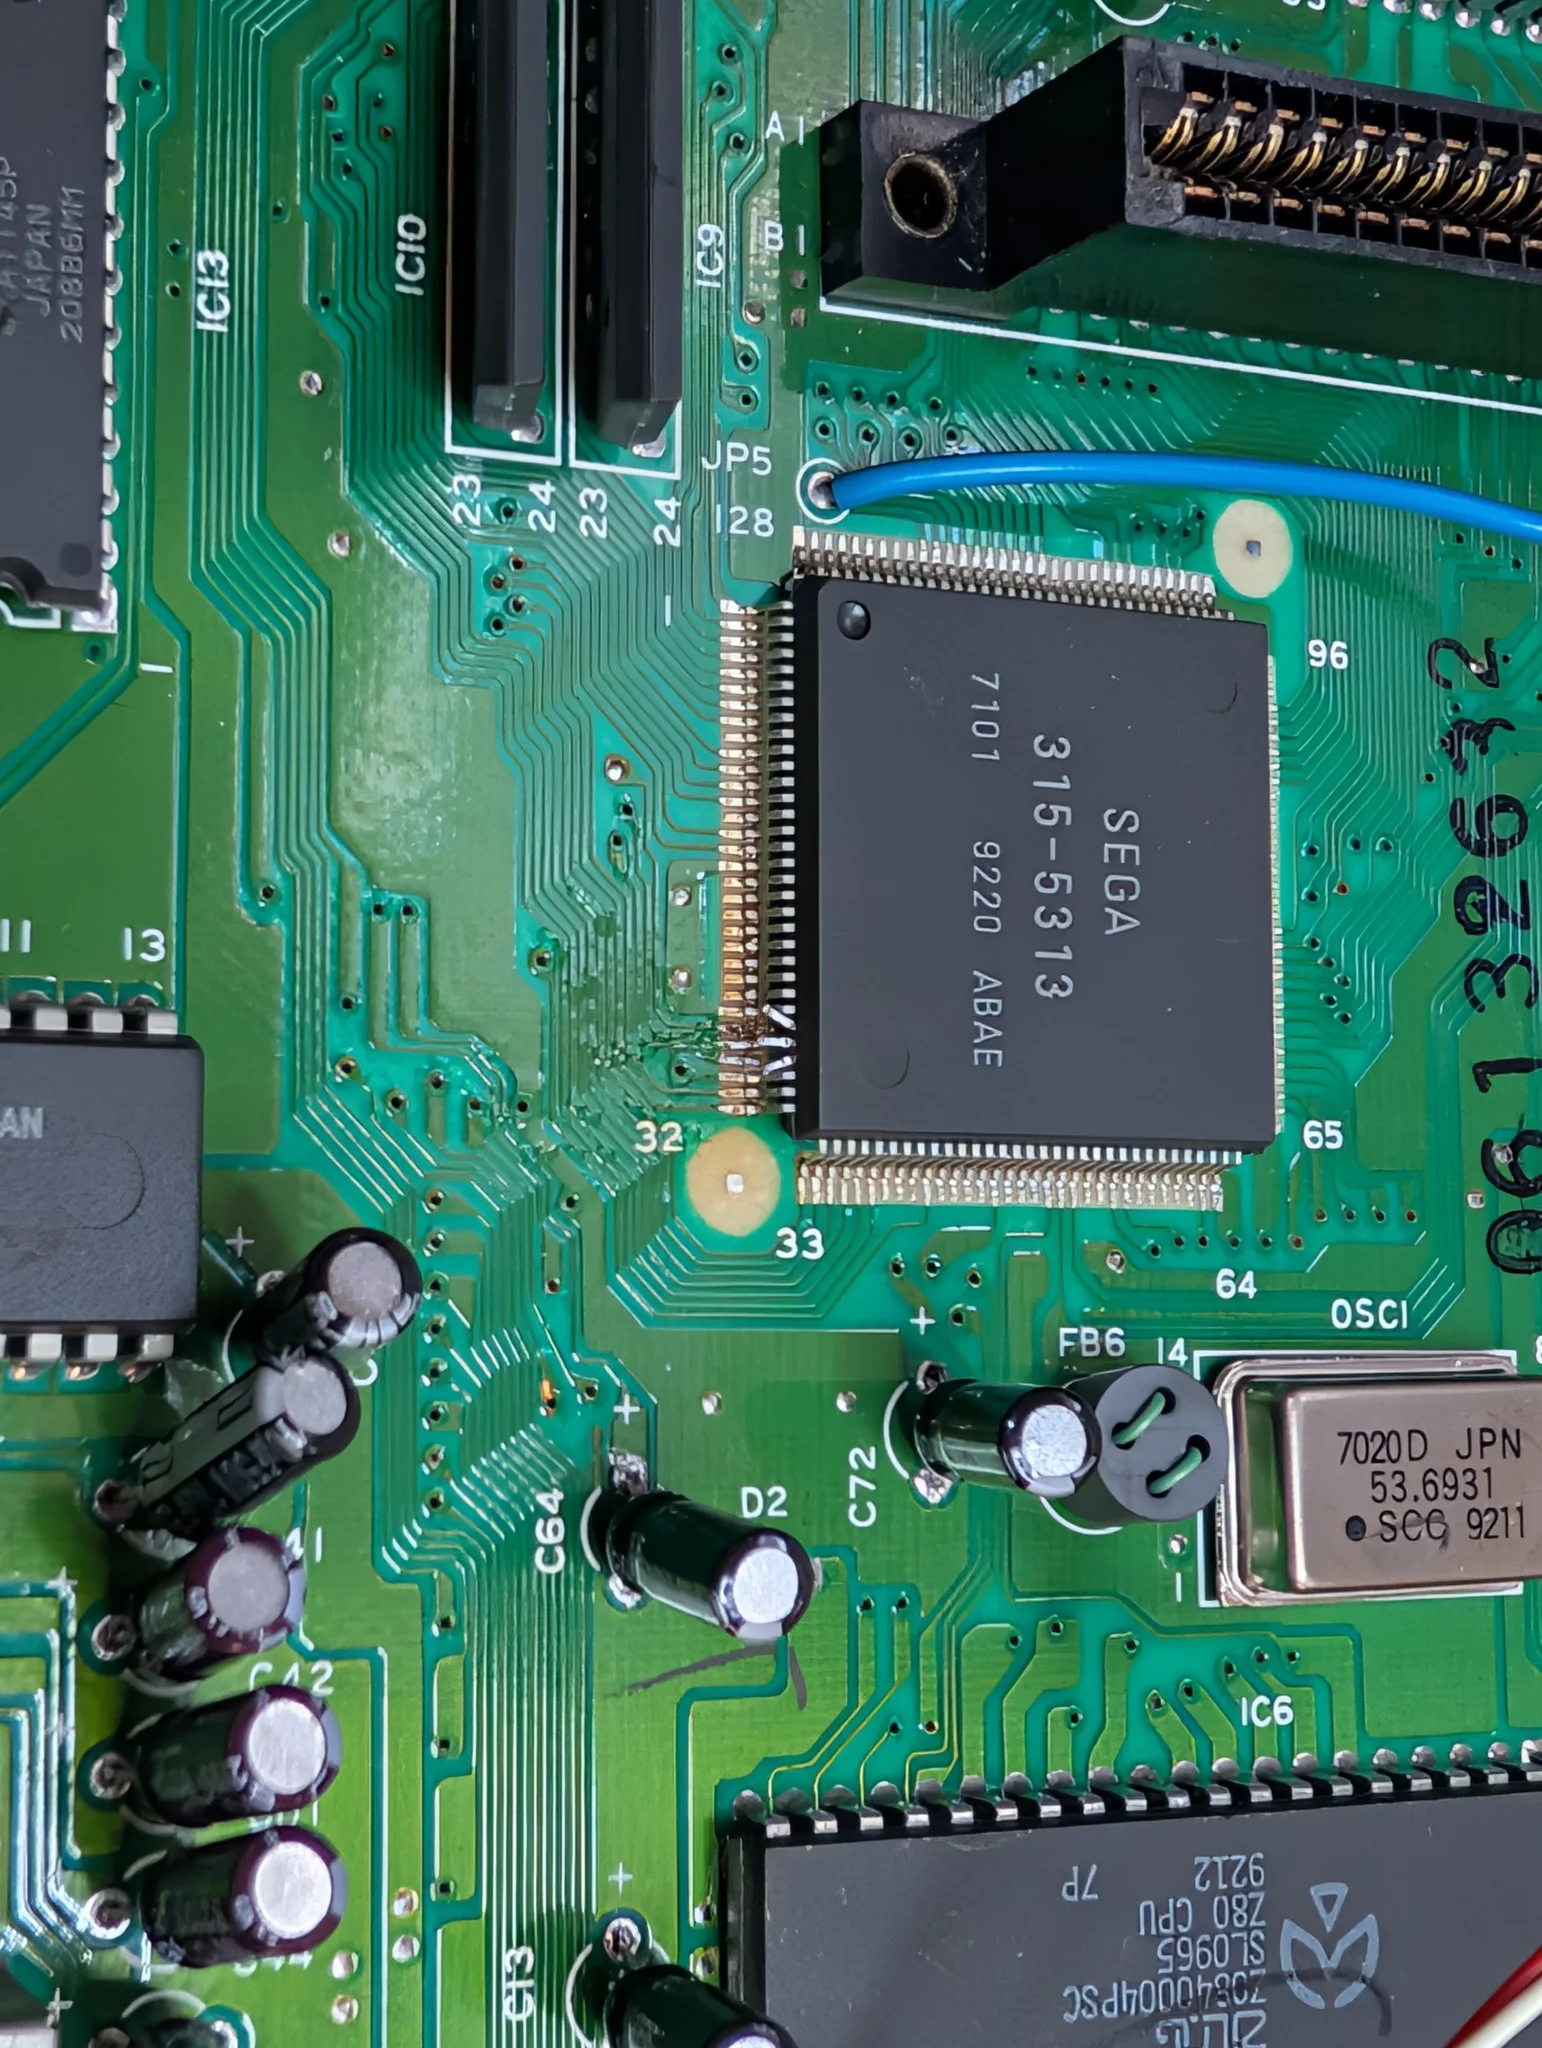
Then I realised something I should have read earlier. The 3BP brings its own audio amplifier, and the install calls for removing some of the board's audio capacitors. I had just replaced them. Out they came, again.
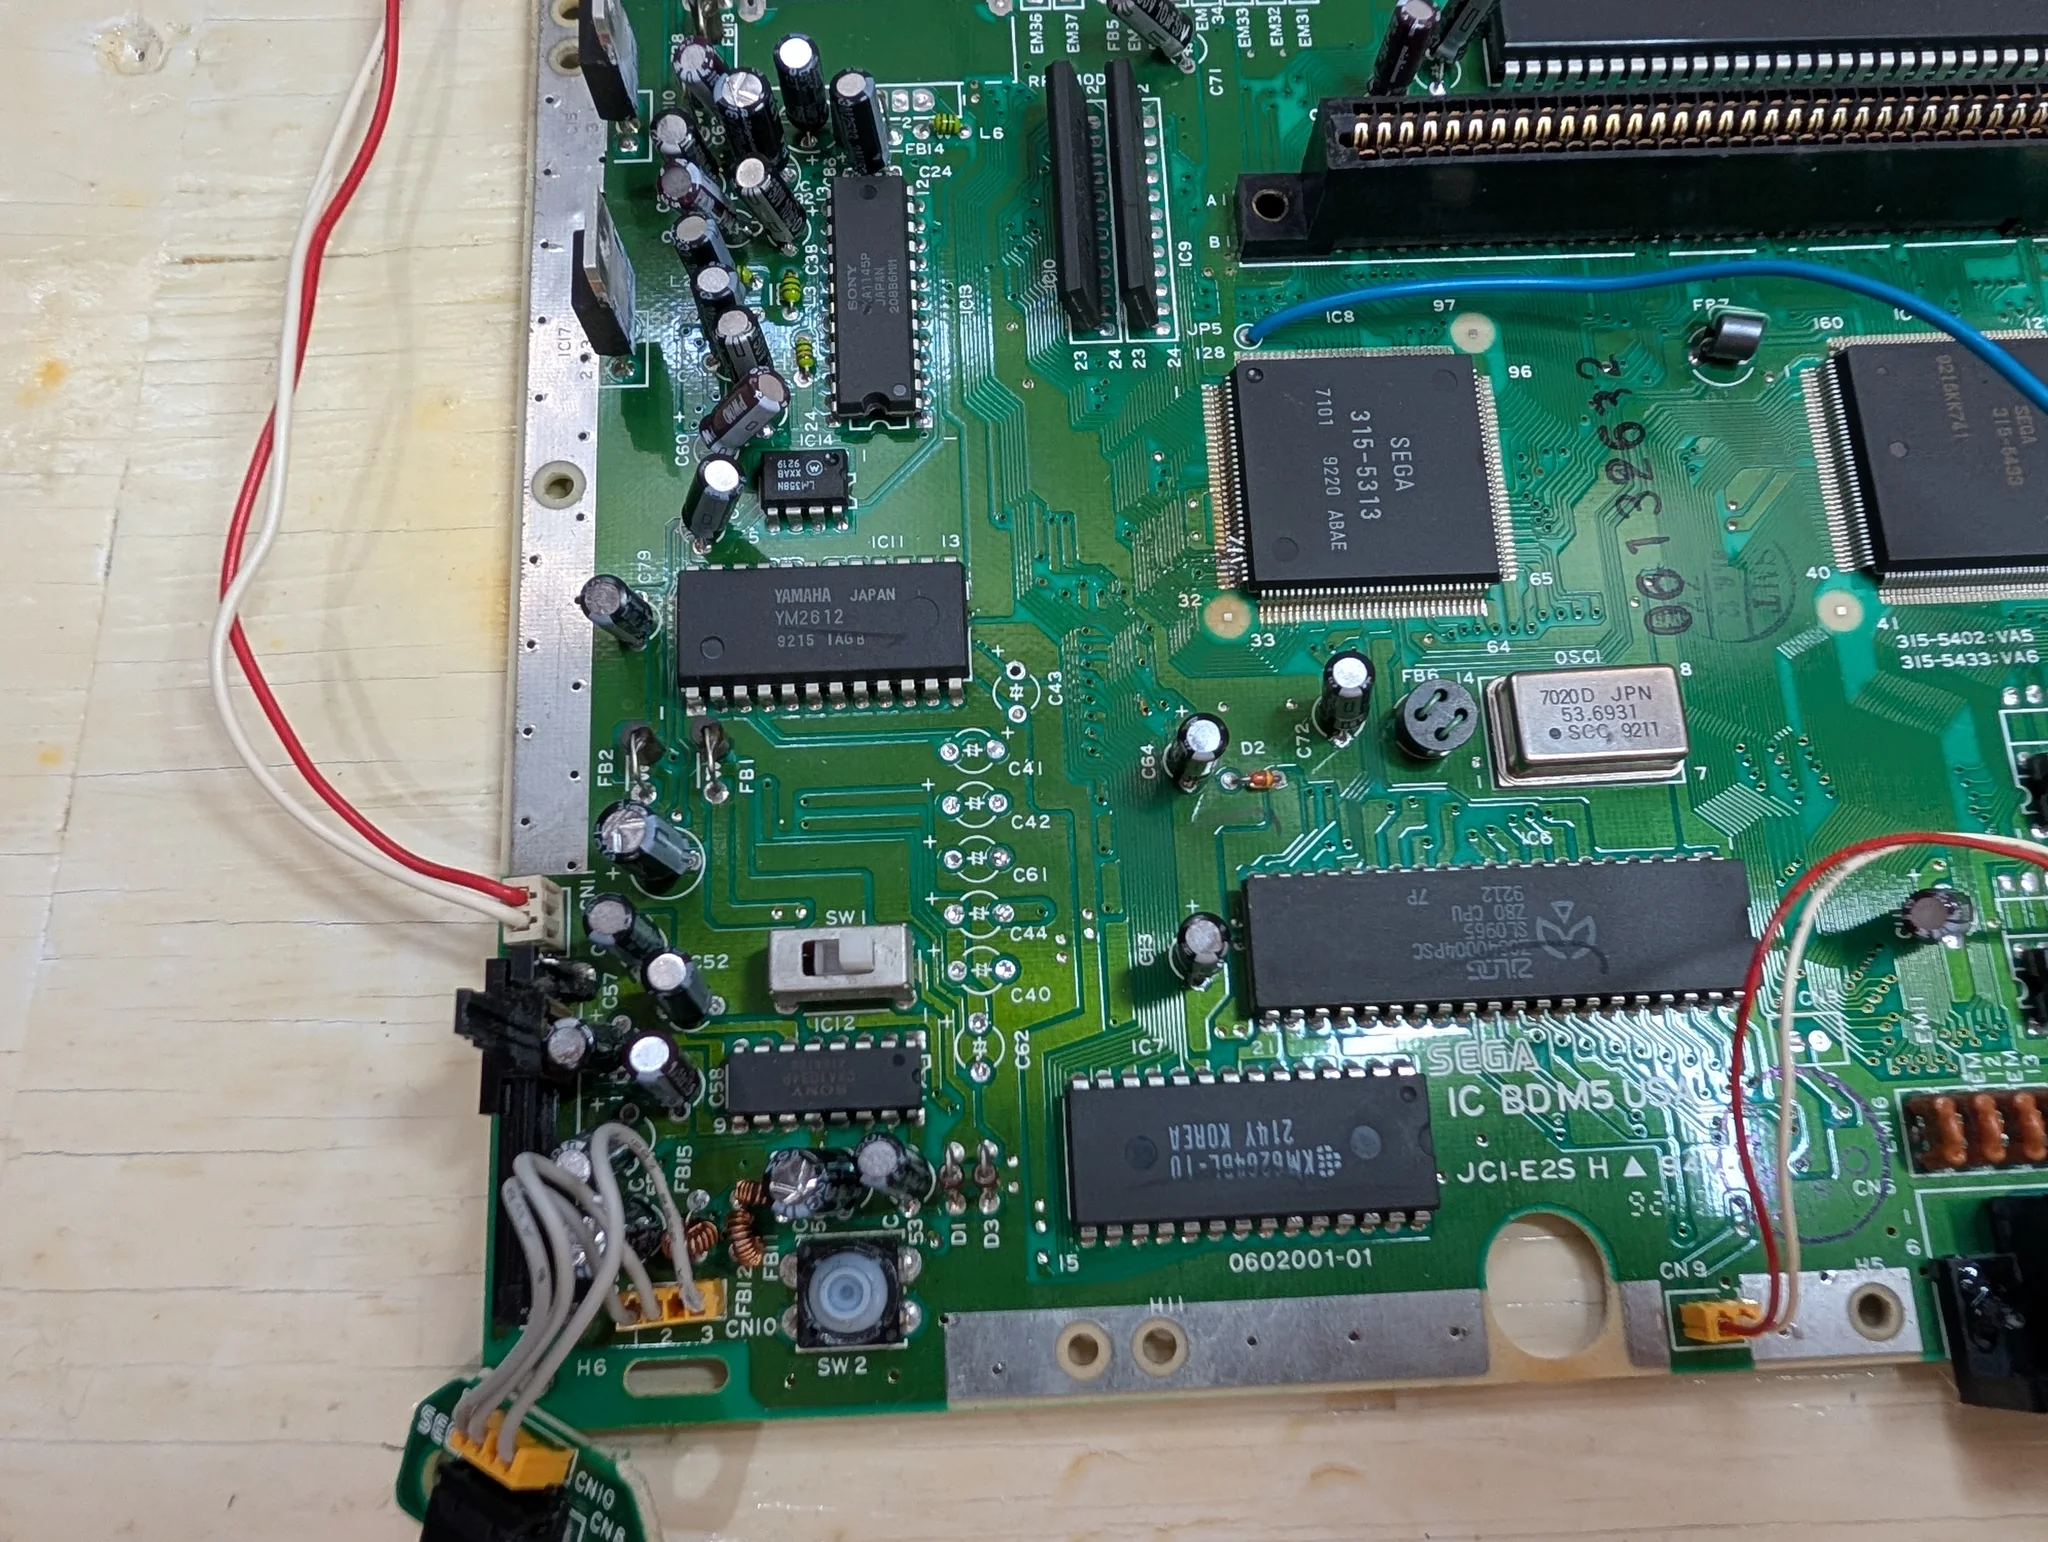
The three lifted legs went onto the relief board, which sits right under that side of the video chip. The 3BP board went onto the new connector.
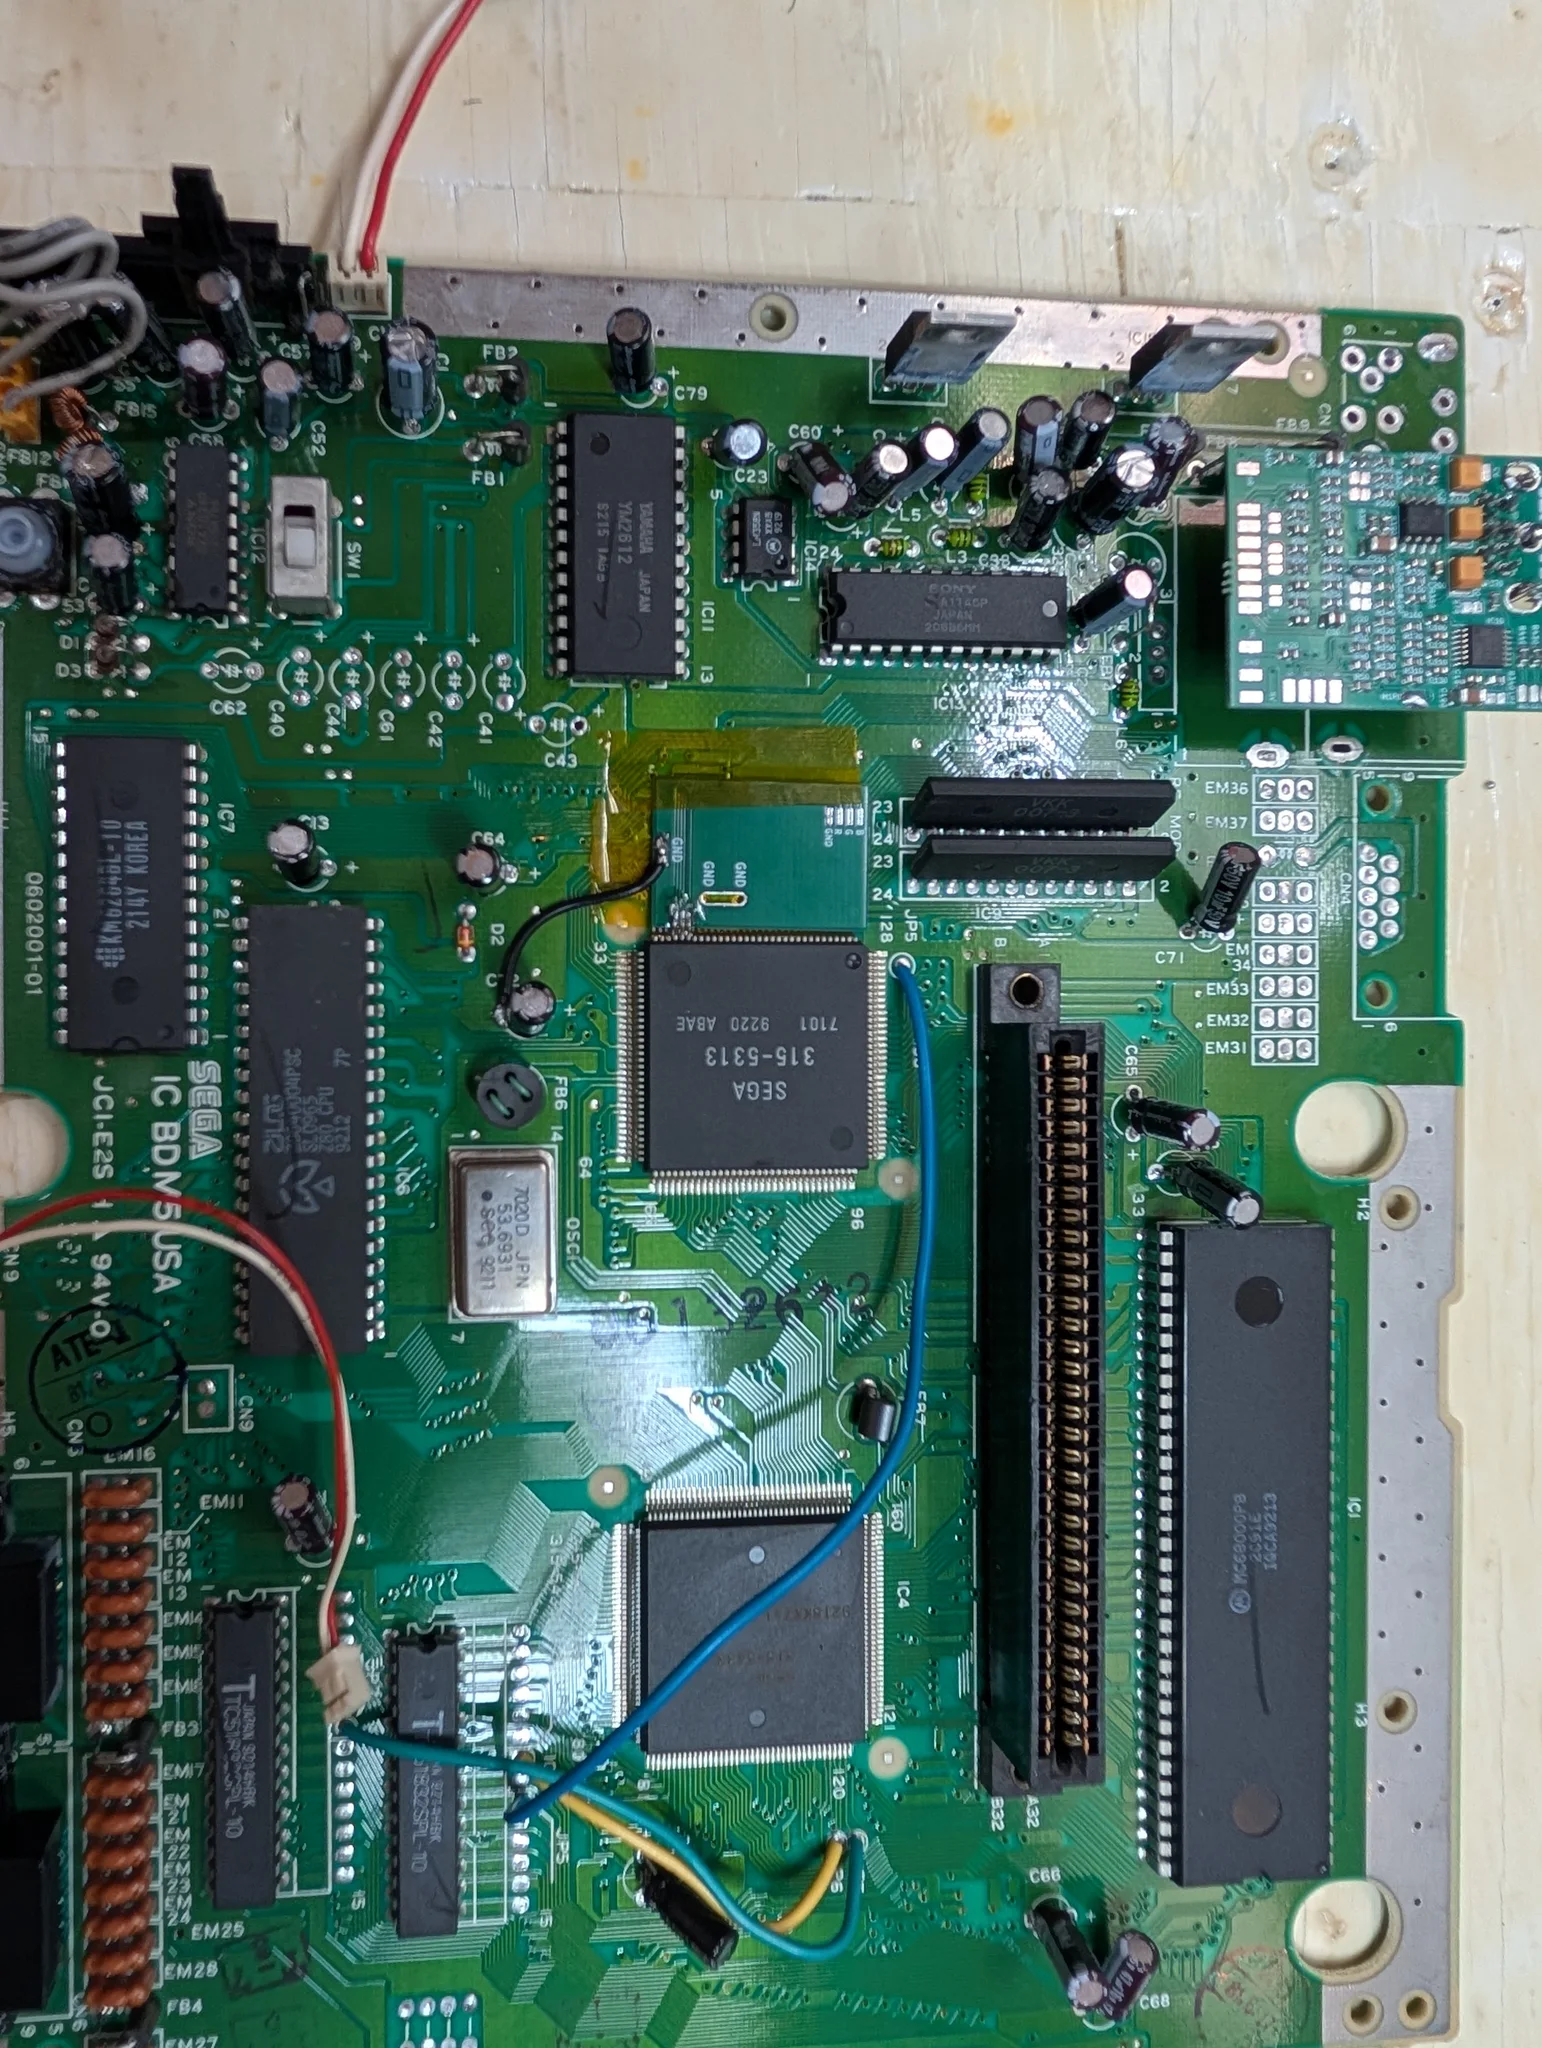
Some resistors and capacitors on the underside also had to go for the 3BP to work properly. They really are tiny.
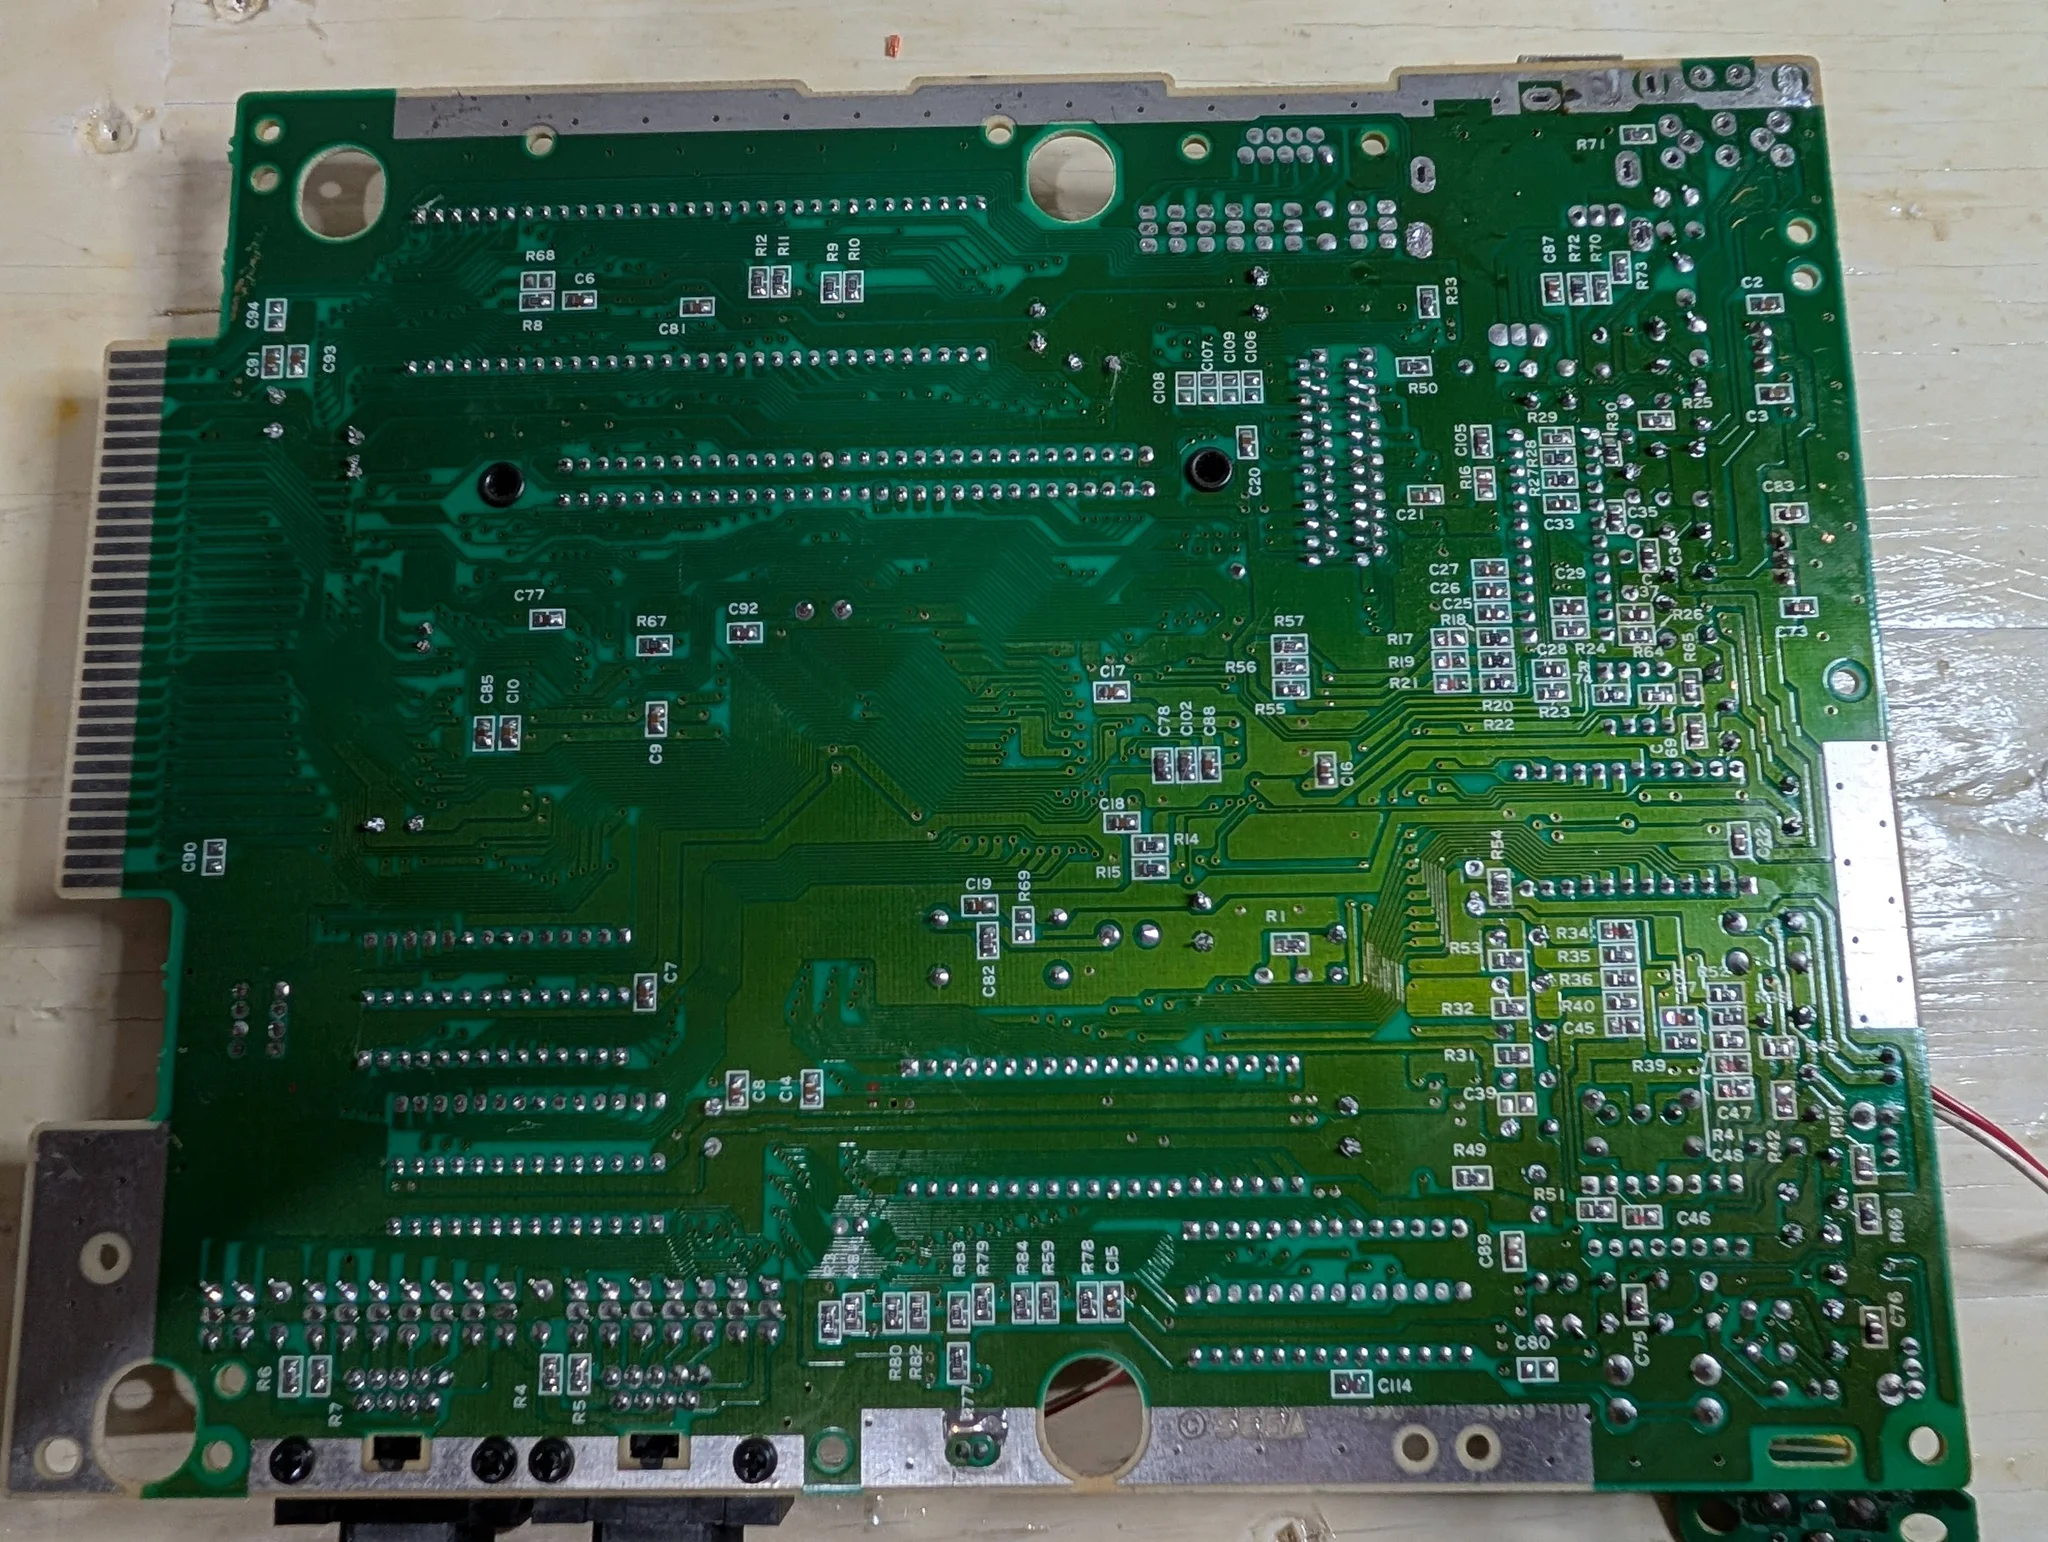
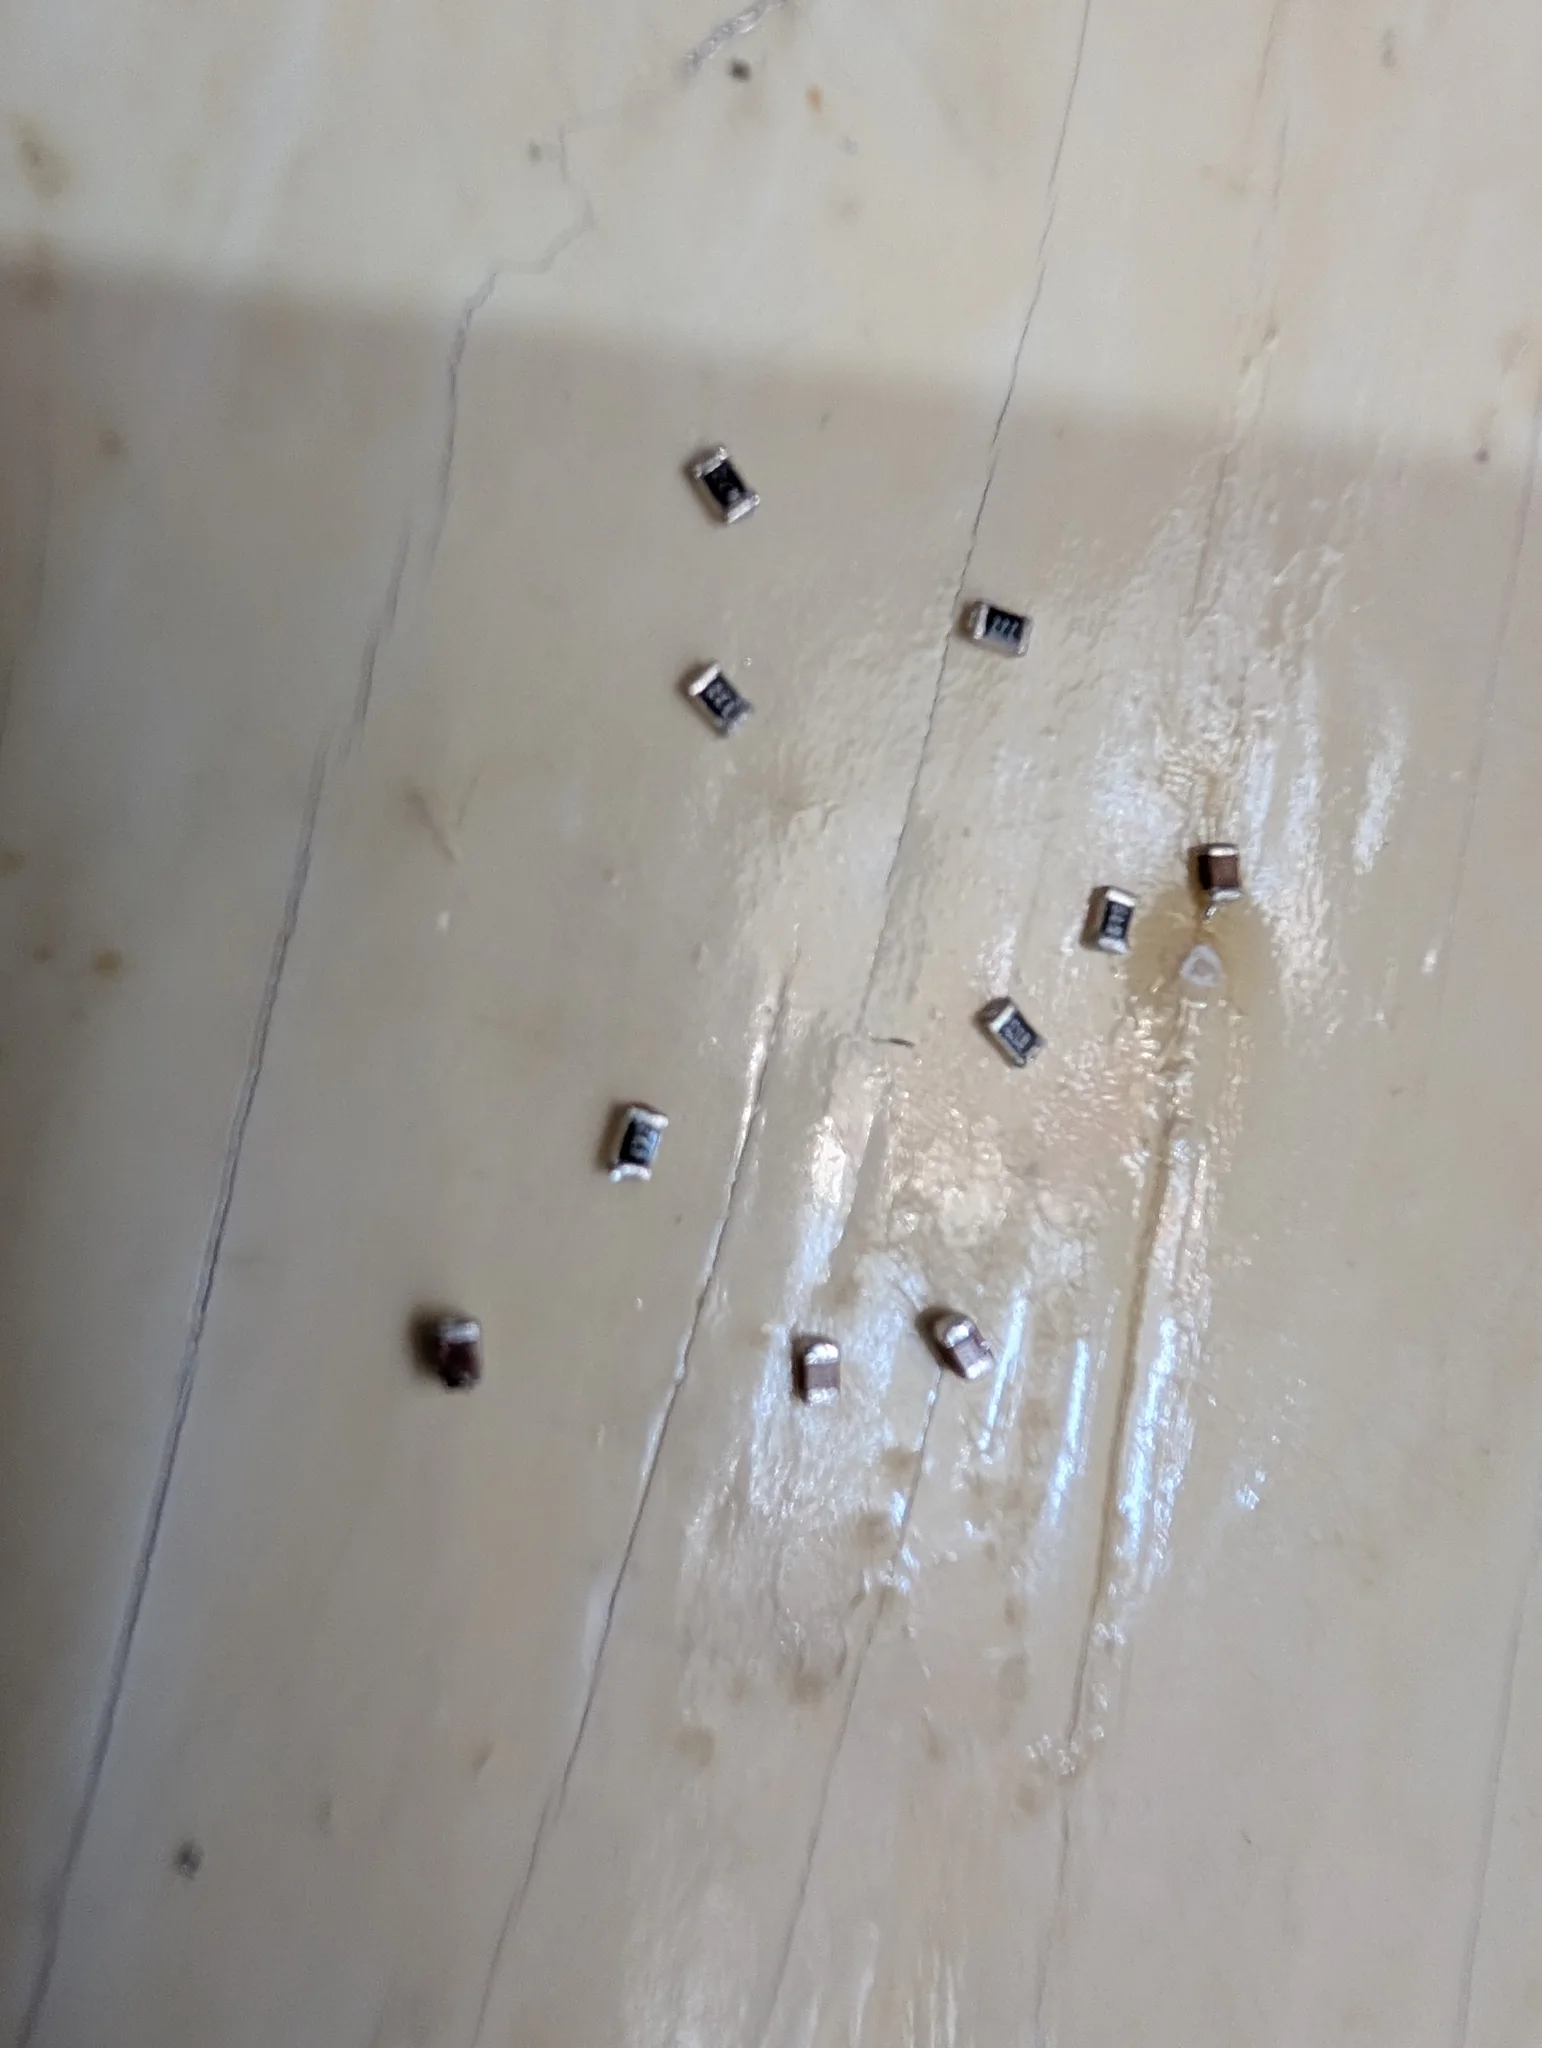
Then came the wires carrying red, green and blue from the relief board to the 3BP. Not my best soldering job either. My iron was giving me trouble with its temperature. So I checked the continuity of every wire, to make sure each one connected where it should and that no solder had bridged two neighbouring pads. Somehow, there wasn't a single bridge.
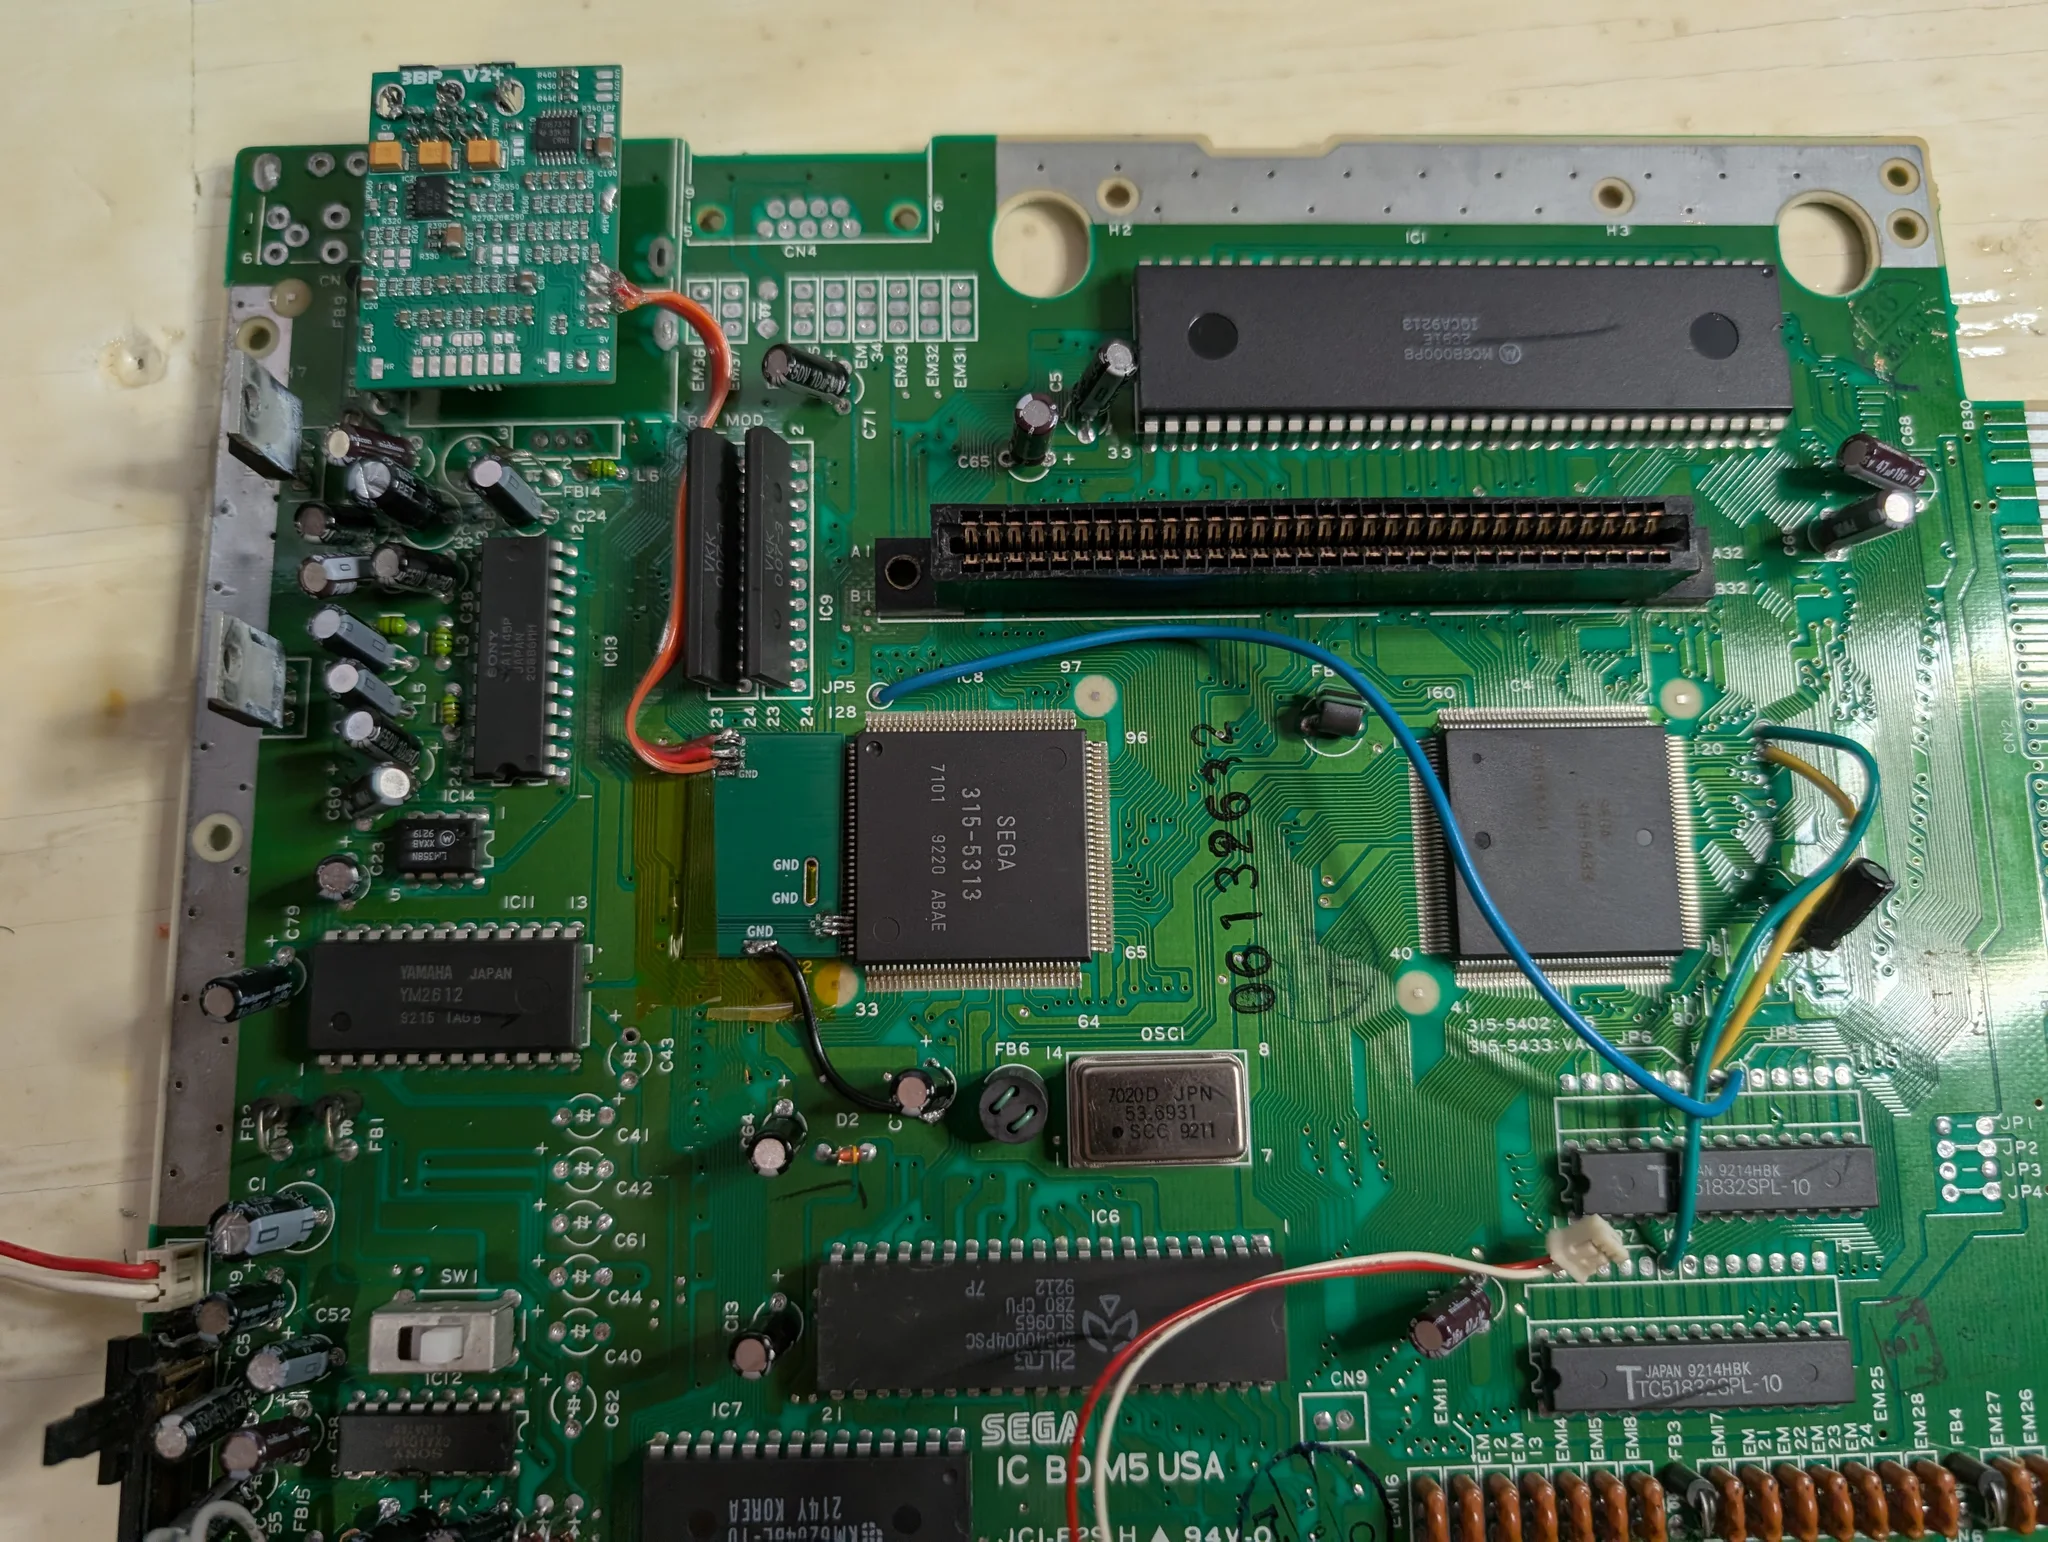
Last, the audio wires, then the rest: 5V, ground and the others.
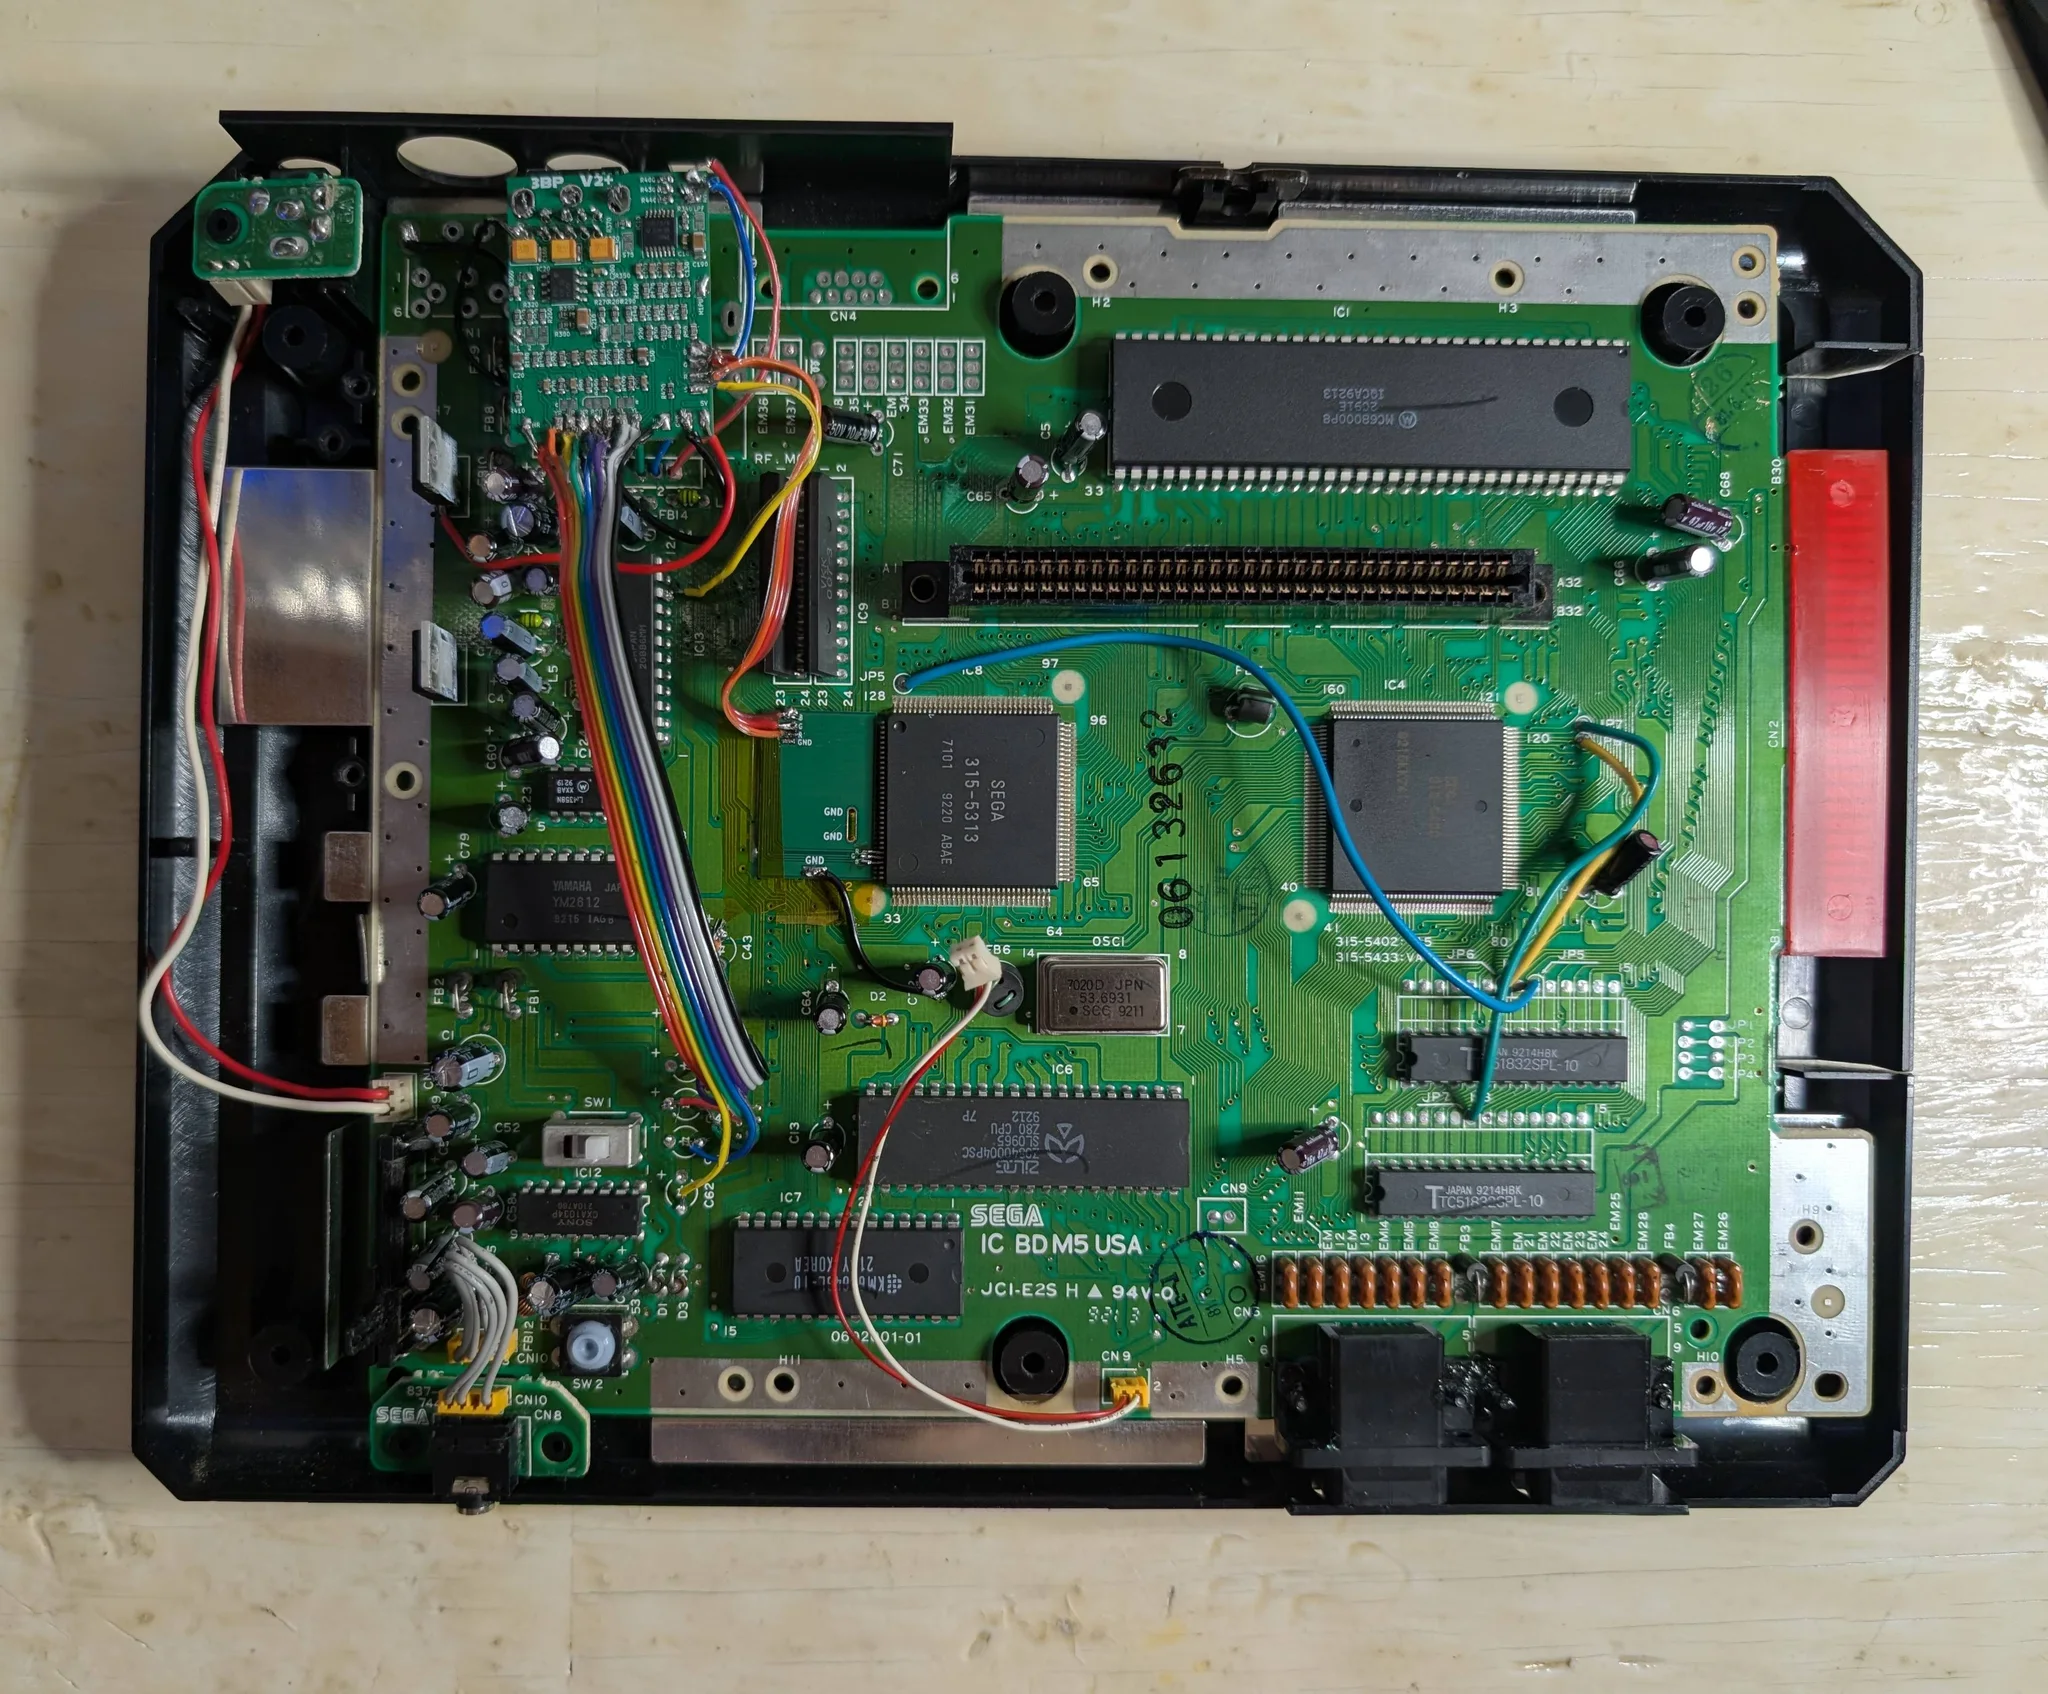
Closing it up
Then came the test, and it works great. Then I put it back together.
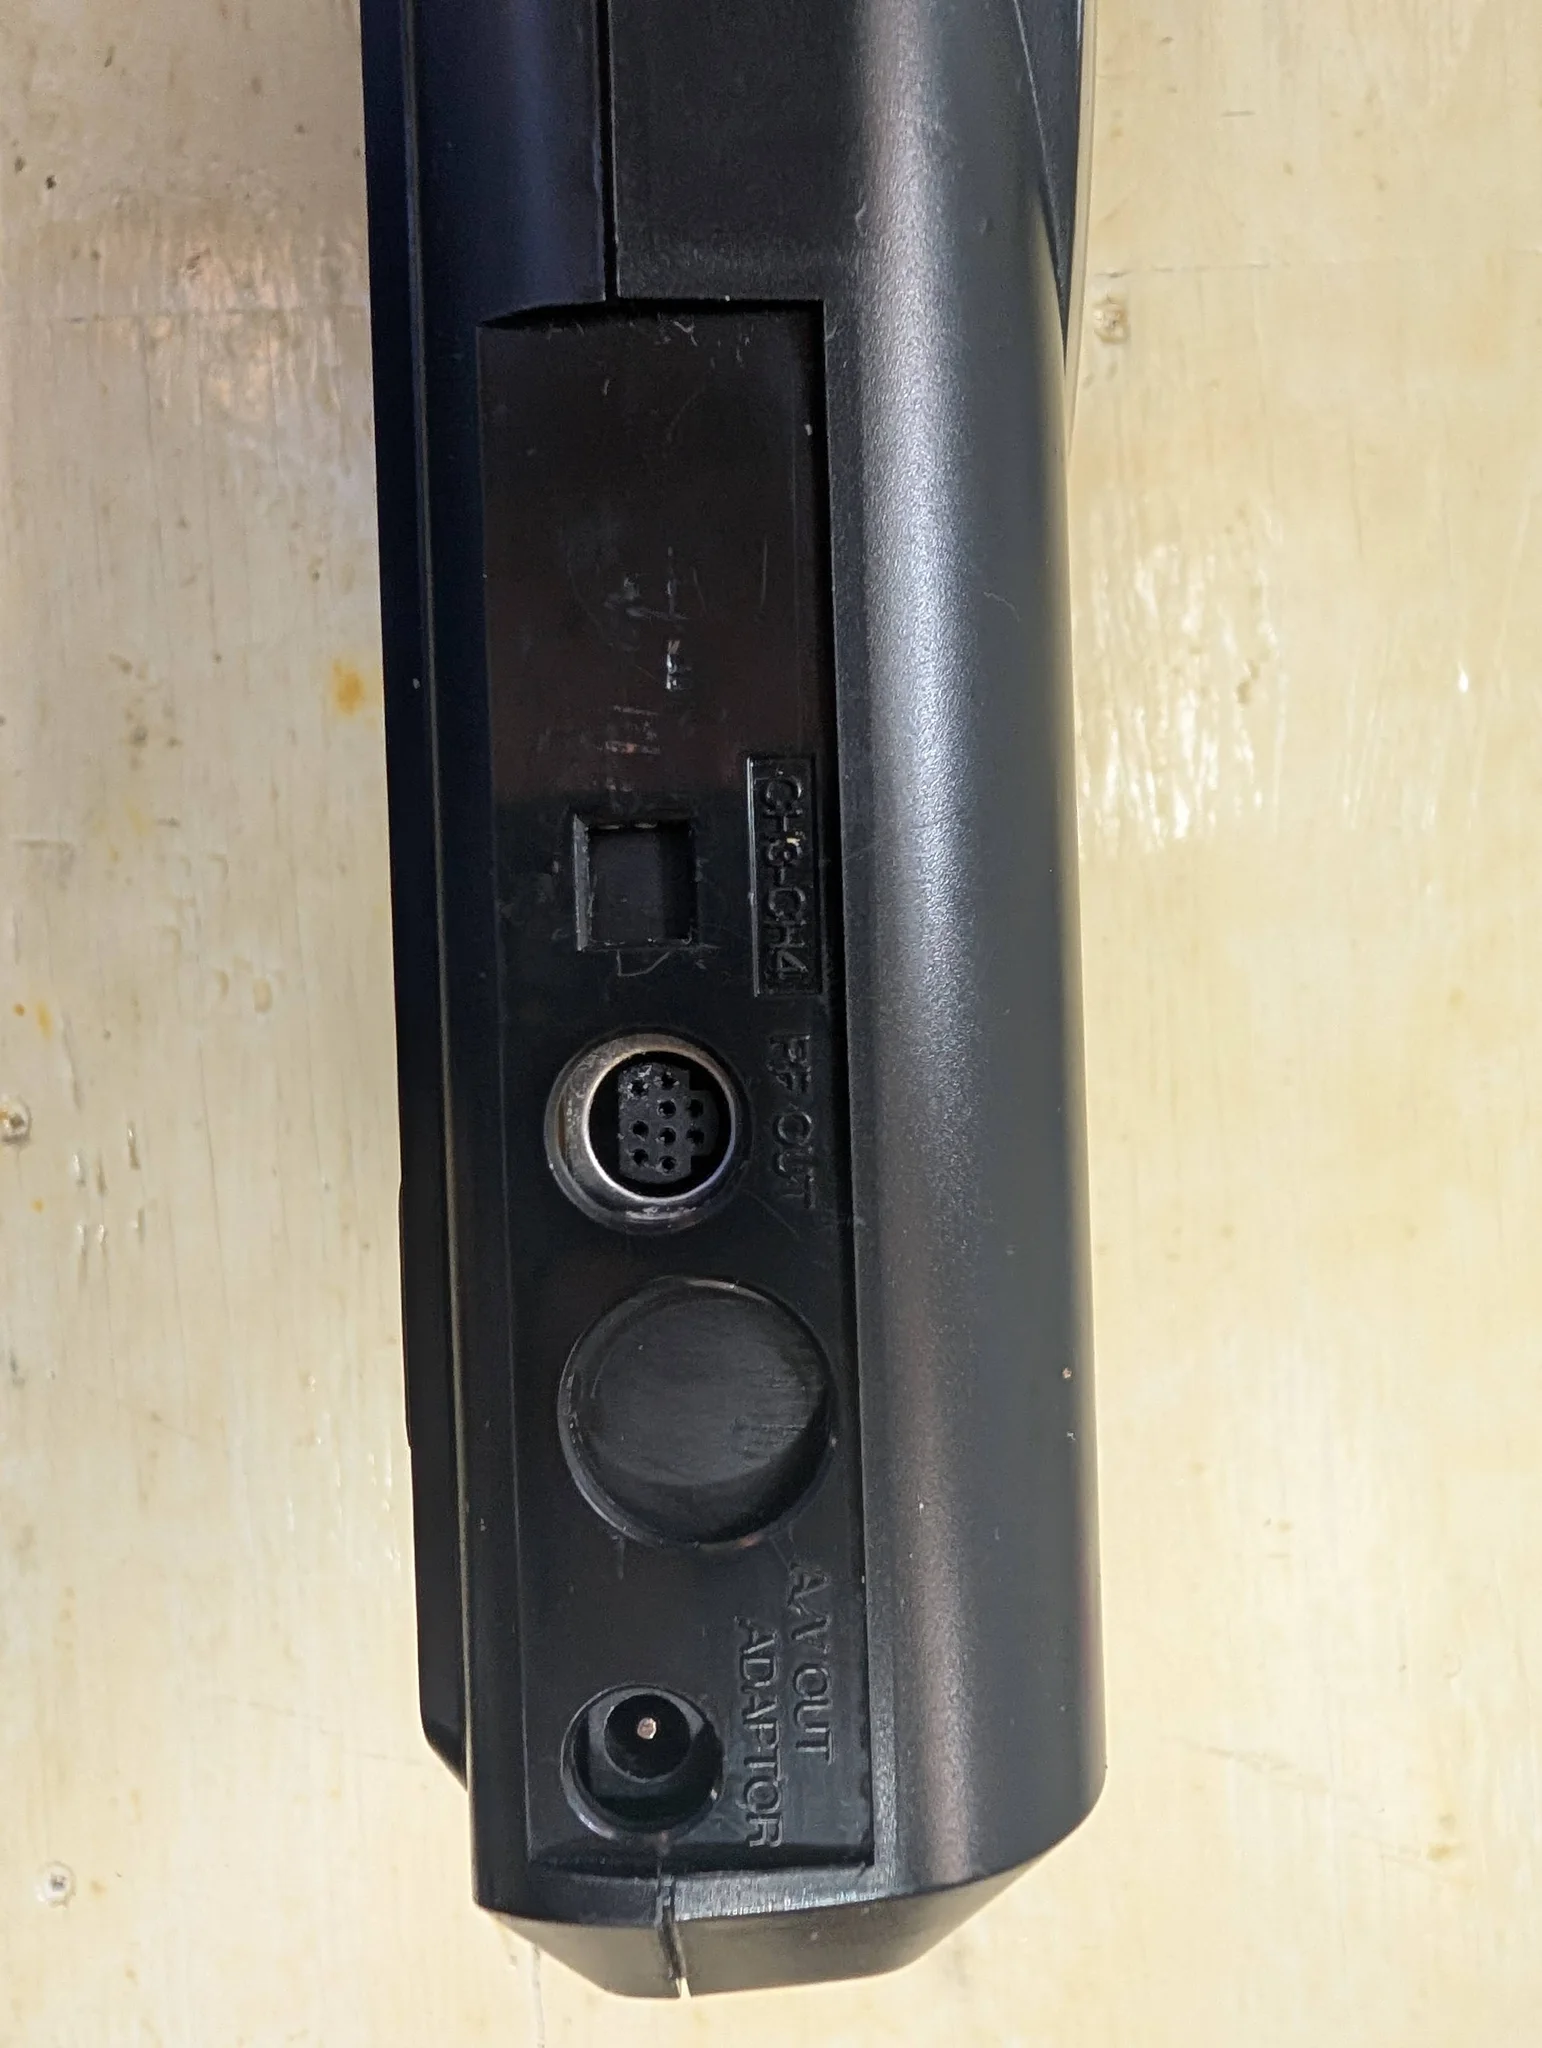
From the outside, the only change is at the back. The new 9-pin connector sits in the old RF hole, and the round A/V socket below it is gone. It now takes the same AV cables as a Model 2.
Verdict
A Genesis sold with "some glitches" turned out to be fine on one TV and wobbly on another. Nothing in the console needed fixing, as far as I can tell. It got a full recap and a triple bypass anyway, and it now has RGB and composite out of a Model 2-style connector.
What's left is cleaning the cartridges, one by one, starting with that stiff NHL 96. It took more time than I expected, but it was worth the shot. Once the games are clean, it goes up for sale with the pads and the eight games, and the money goes into the fund my girlfriend and I are saving for Japan.
If you plan to recap a console you're also modding, read the mod's install guide first. It tells you which capacitors you won't need.