
A free NES, a blue screen, and a fading logo
My first attempt at retrobrighting, on a free NES that couldn't reliably read cartridges. The original connector got the games running again. Getting the shell back to grey took several days, and cost it a little of its Nintendo logo.
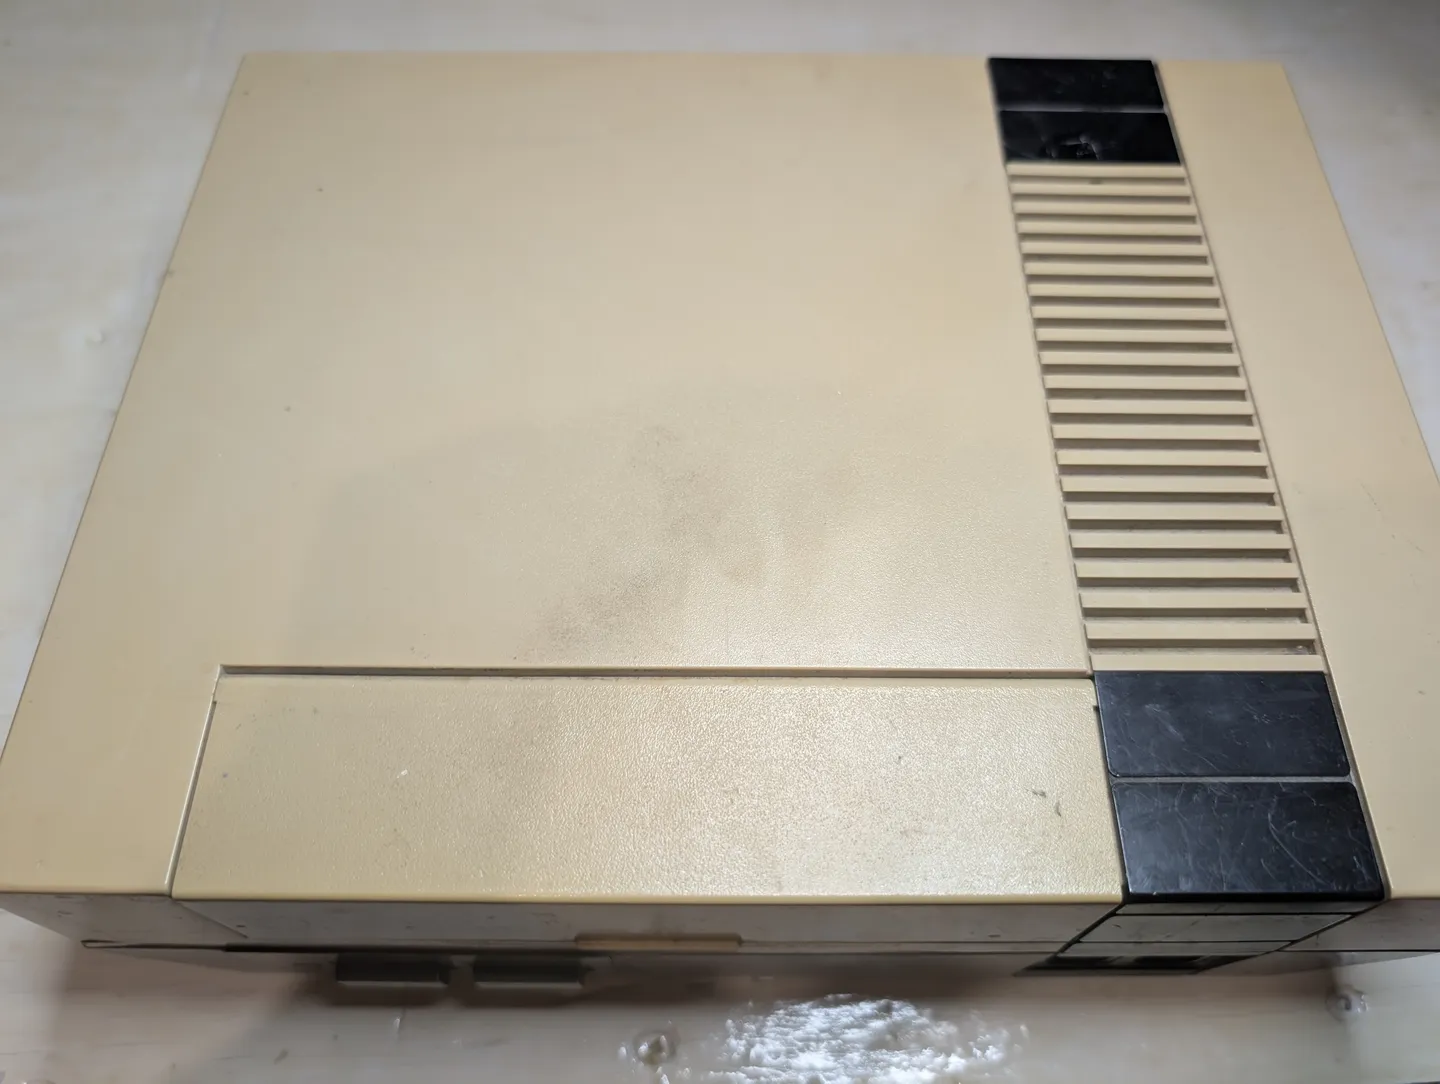
 Before
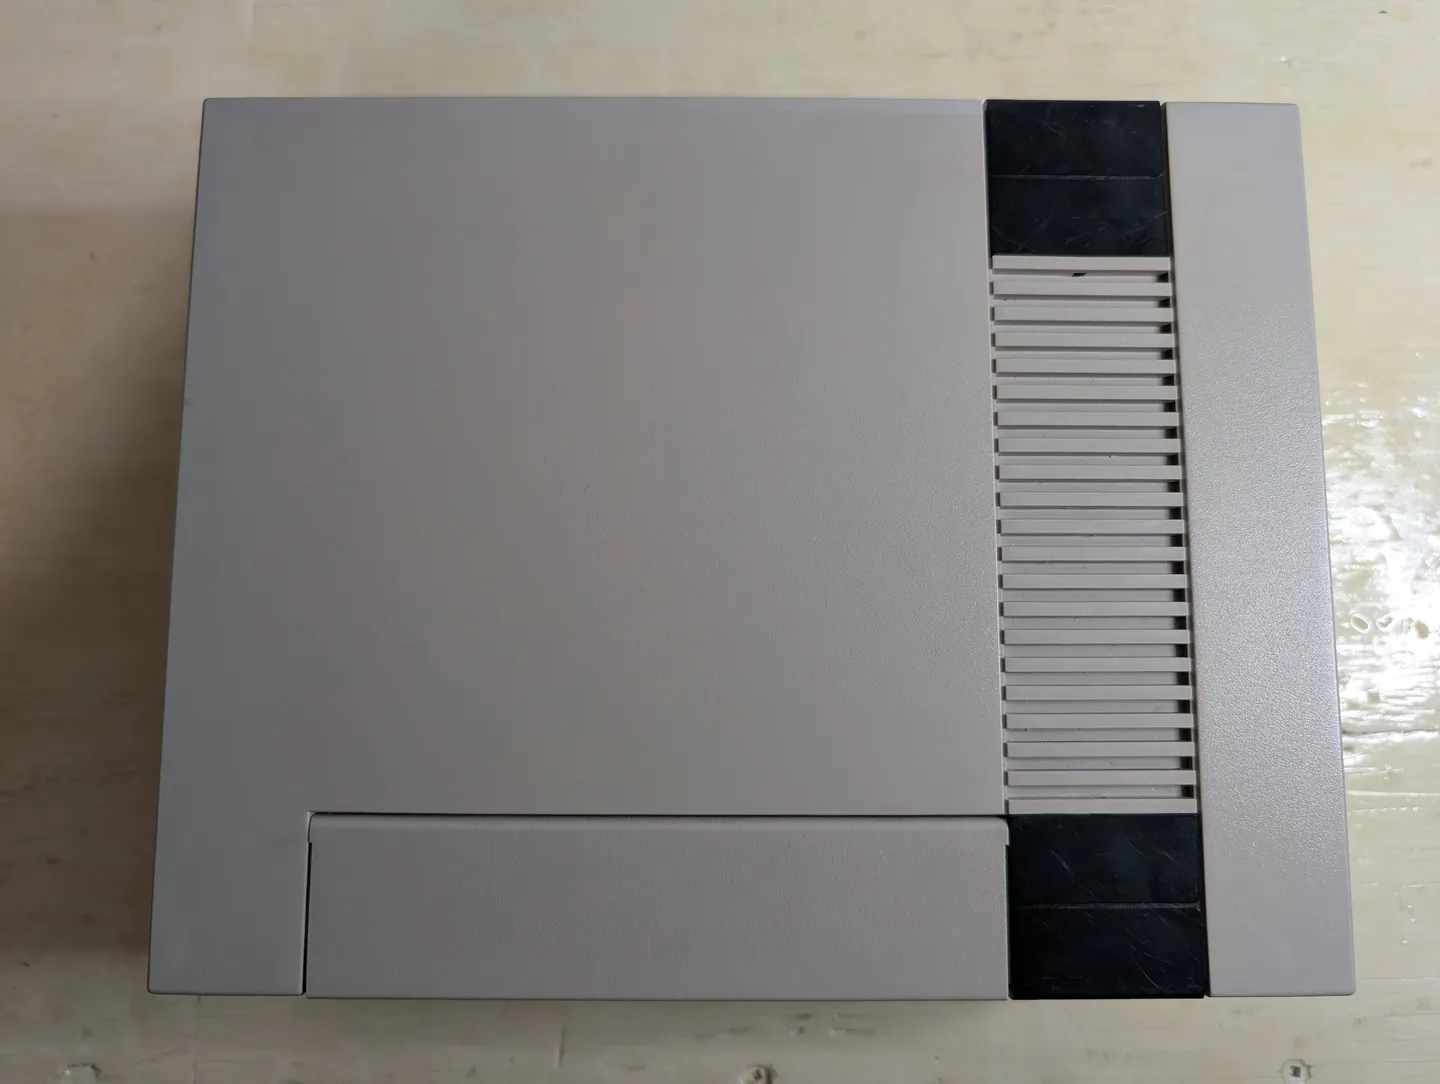
After
This one didn't come from eBay. Somebody gave me a front-loading NES, the kind with the little door you lift to slide a cartridge inside. Made in Japan, with a Mattel Canada label underneath, and a top shell that had gone very yellow. The bottom was still grey, which made the difference hard to miss.
It was described as picky about reading cartridges, with a power light that blinked more often than the games started. That needed fixing, but I also wanted to try something I'd never done before: retrobrighting, a treatment for yellowed plastic. A free NES seemed like a good place to learn.
Four days of sun
The forecast showed four straight days of clear skies. Before trying peroxide, I put the top shell and cartridge door outside in the sun, with no chemicals at all. Twelve hours later, there wasn't much to show for it.
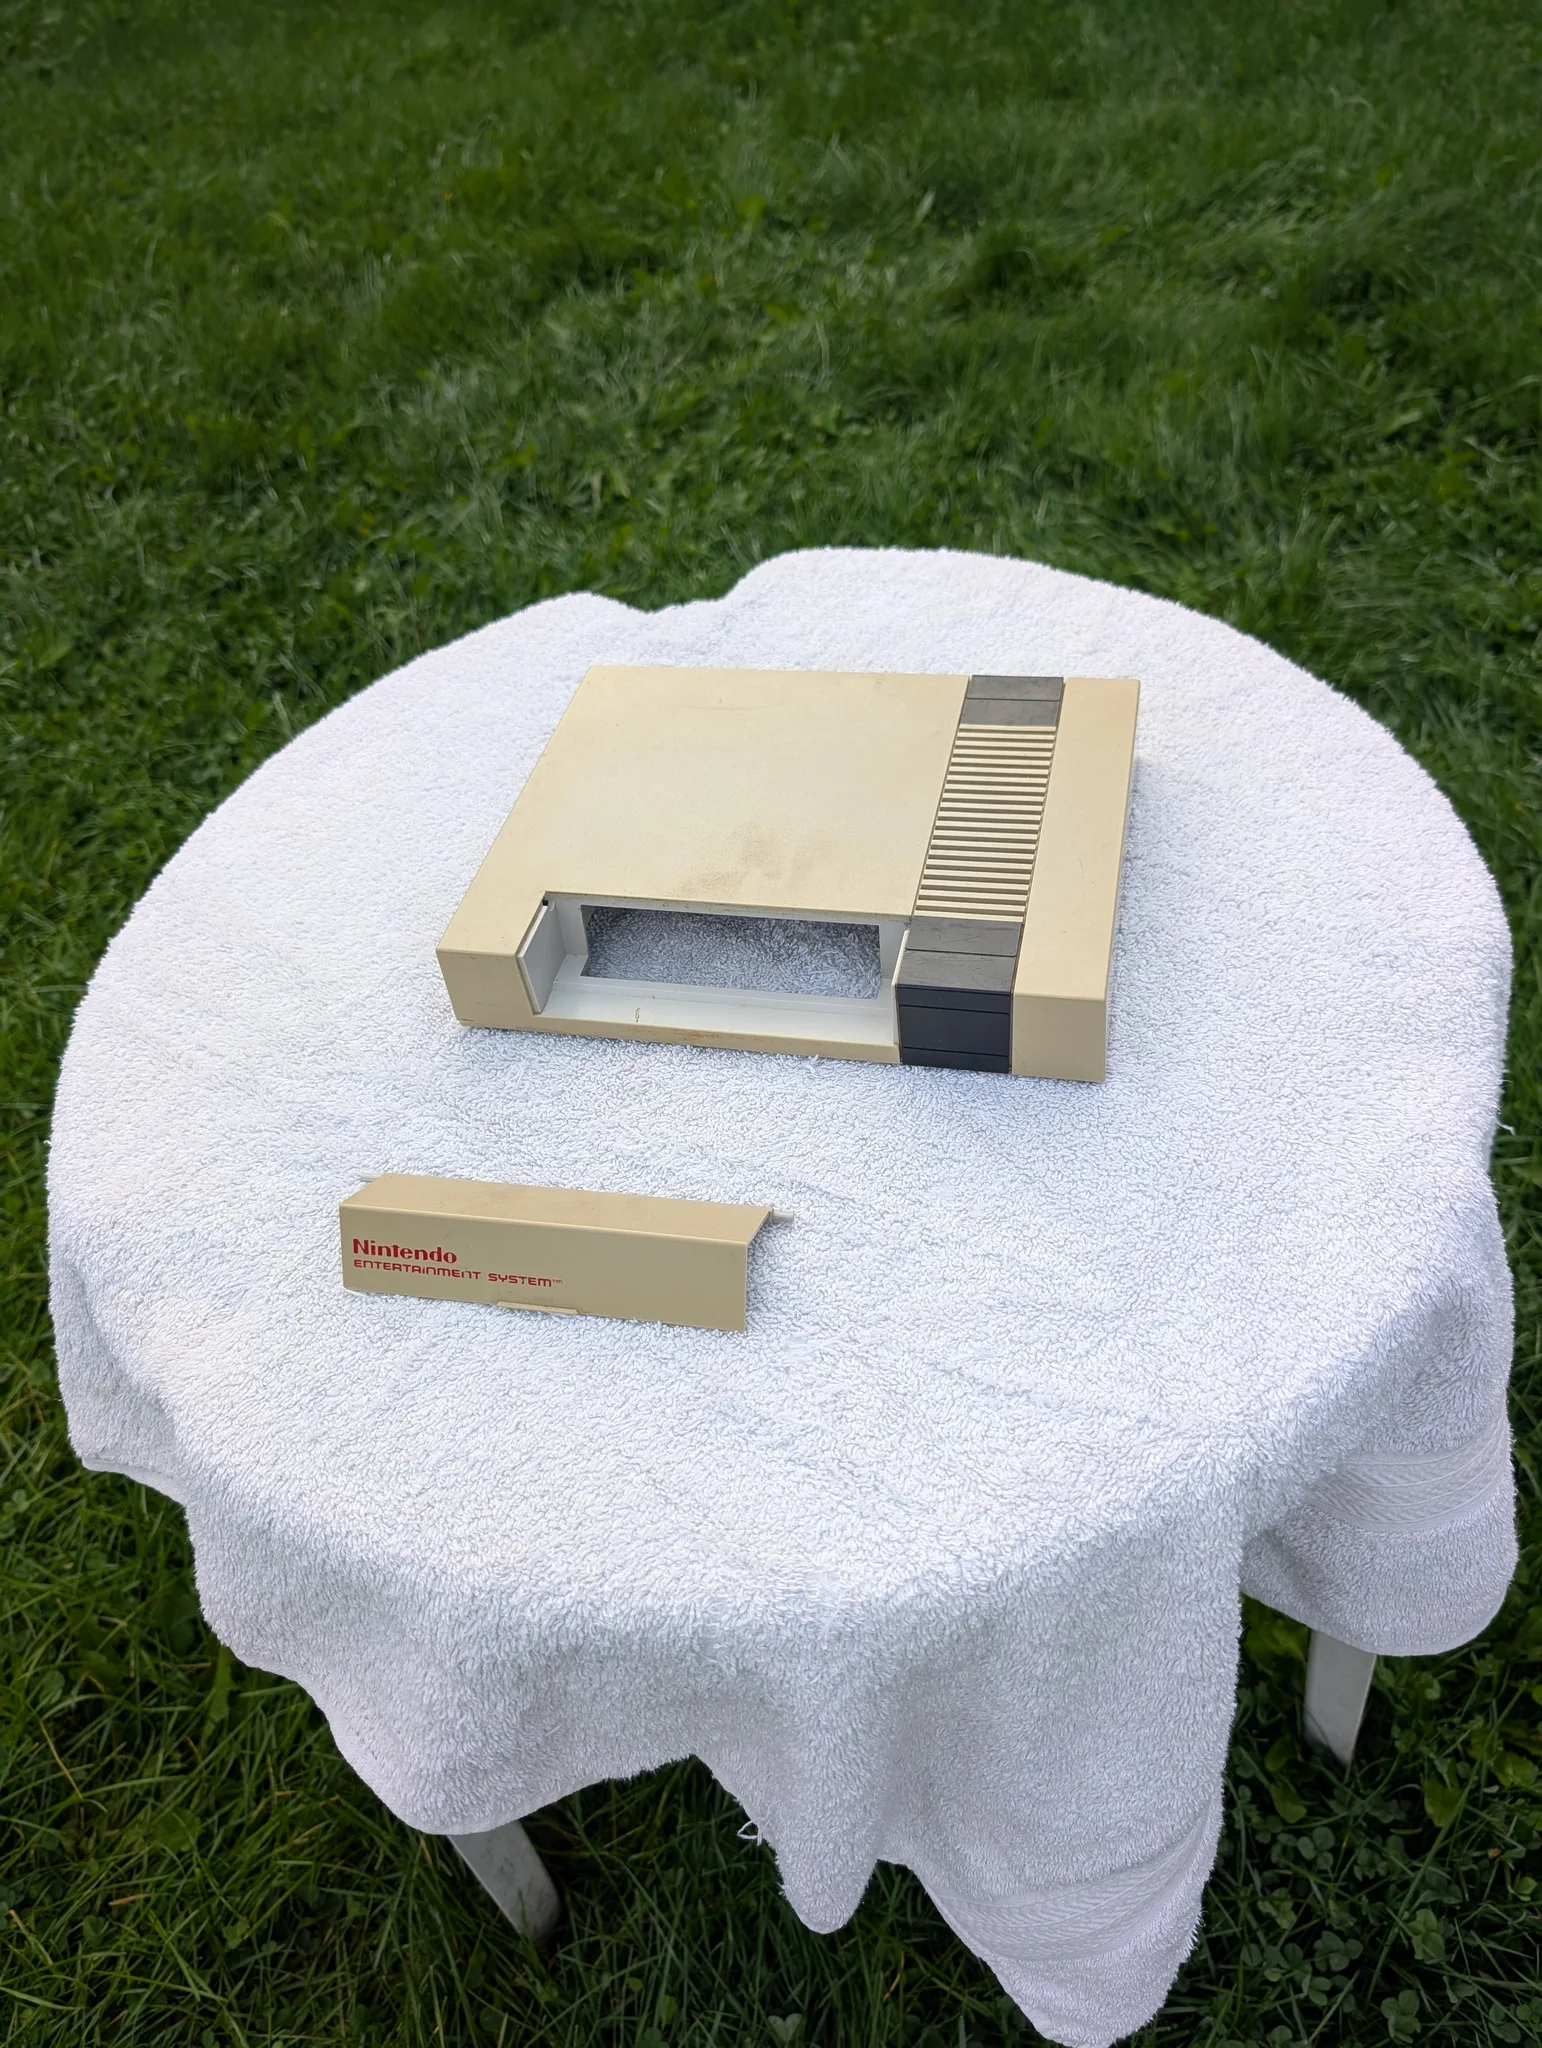
The next day, I tried a closed container with 12% hydrogen peroxide, keeping the plastic above the liquid for the vapour approach. My notes for that day included a reminder to be careful and wear gloves with the 12% peroxide. This was my first attempt, and I was watching for a change rather than knowing what to expect.
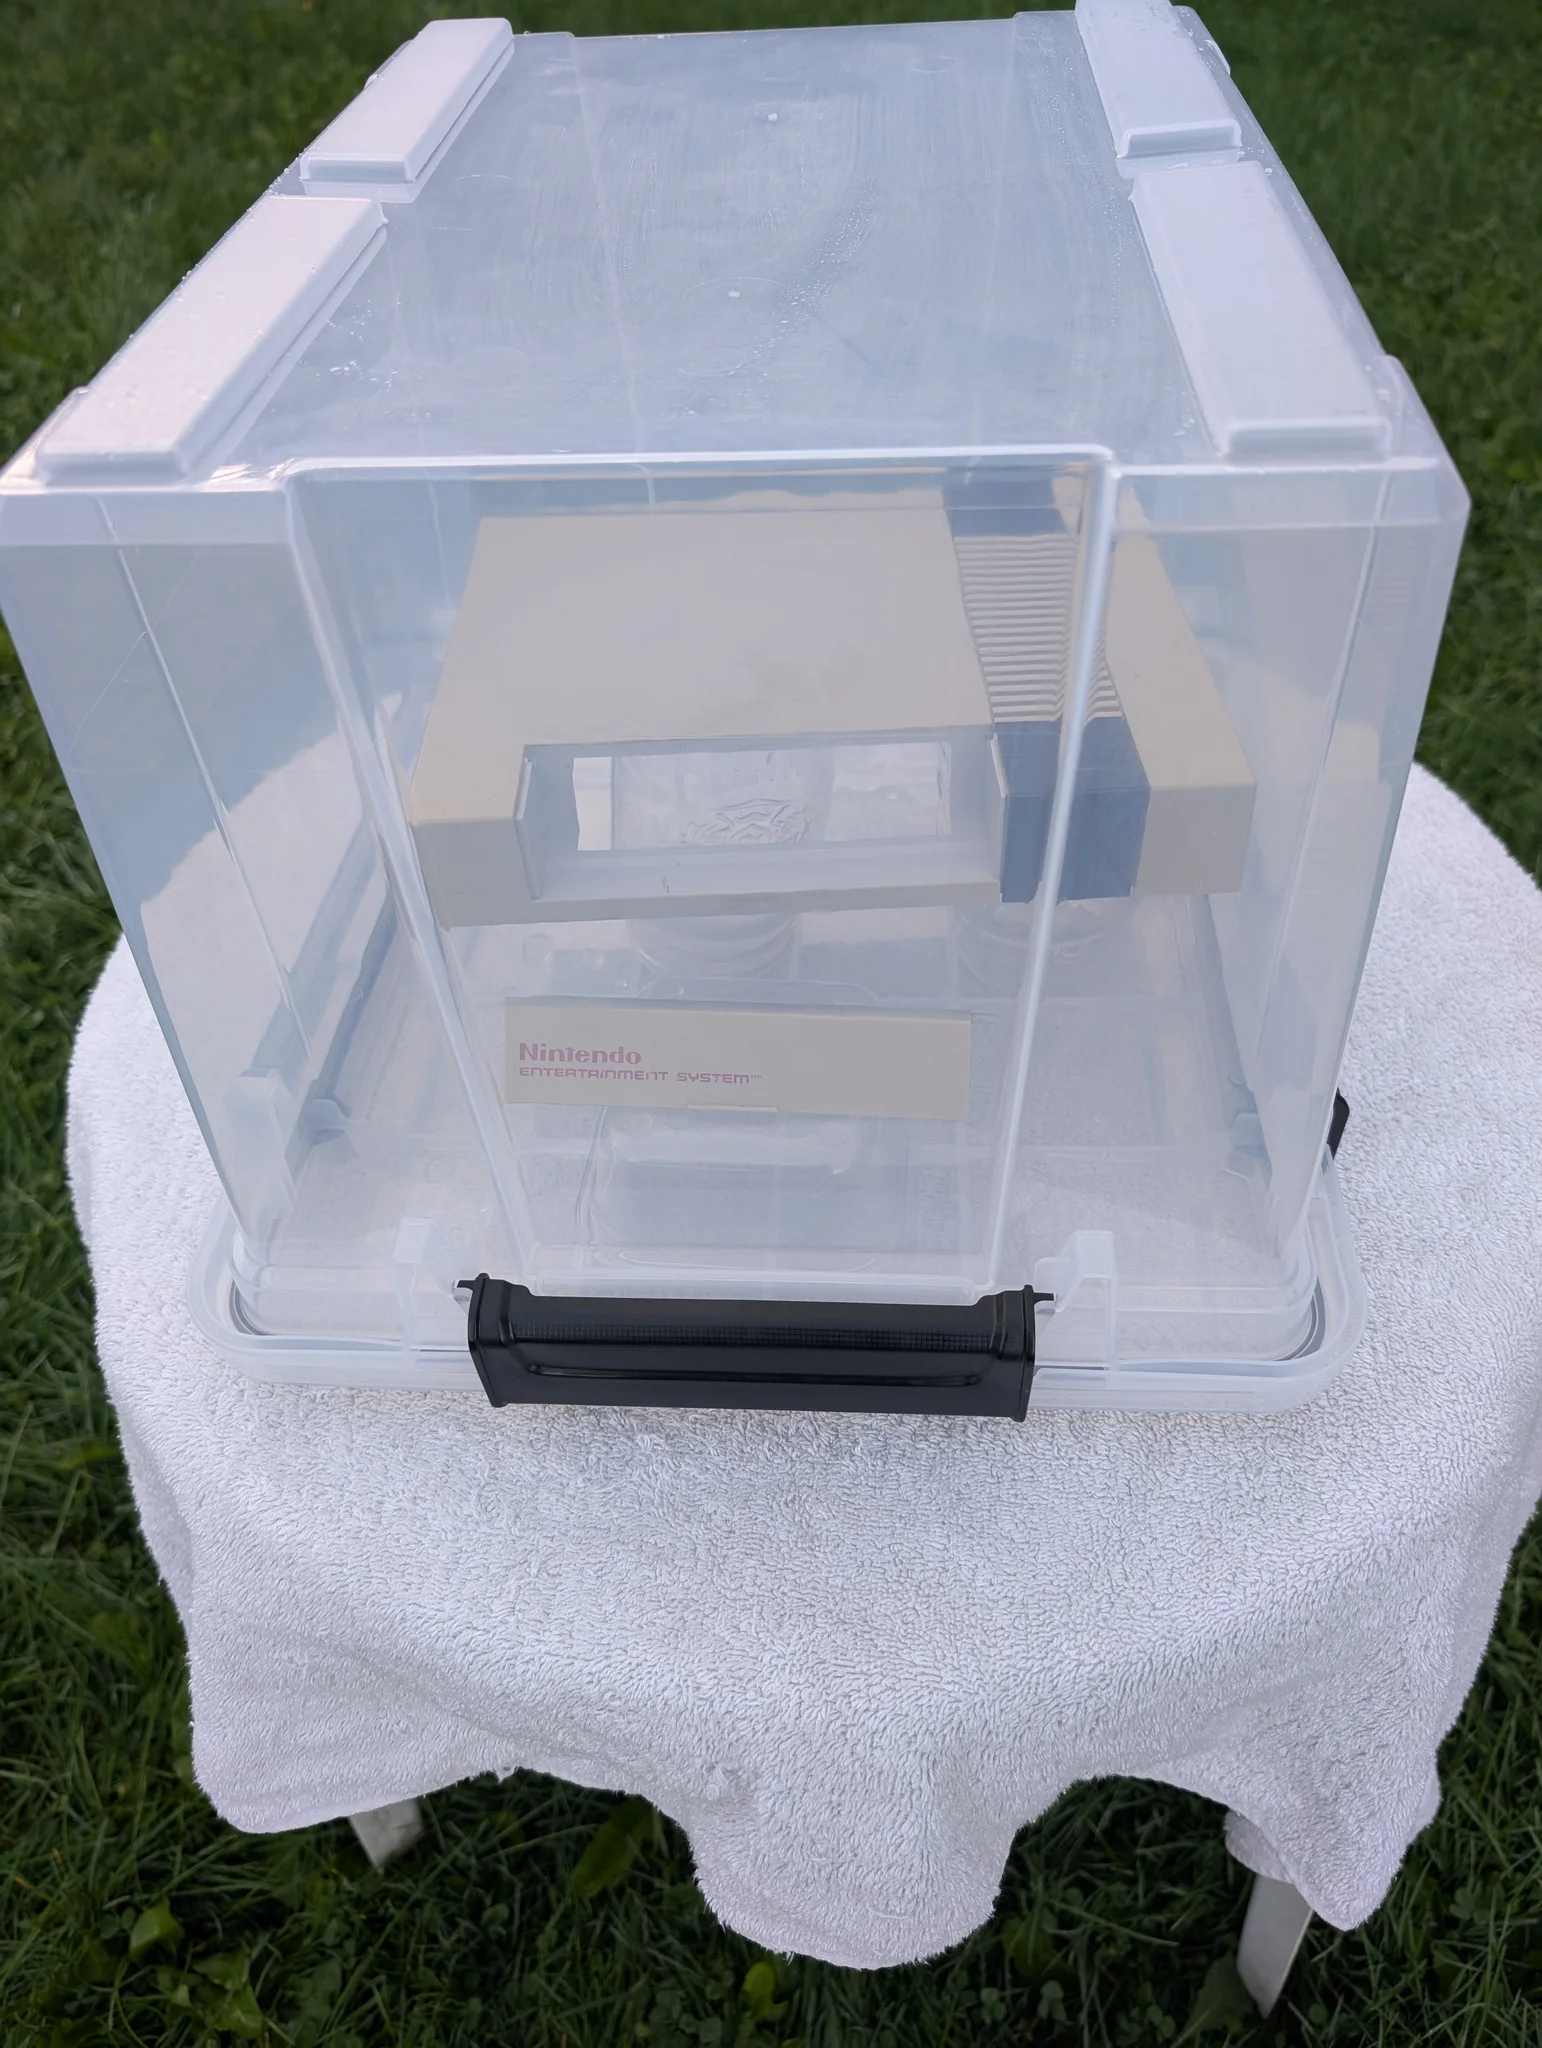
After another twelve hours outside, I thought something was happening. Not much, but something.
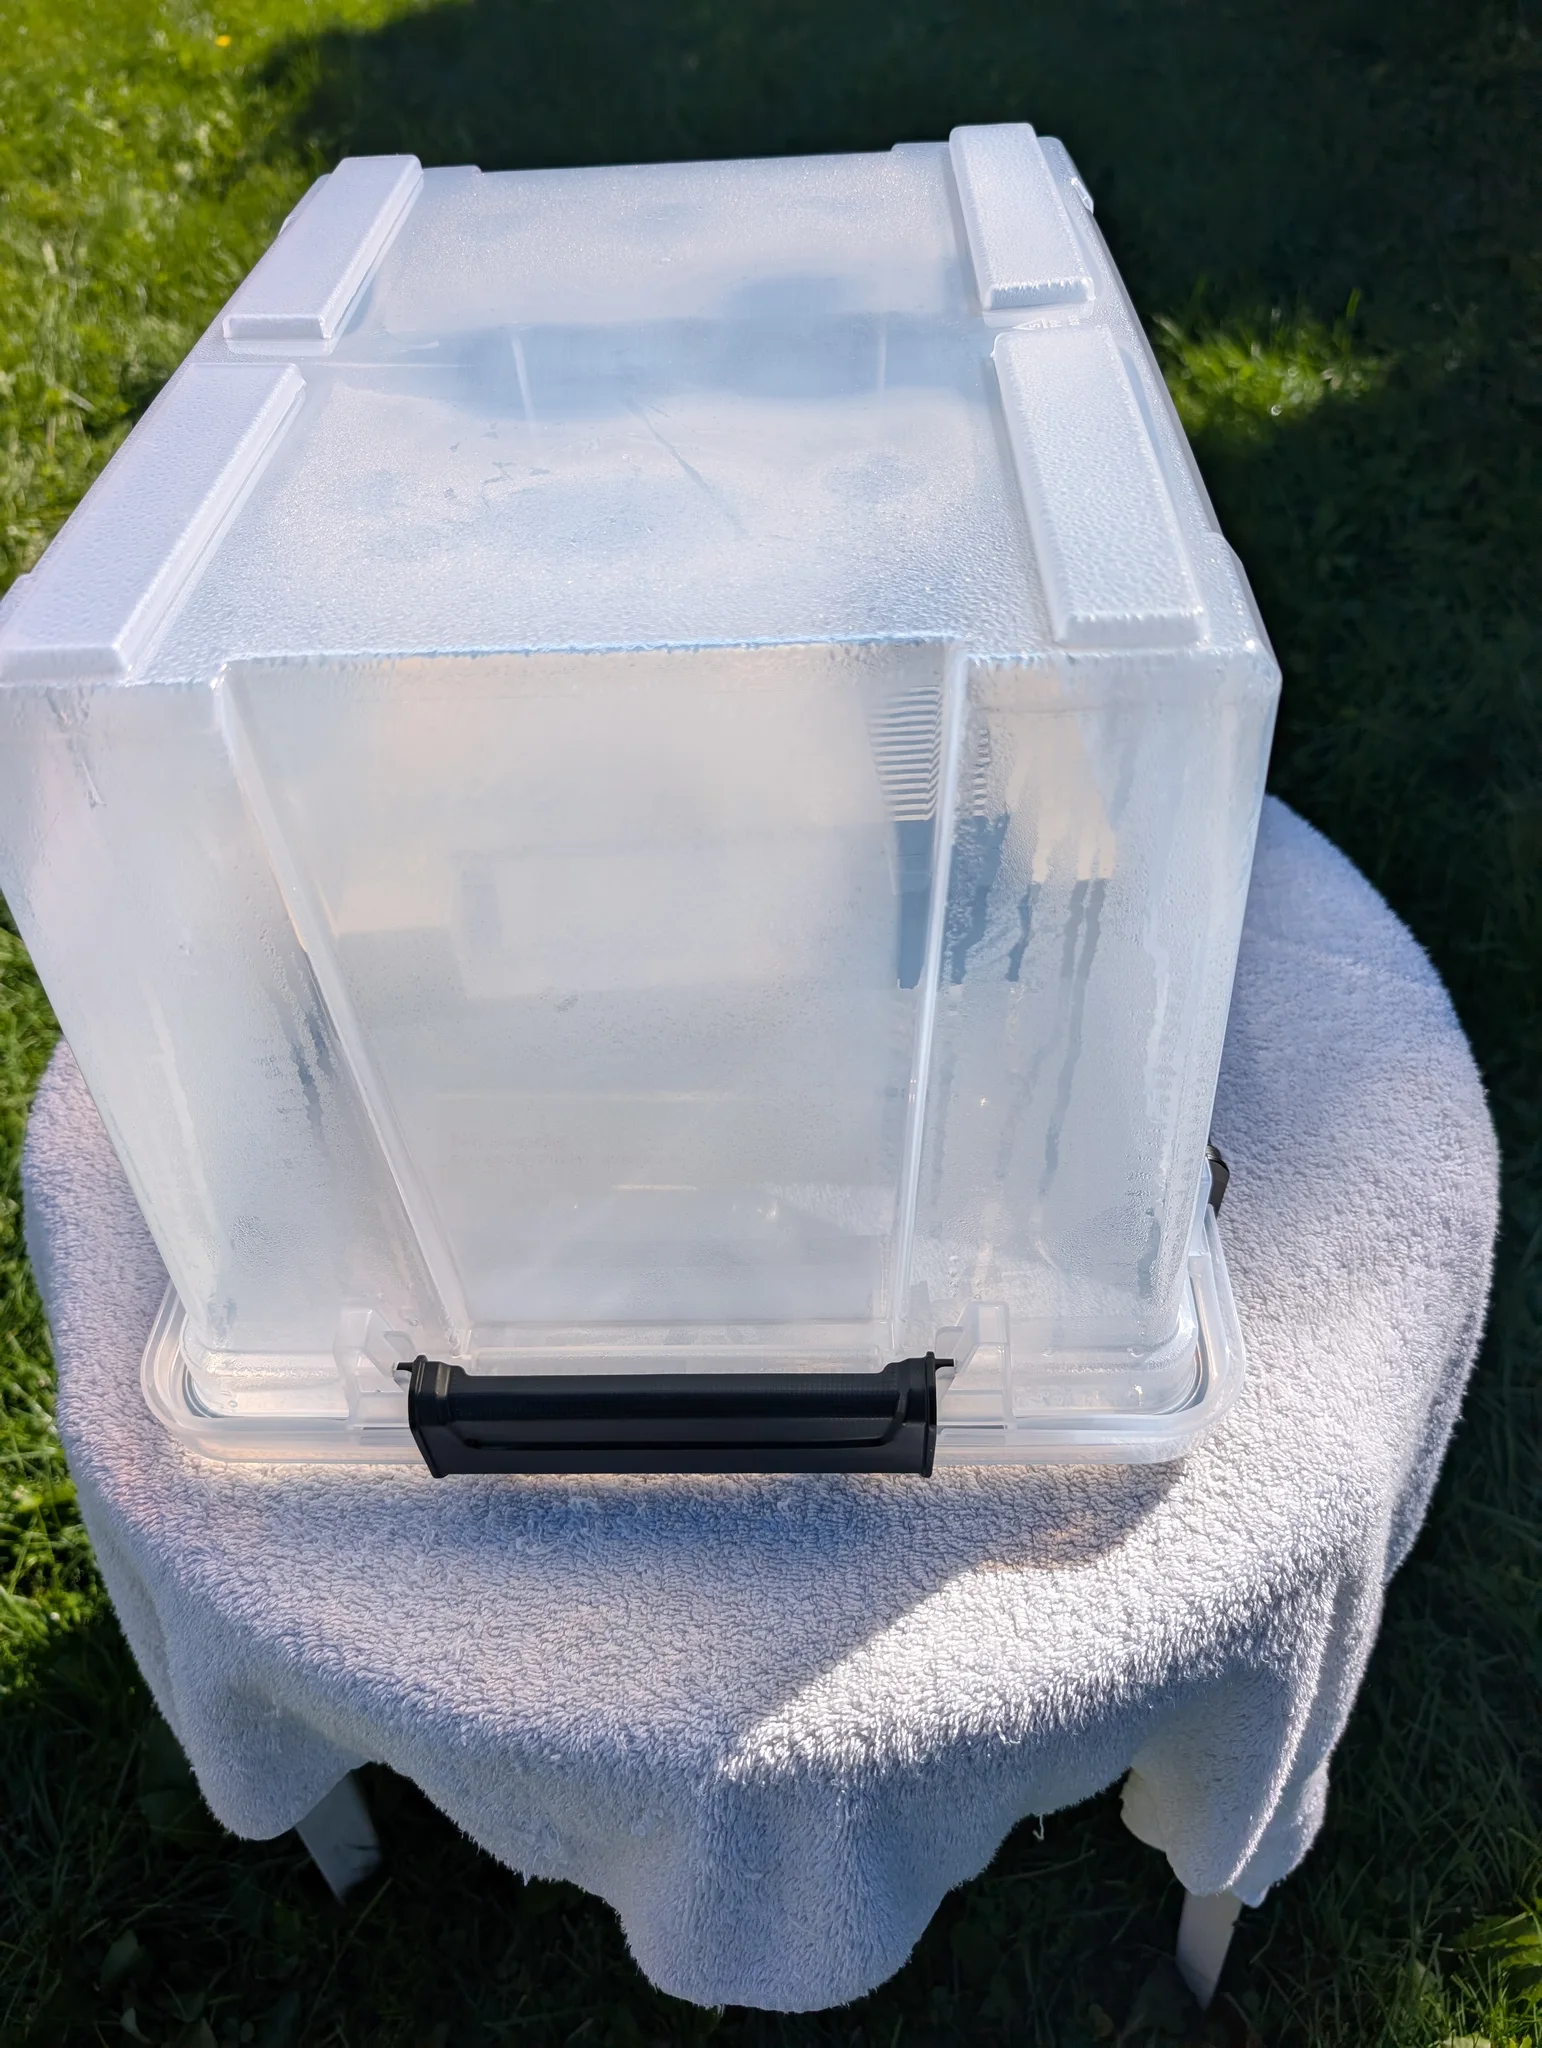
The following day brought eleven more hours and a small accident: while moving the table to face the sun, I let the shell slip onto its side inside the container. I didn't want to open it and let the vapour out, so I left it where it landed.
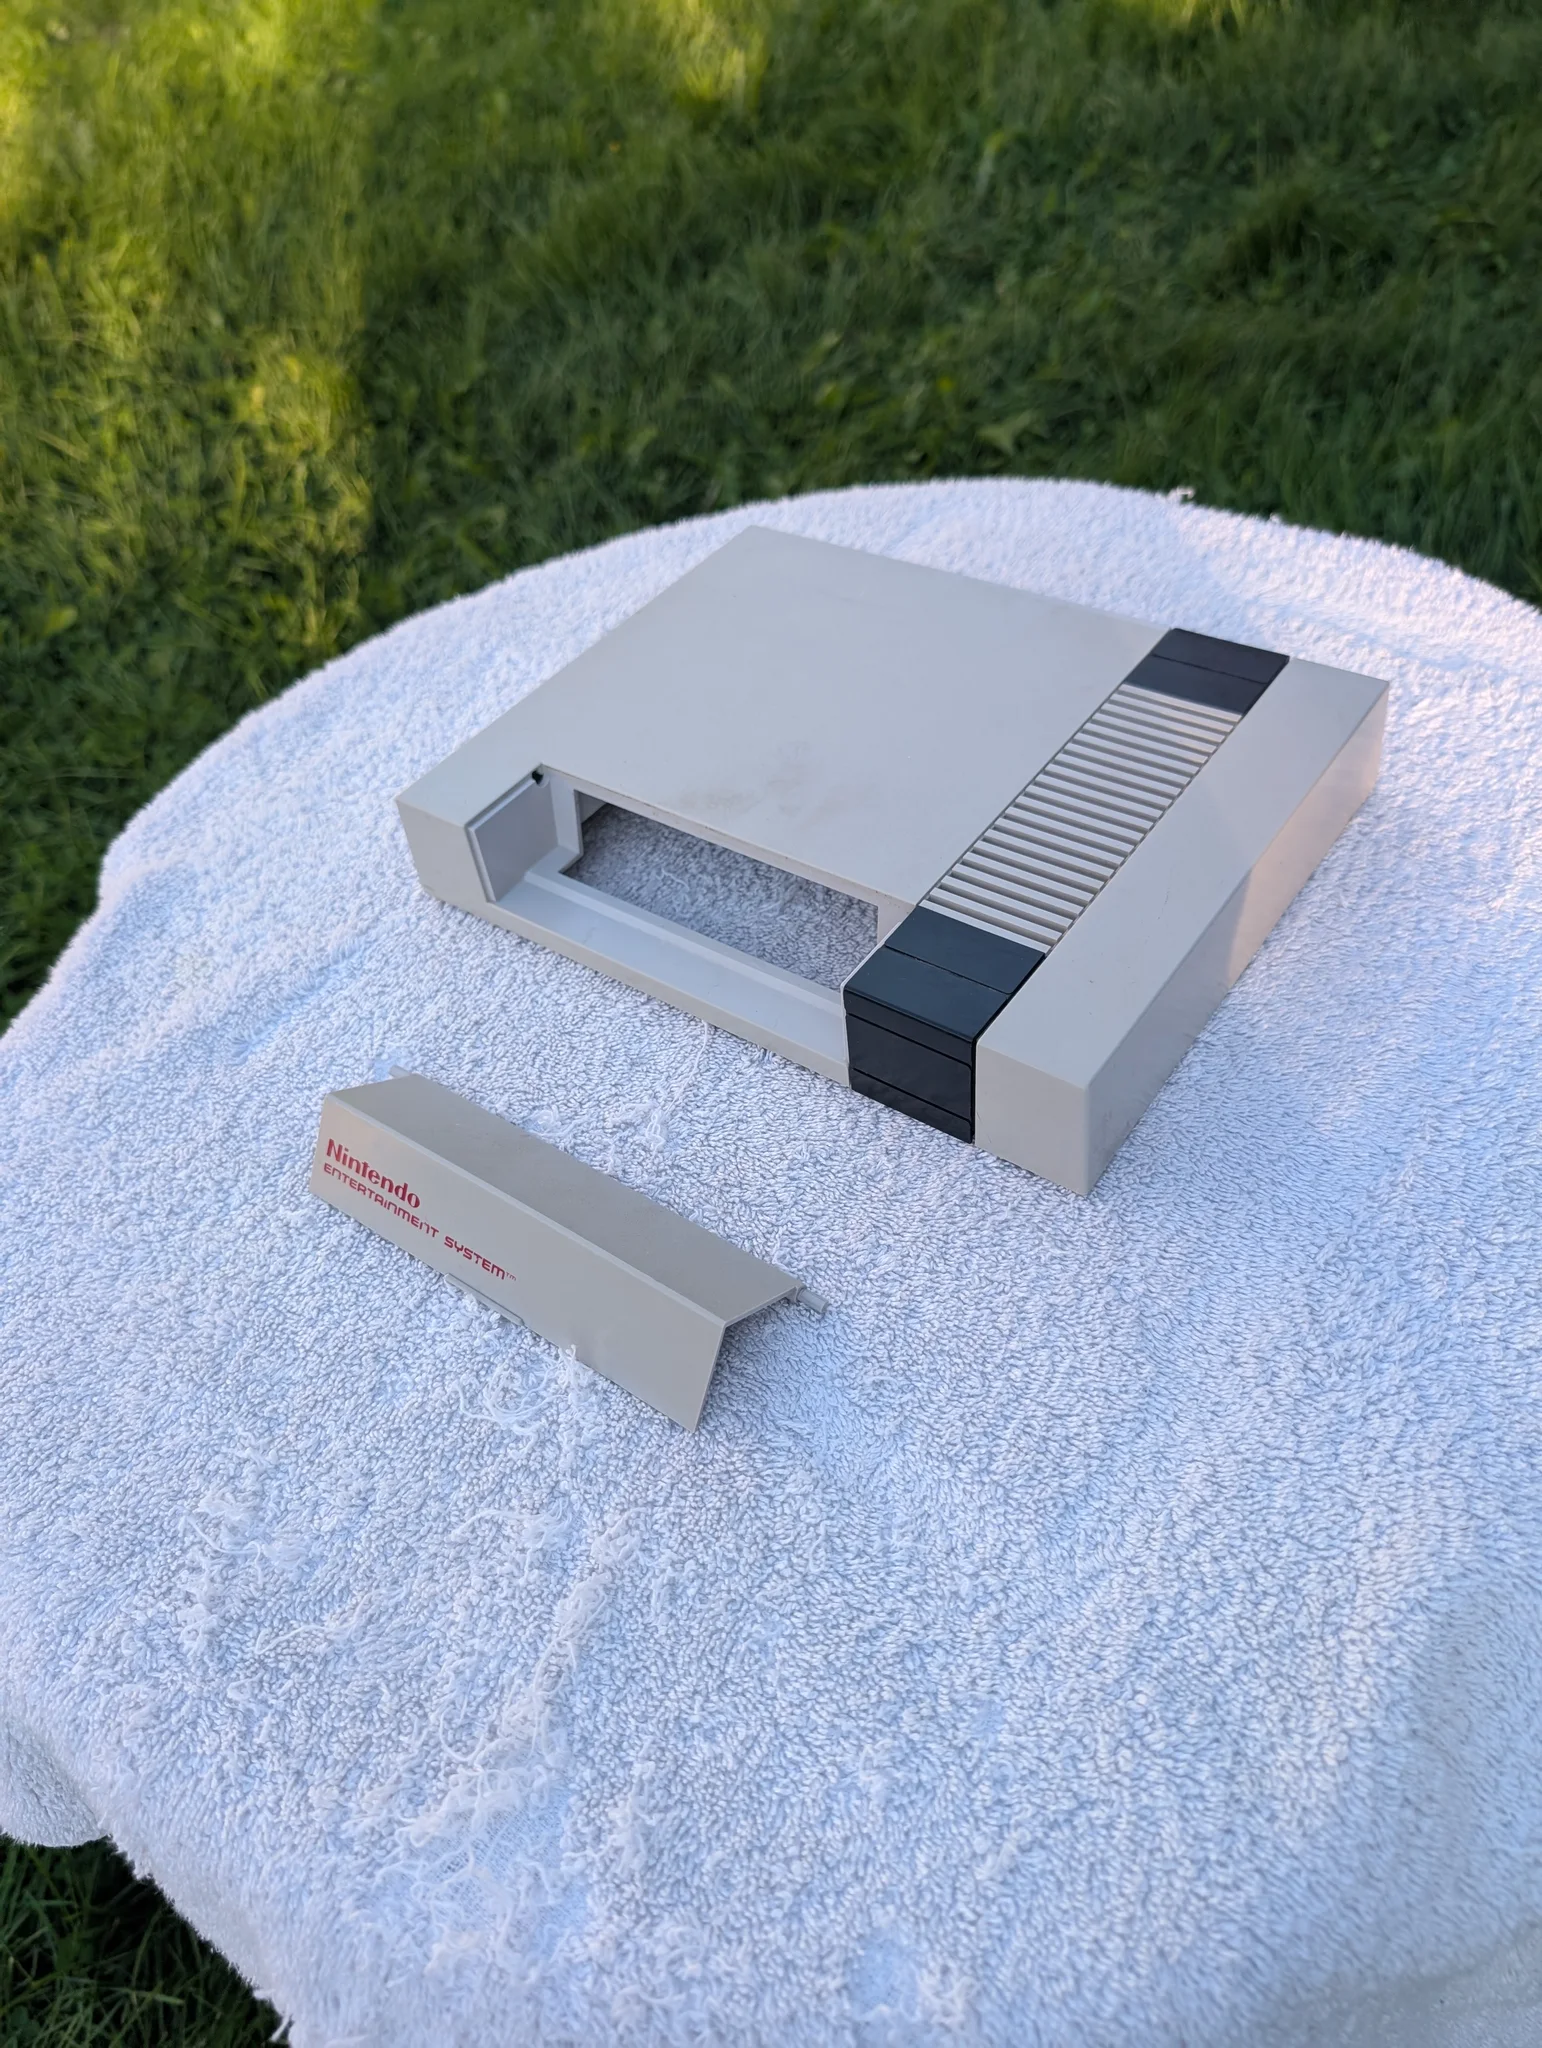
Then another ten hours outside. This time, the difference was clear. The grey was coming back.
One more approach
With less sun the next day, I tried a different setup. I bought a litre of 3% hydrogen peroxide and put the shell in a sealable bag with it. The bag went into a cooler with water at around 45 °C, to stay there until the next day.
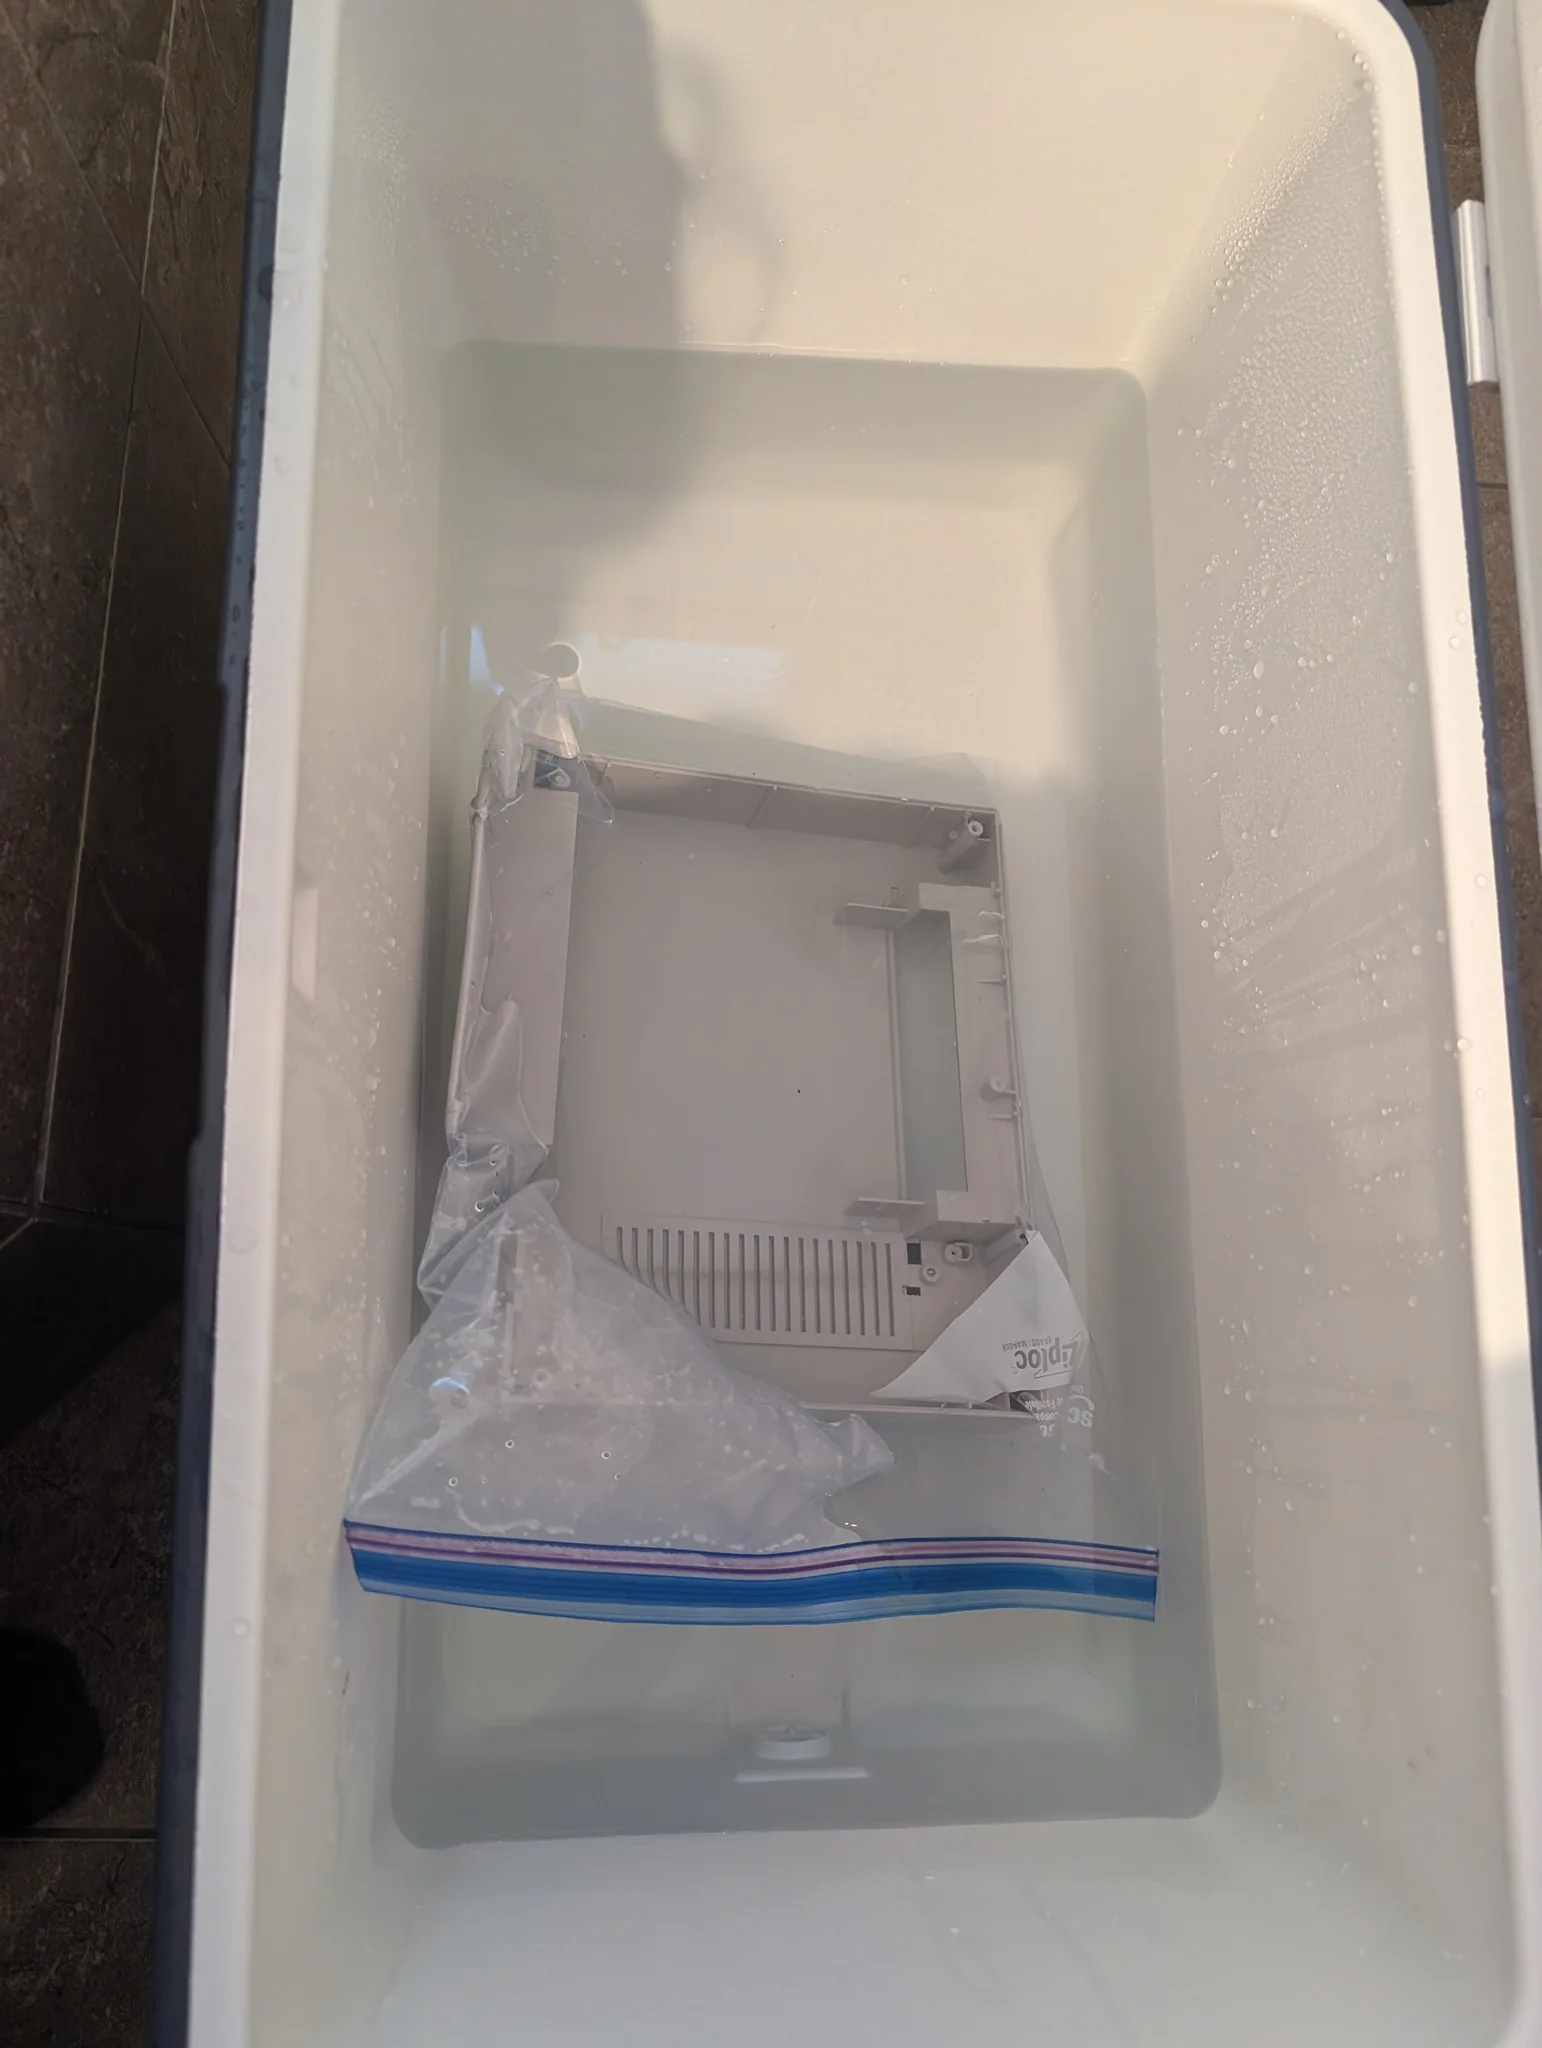
While the plastic soaked, I turned to the part that actually had to play games.
The blue screen
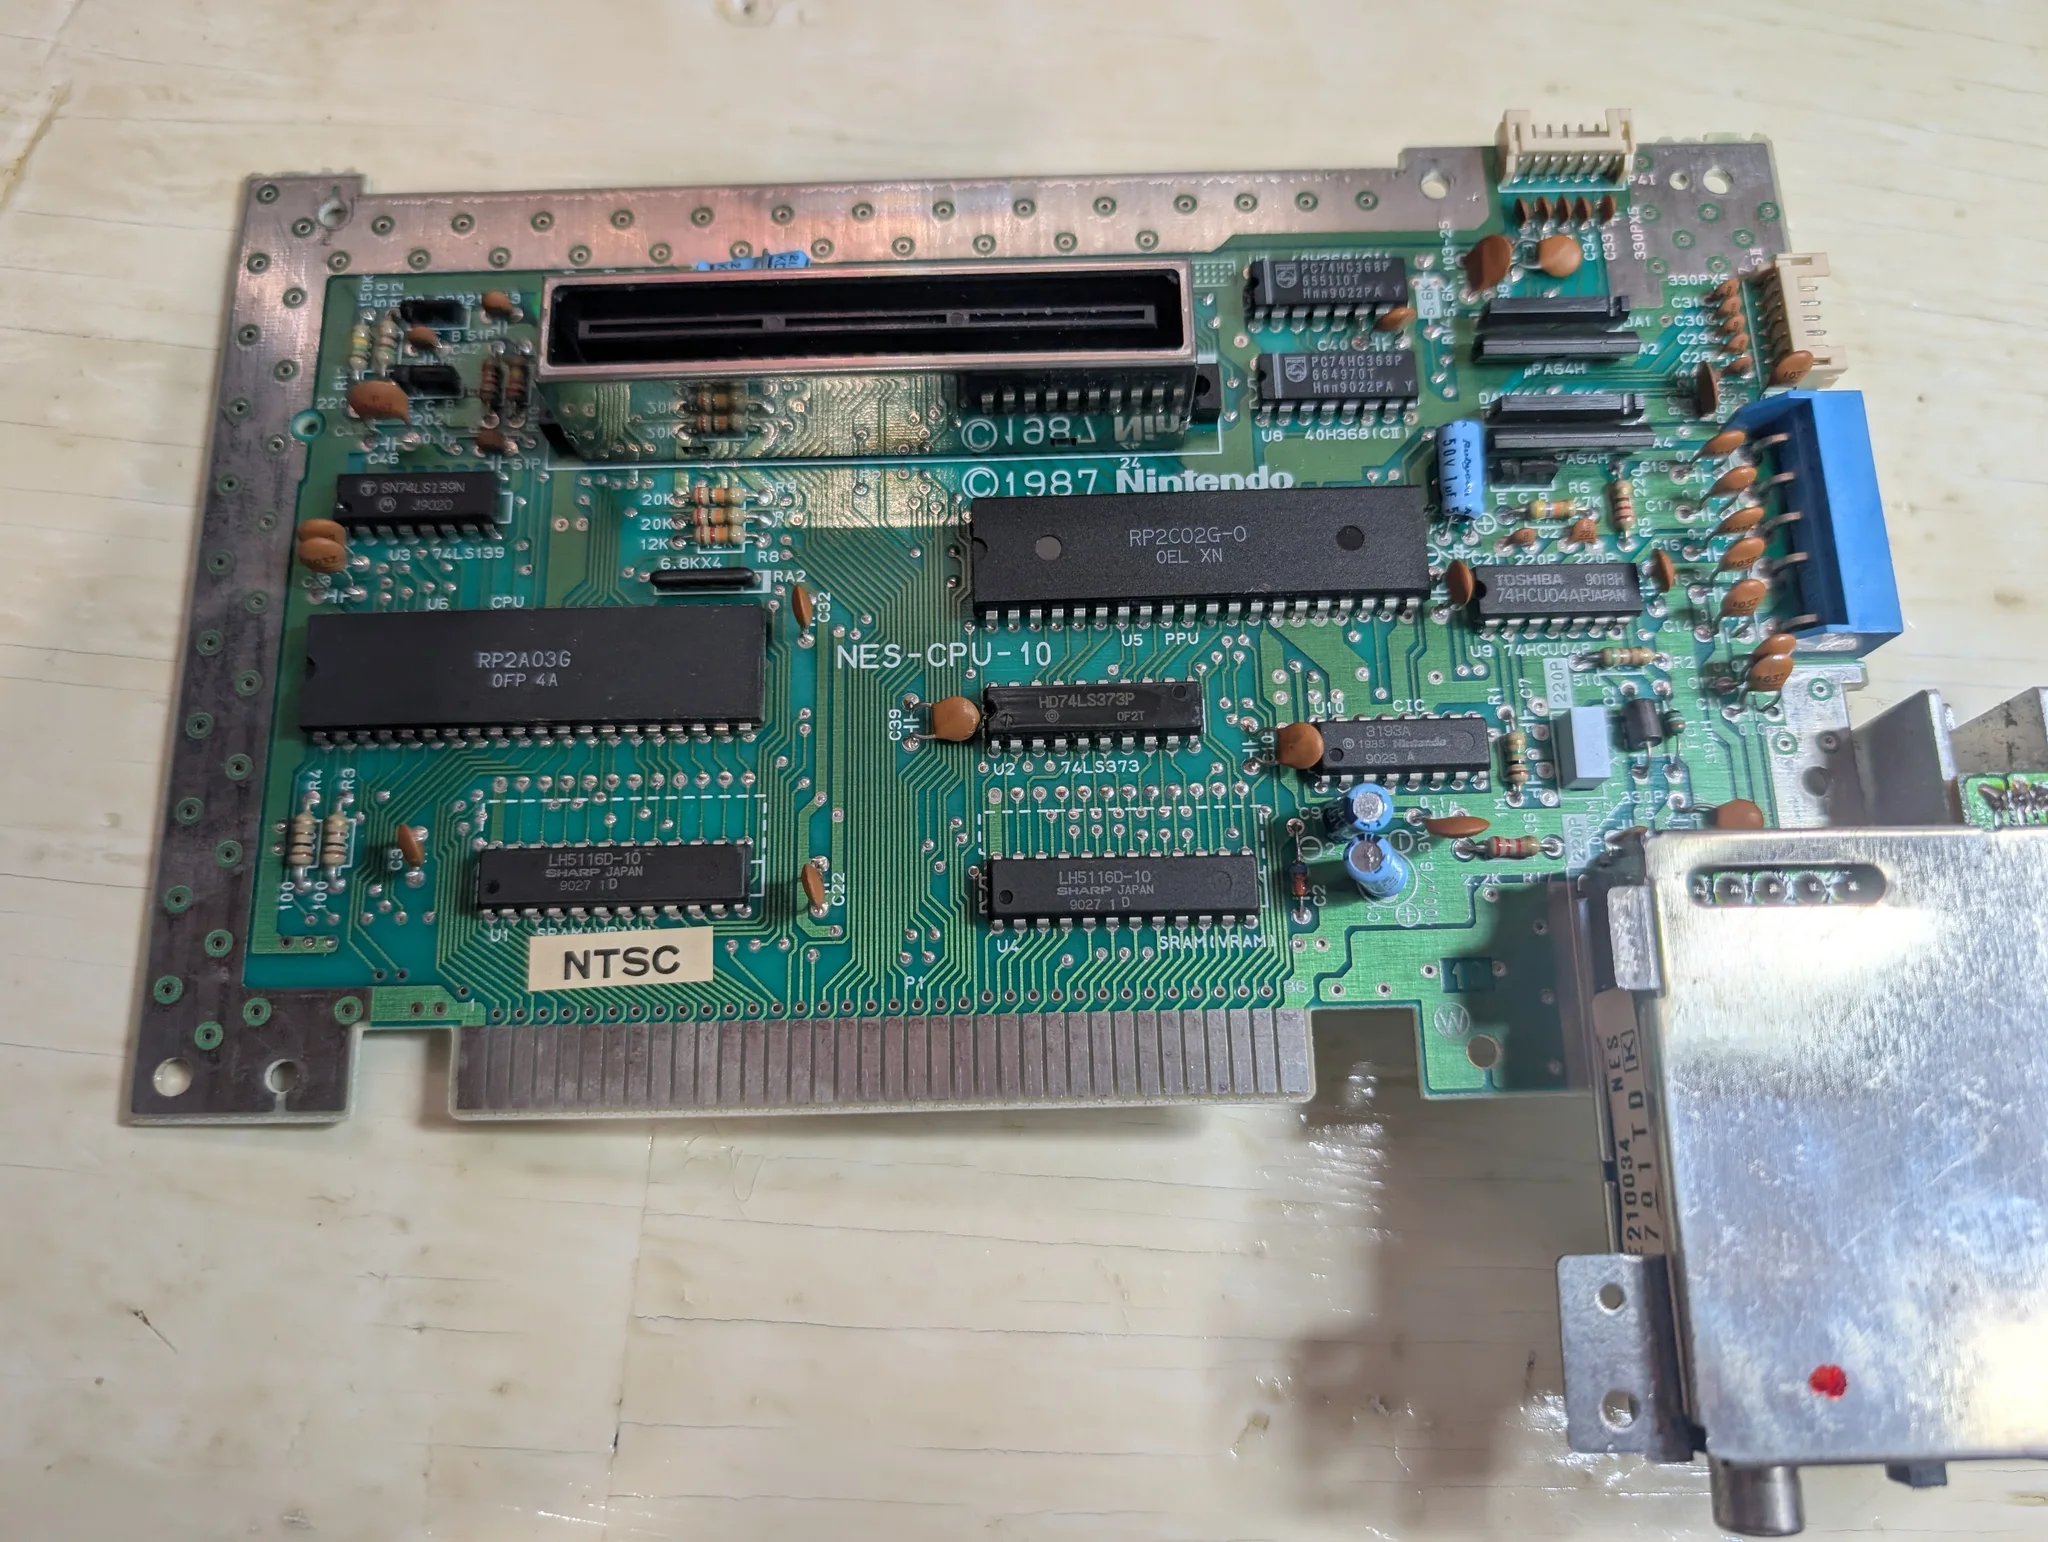
Inside, the NES was a little dusty. The more useful clue was how a cartridge felt going in: loose. There wasn't the grip I expected from the slot.
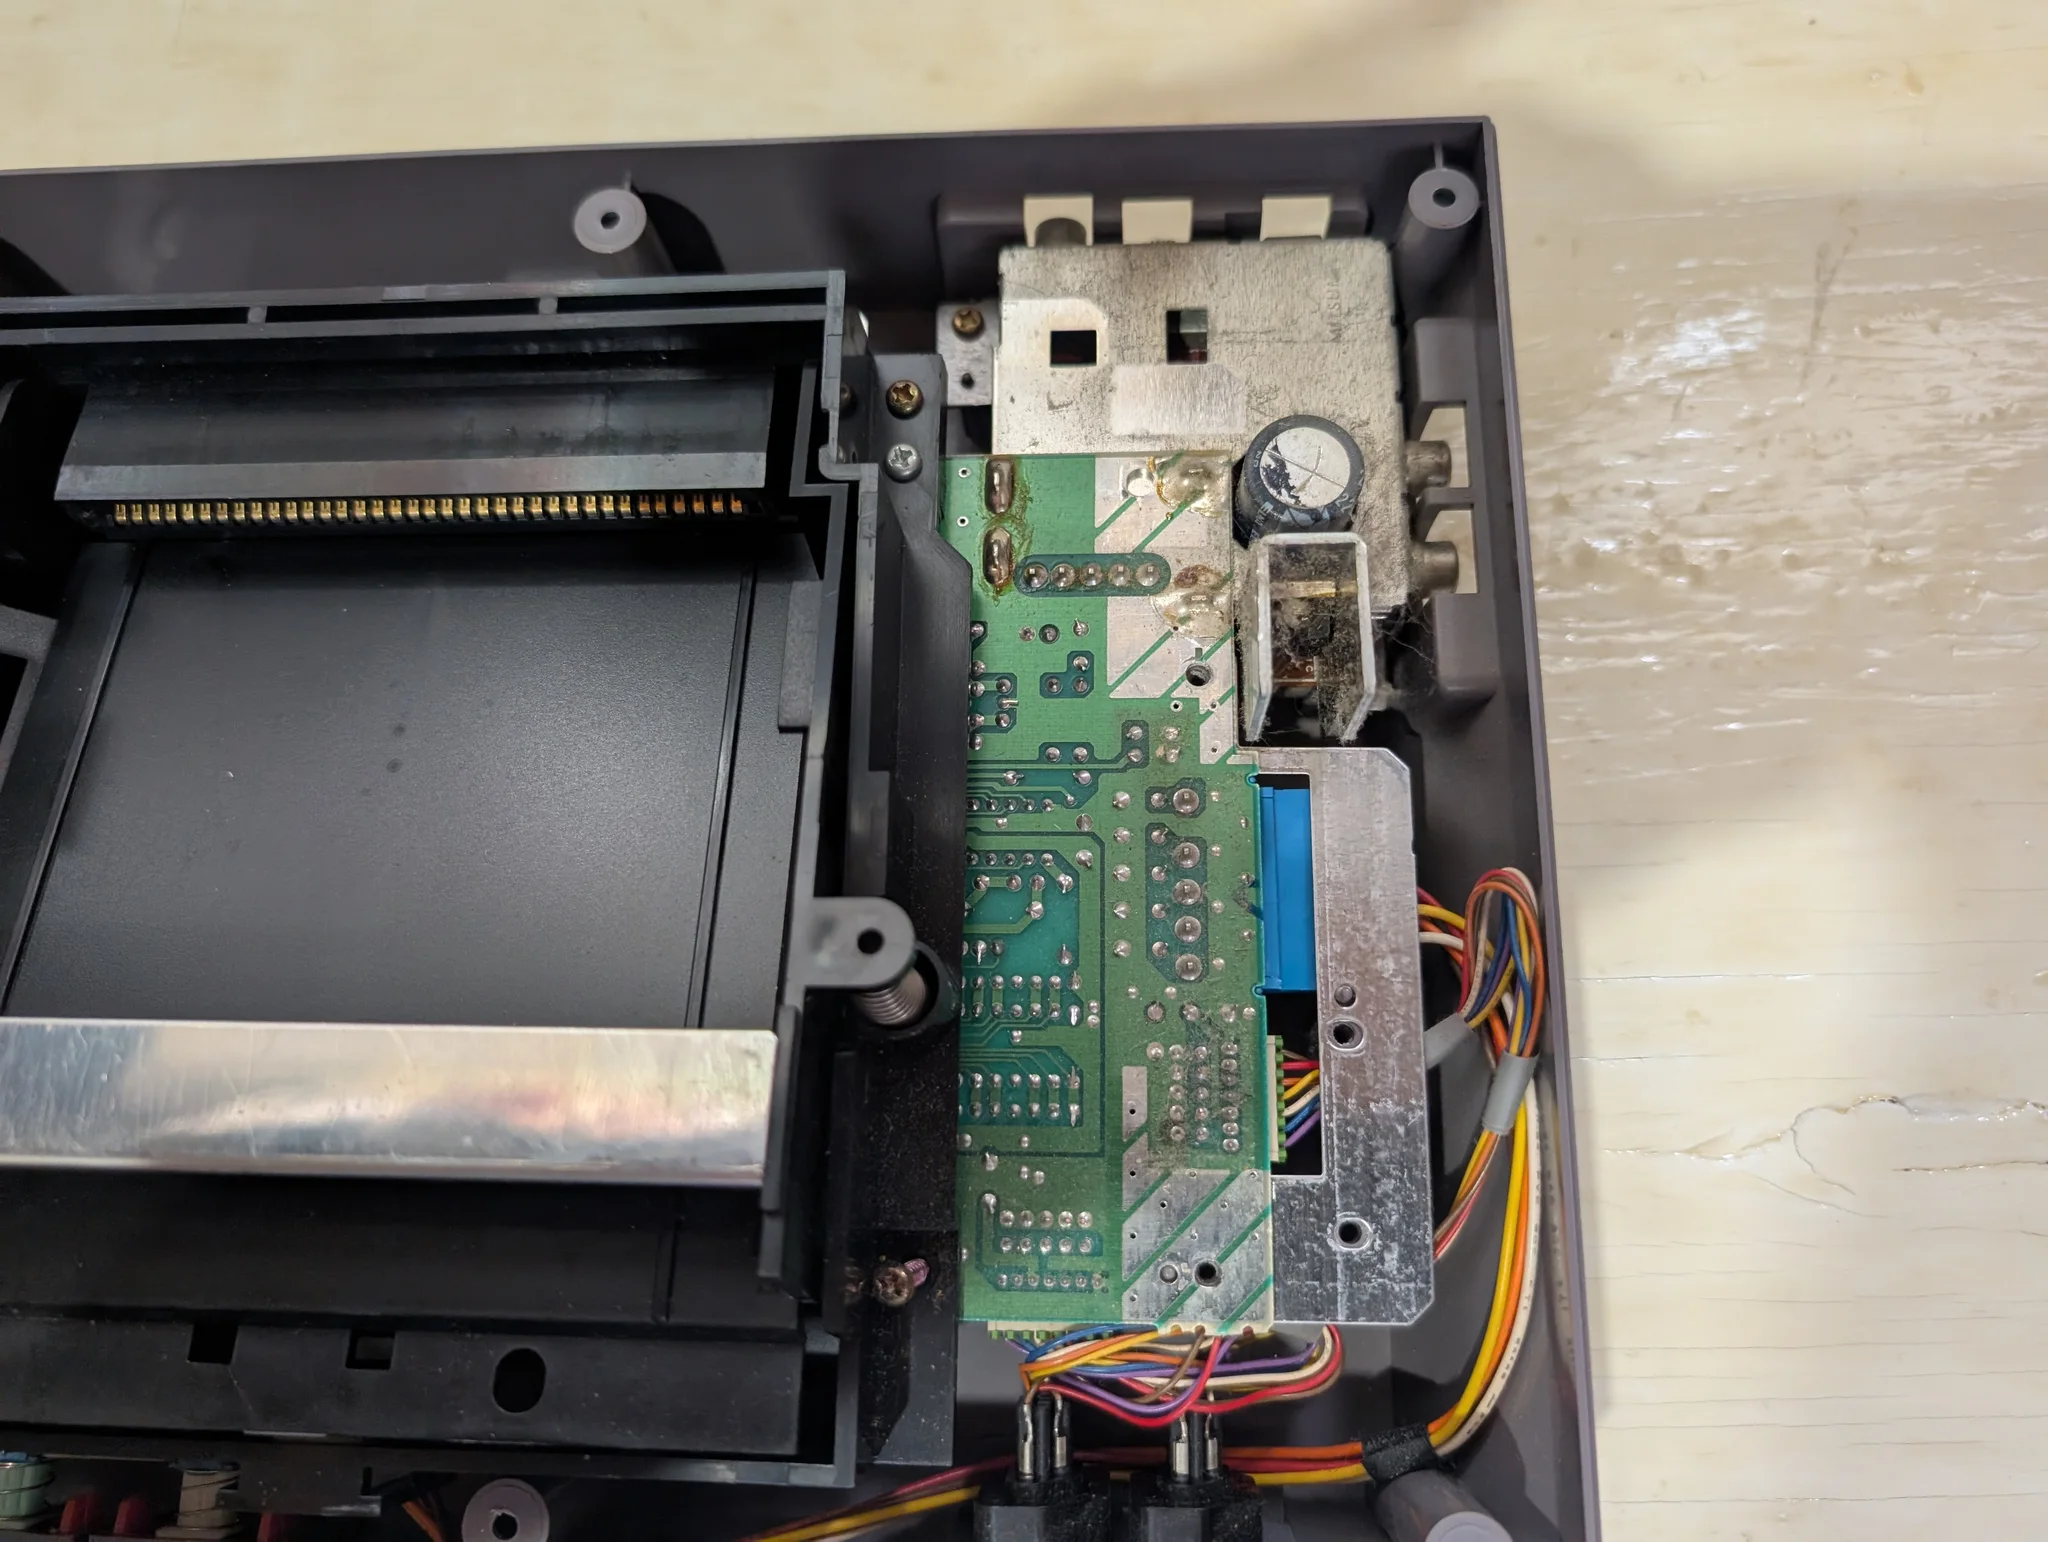
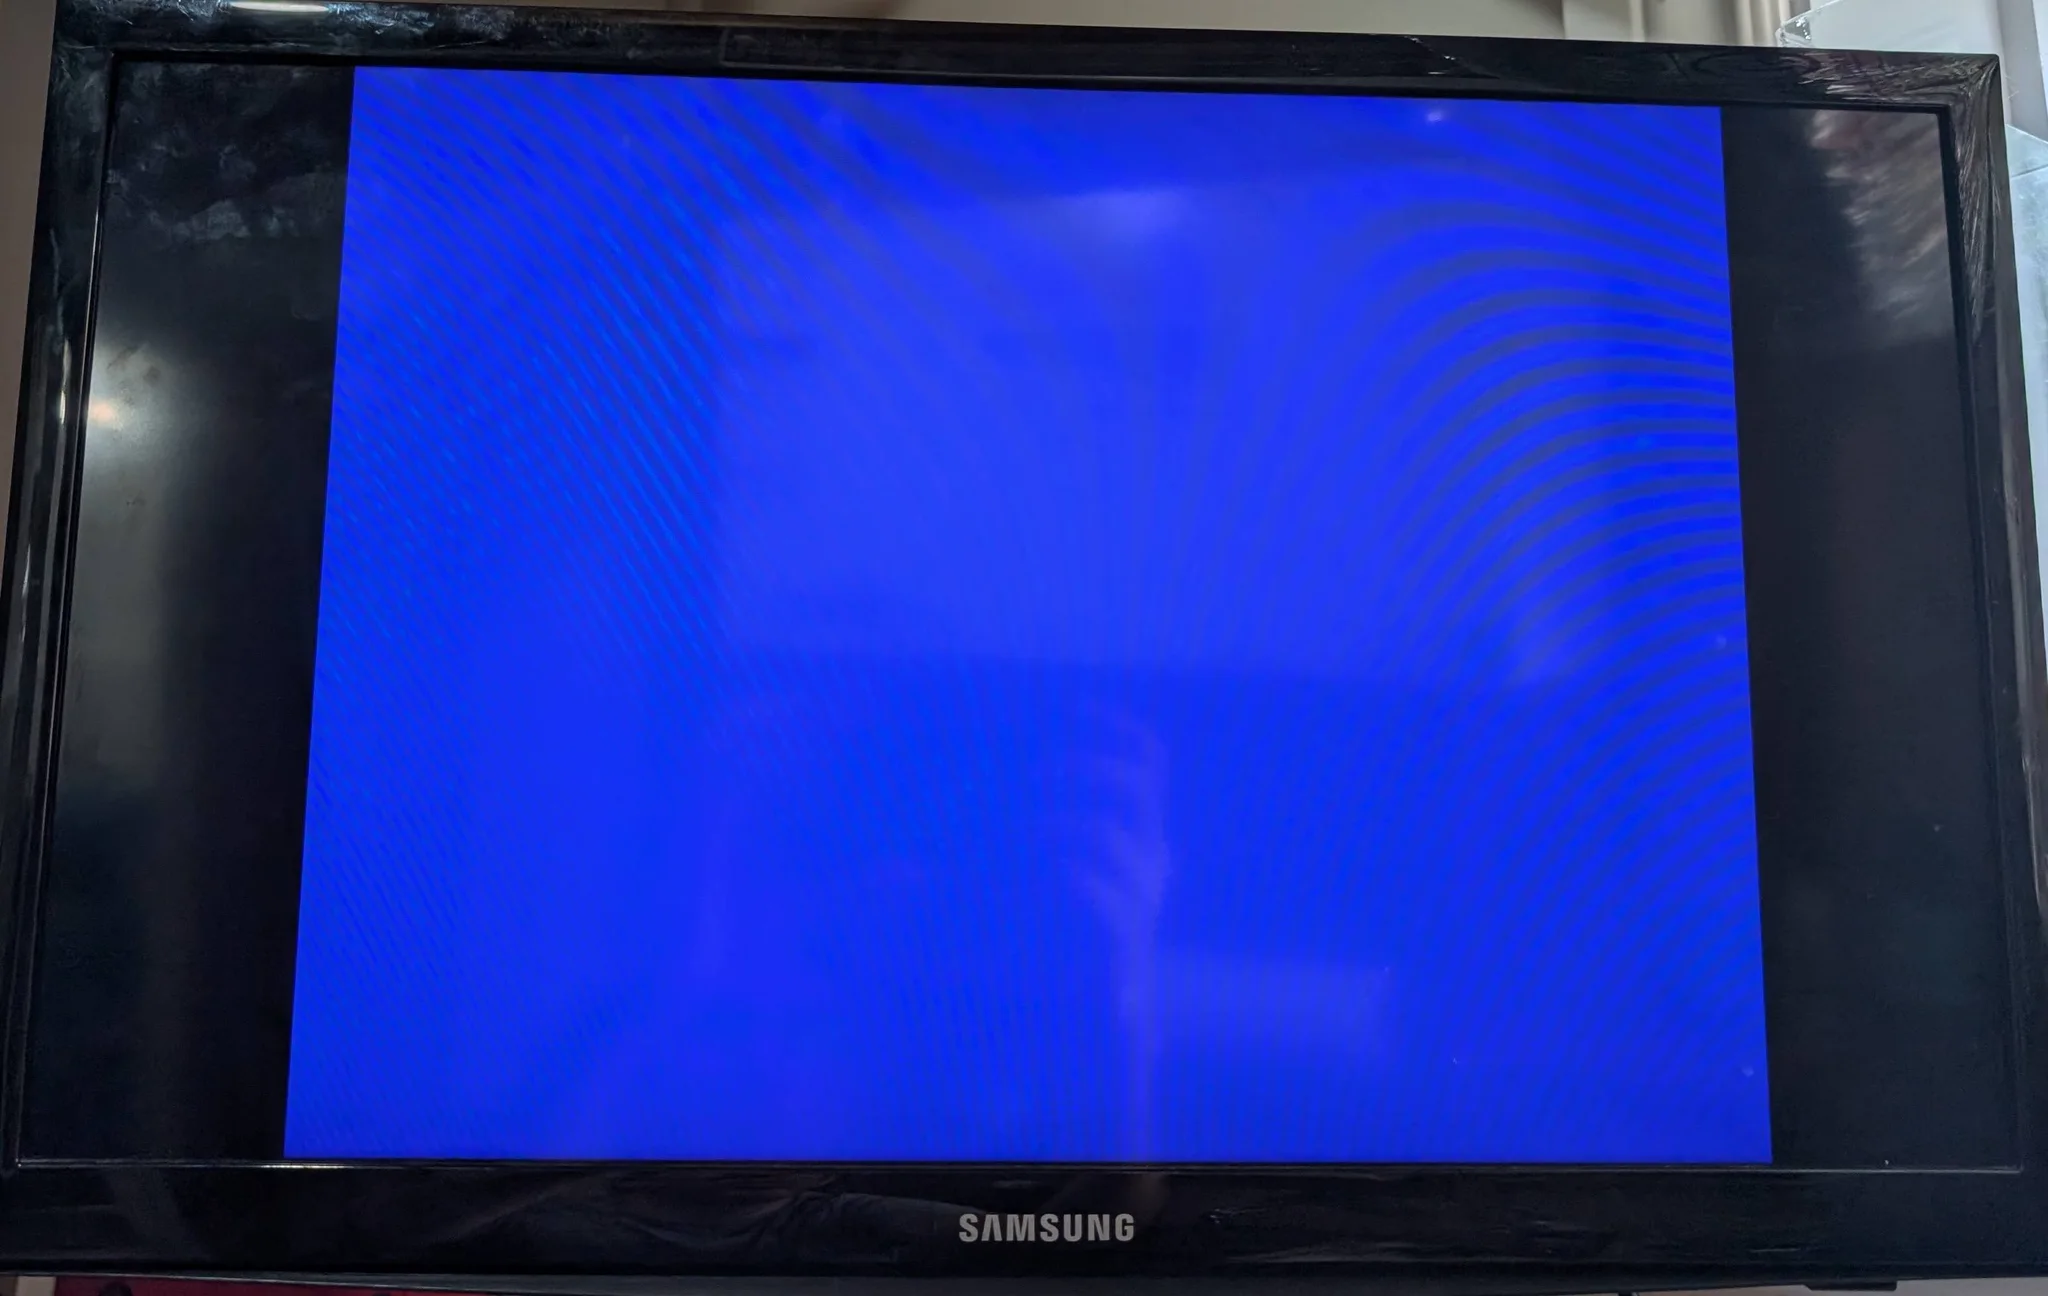
With a game inserted, I switched it on and got a blue screen. The power light stayed on, without blinking. That was different from the fault I'd been told about, but it still left me with a console that wasn't running a game. Between that screen and the loose cartridge, the connector was my first suspect.
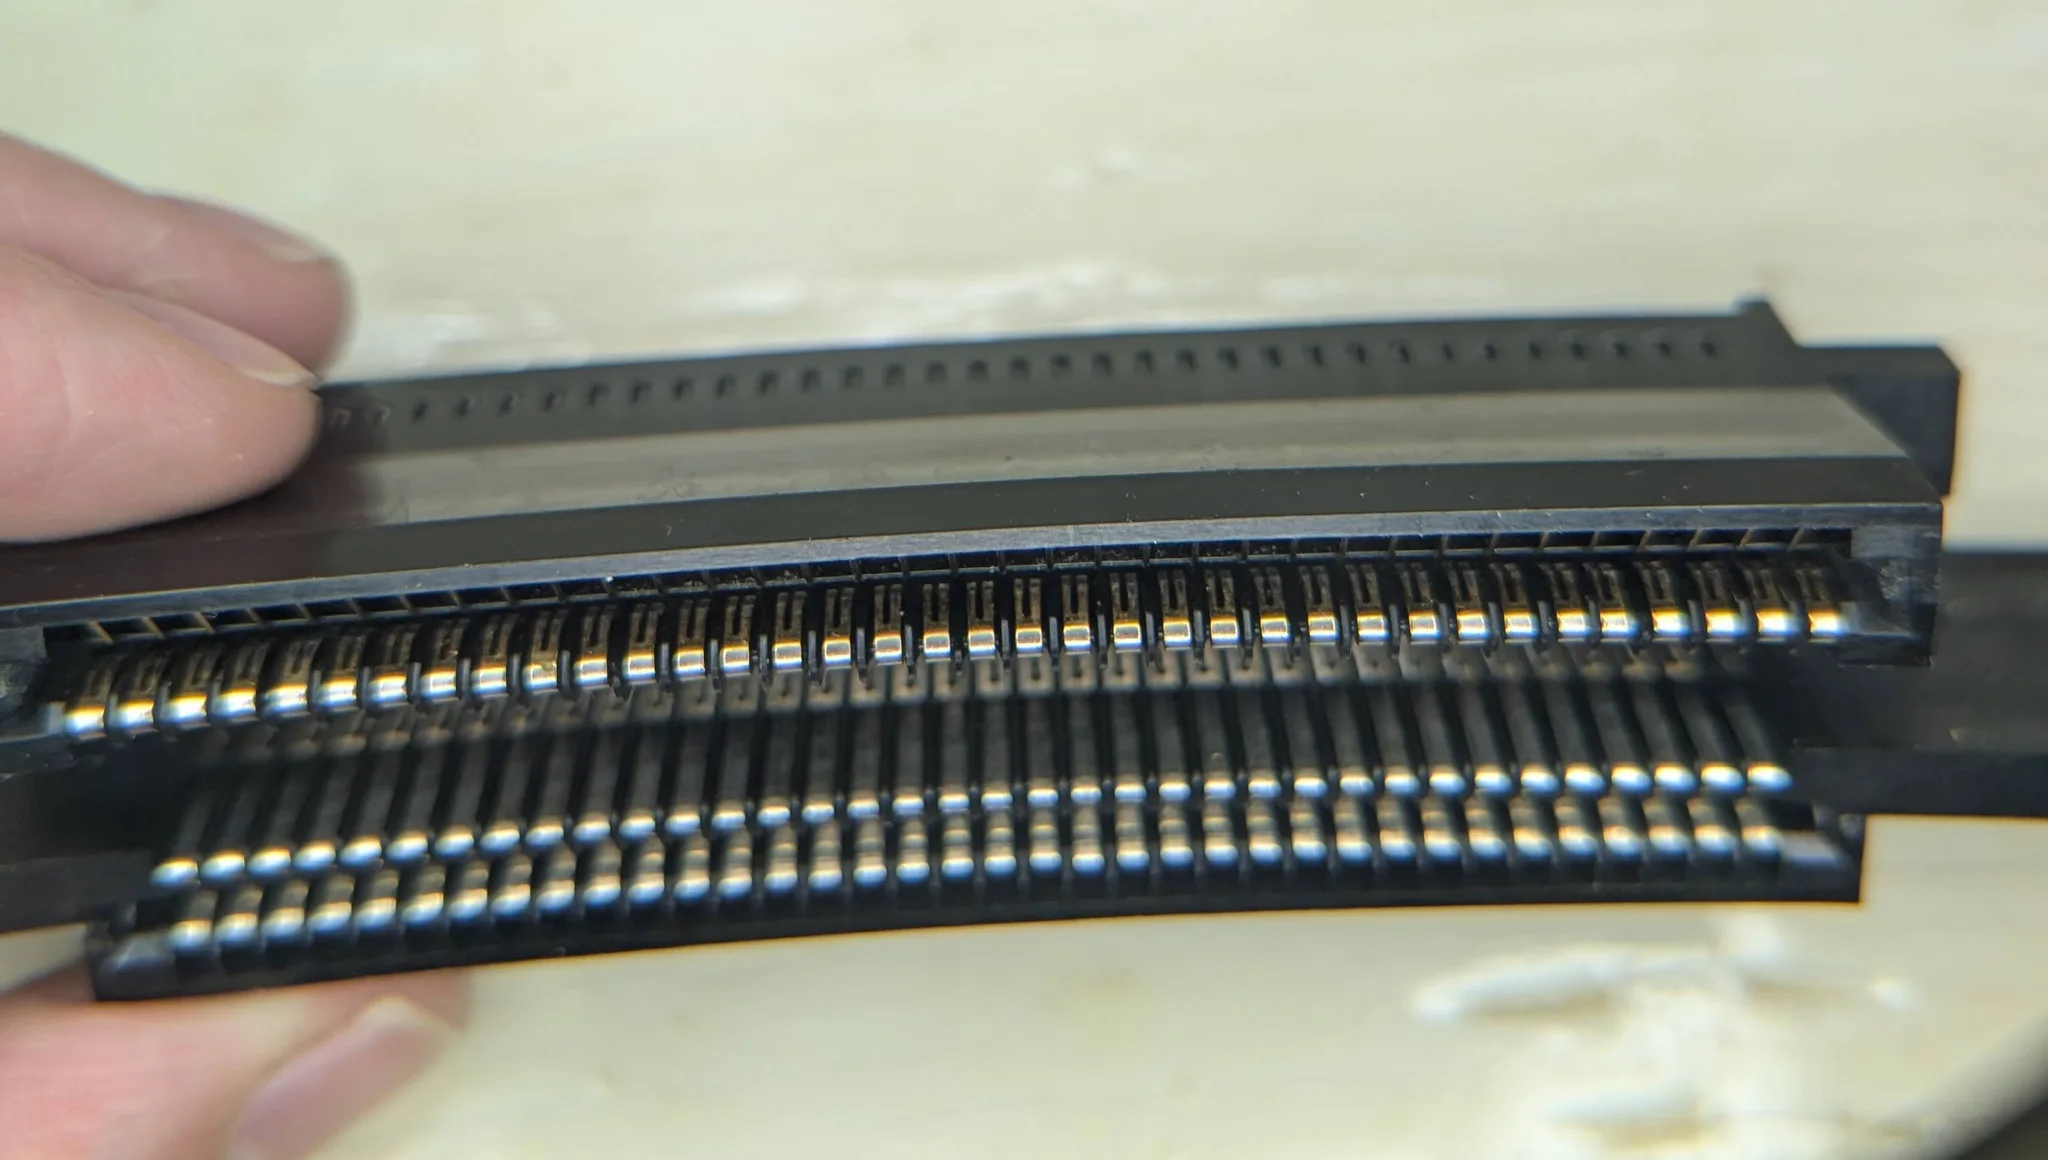
The cartridge connector is the row of spring contacts that connects the game's circuit board to the console. If those contacts don't grip properly, putting a cartridge in doesn't mean every connection has been made.
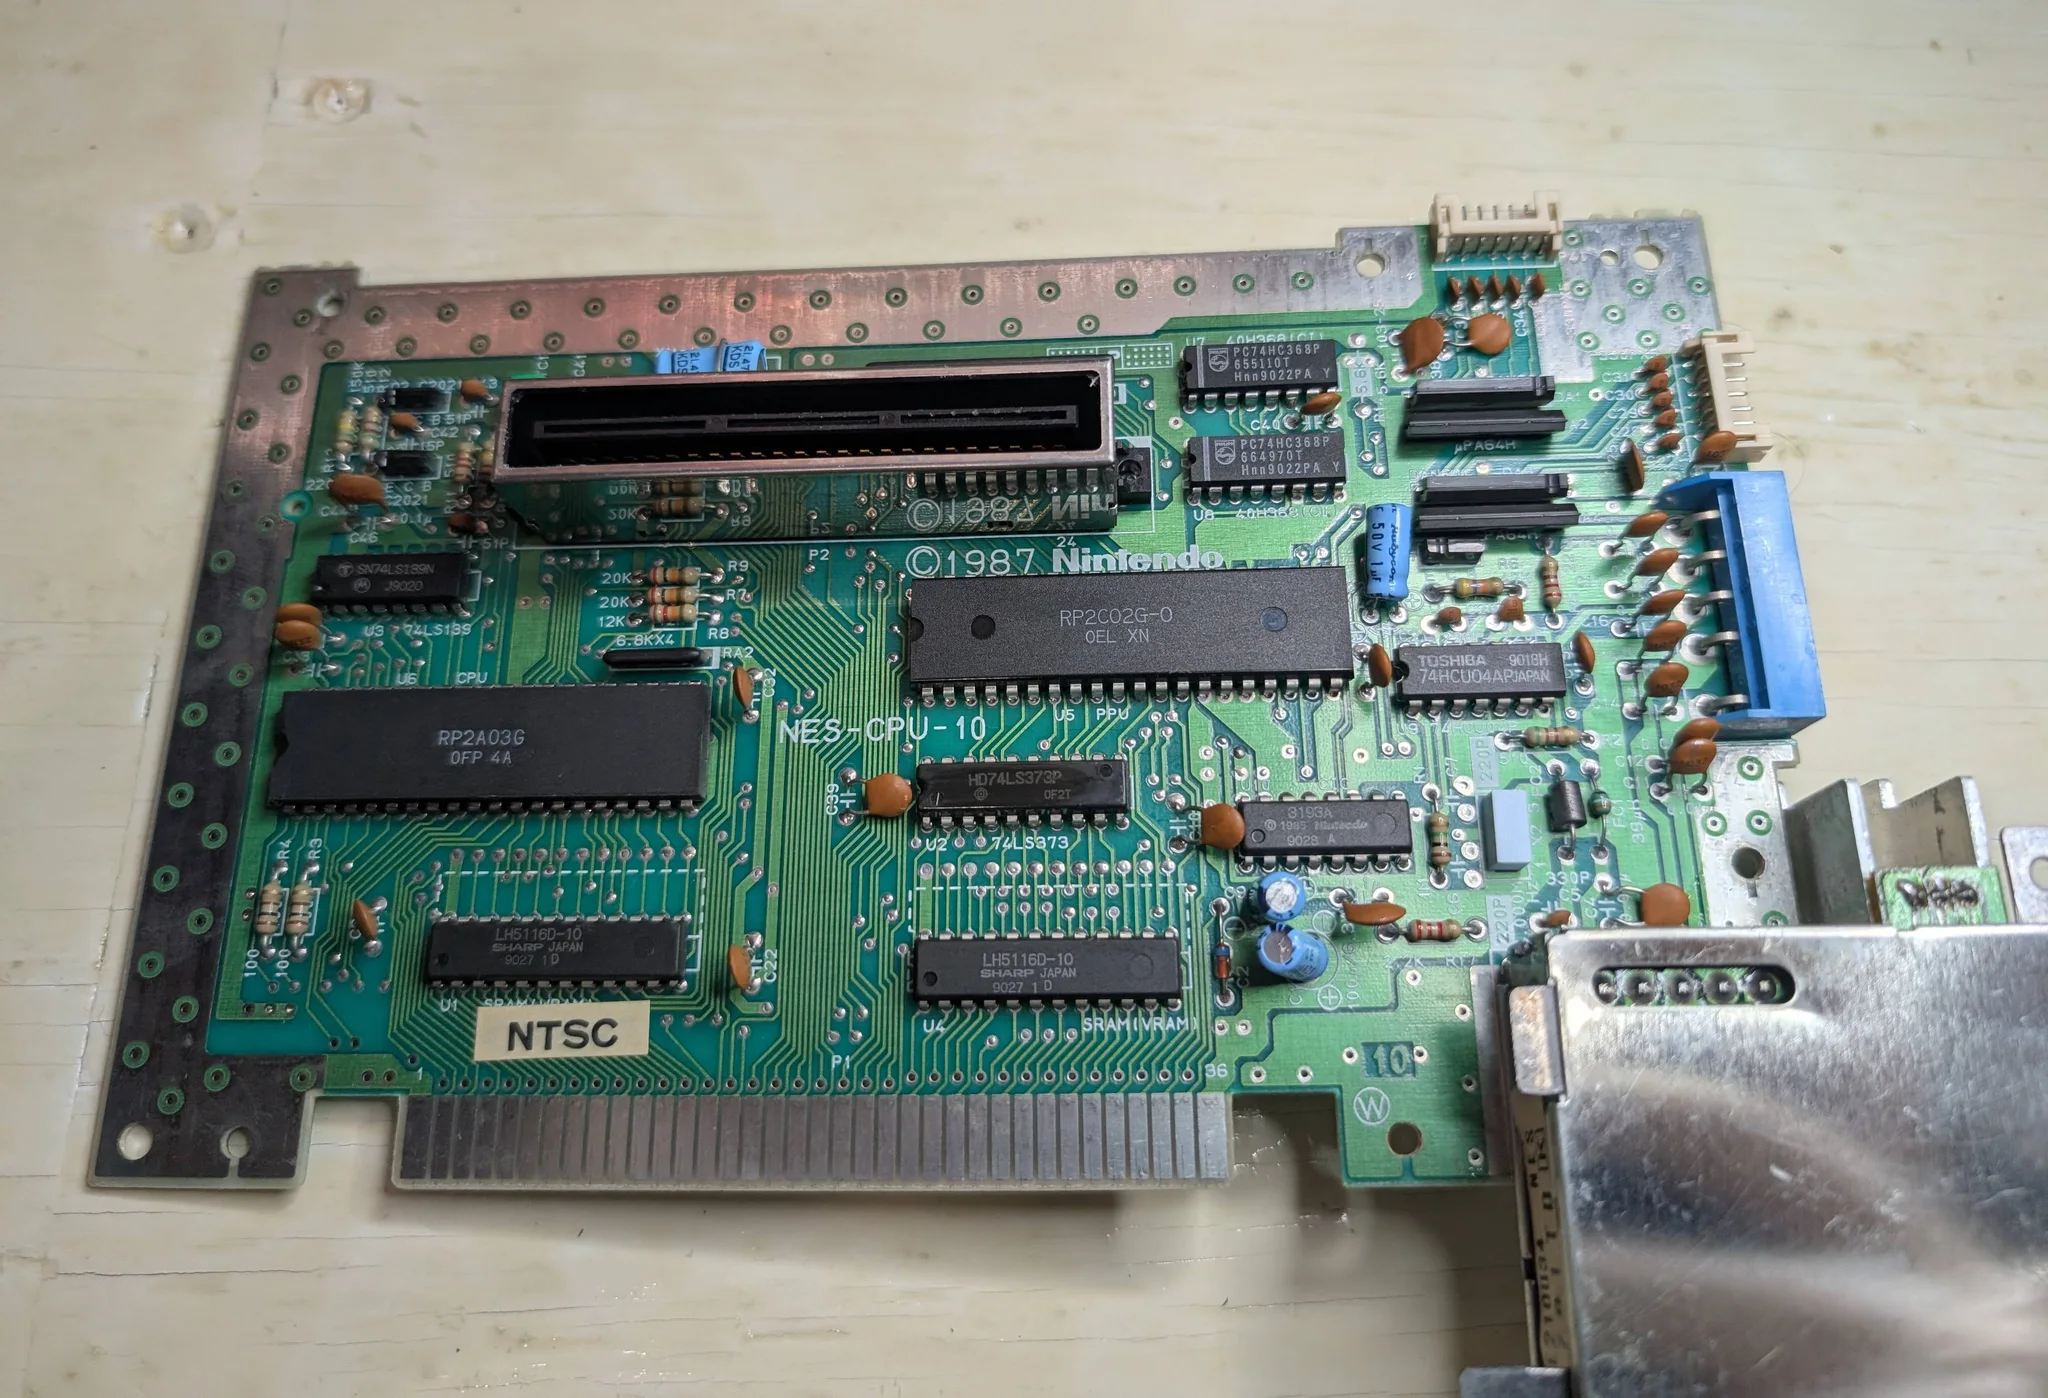
Once I had it out, the pins were cleaner than I'd expected. No corrosion. They were, however, bent too far back to grip the cartridge properly. I bent them back into position and cleaned them while I was there. The original connector stayed.
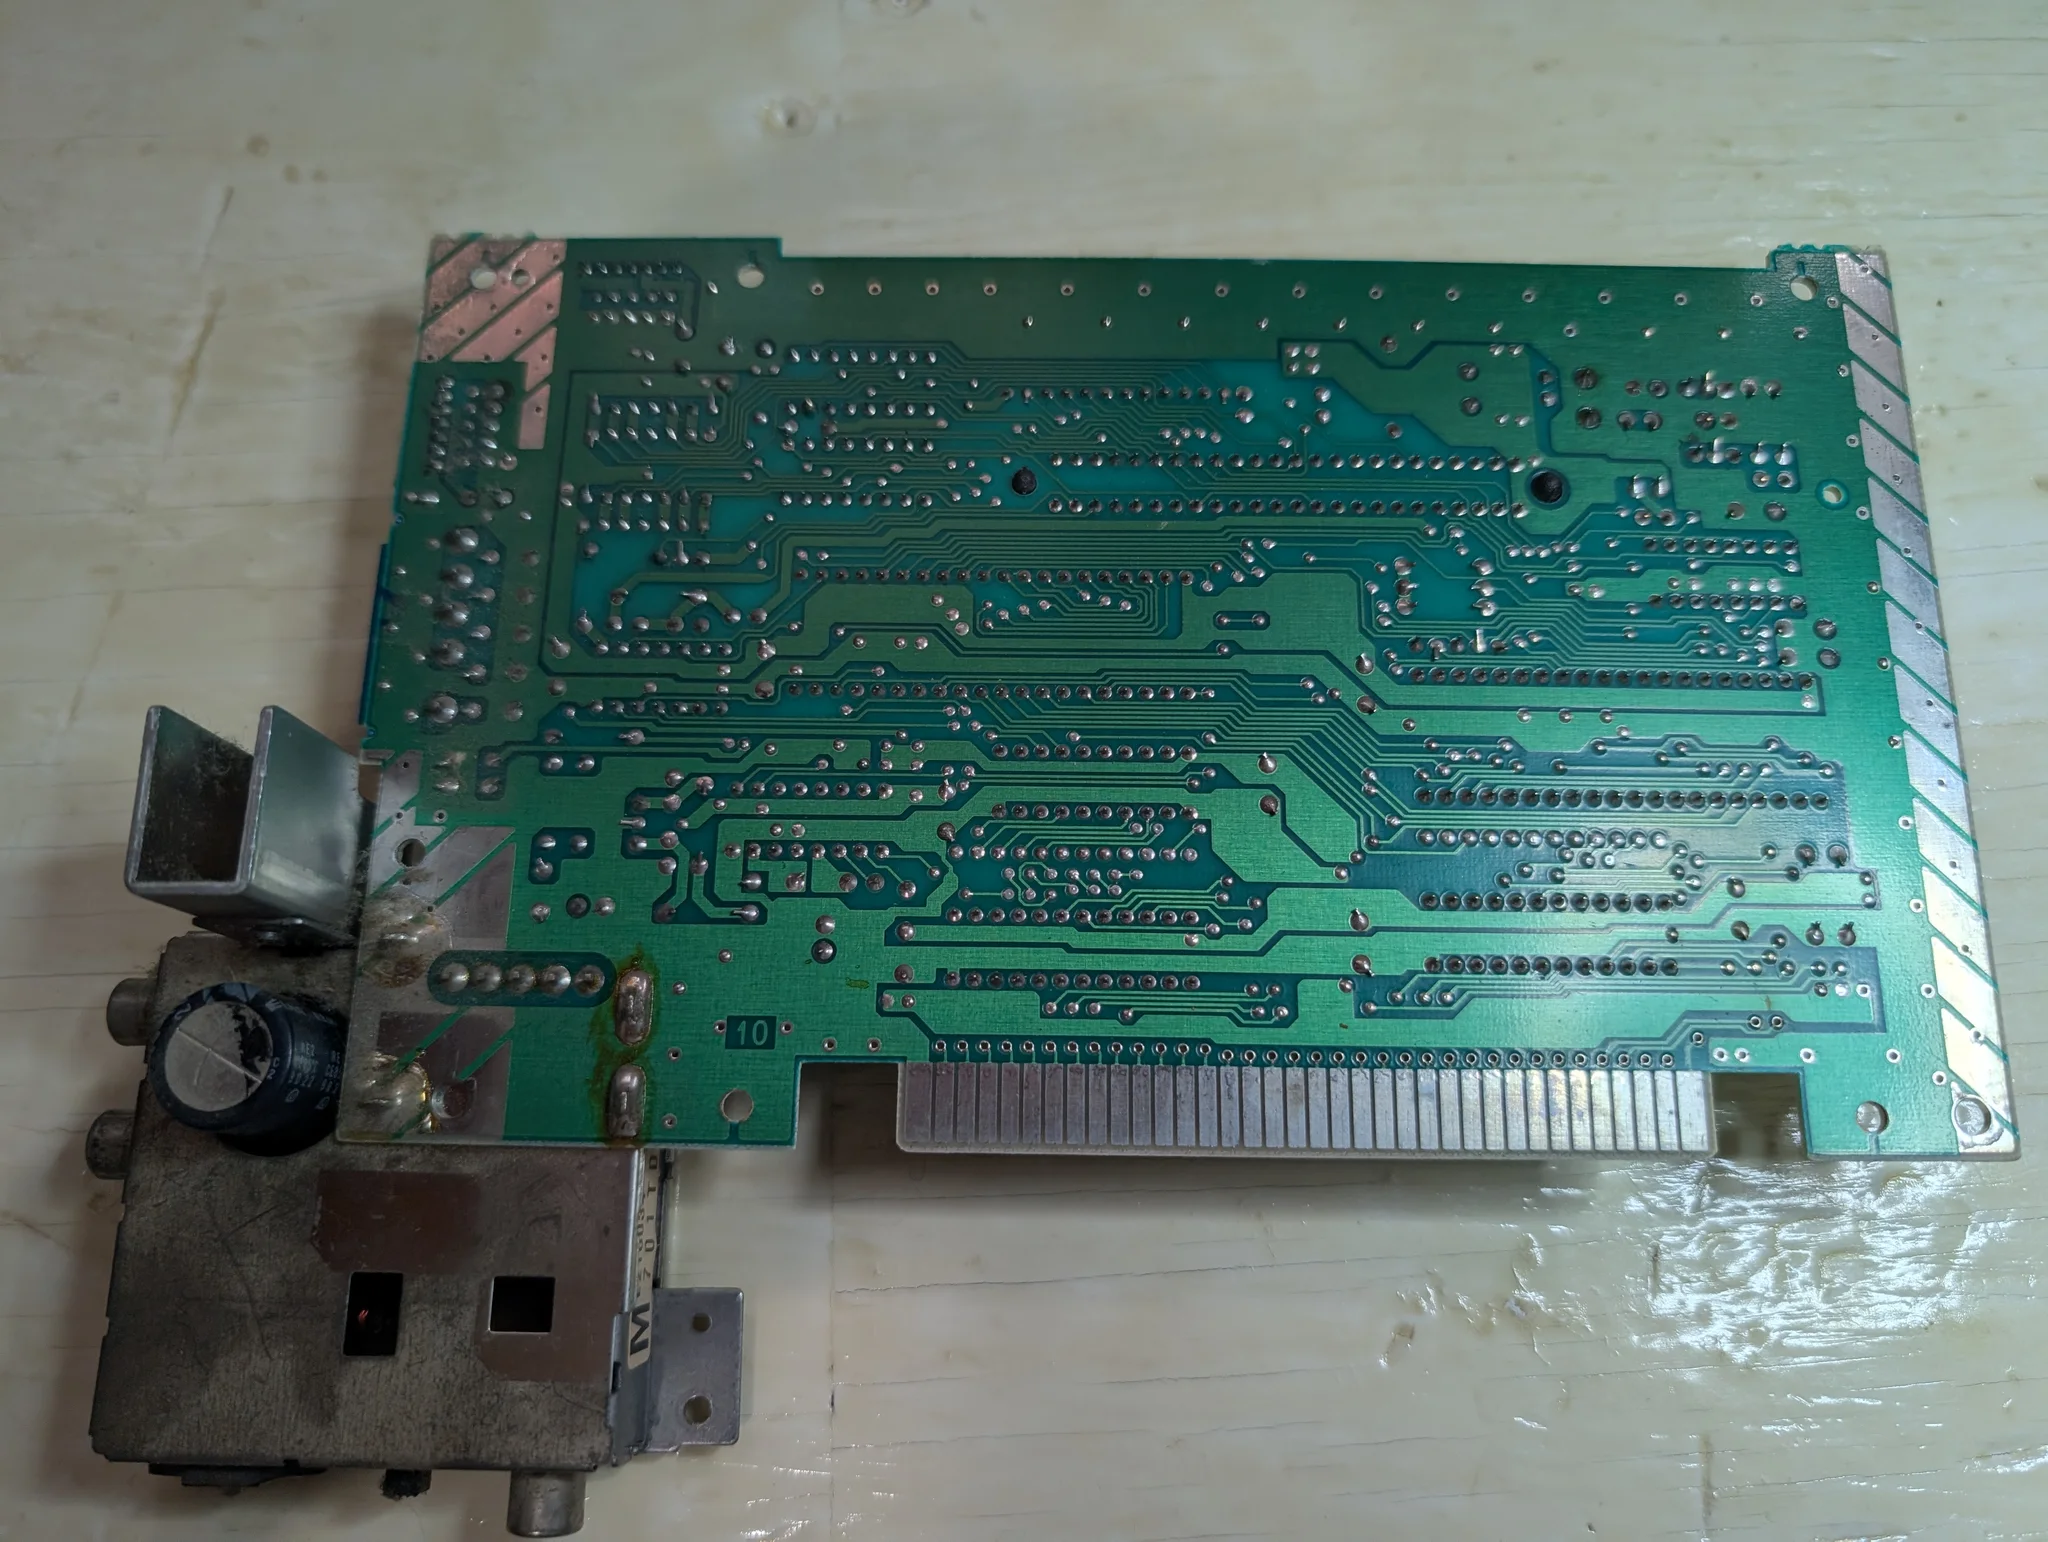
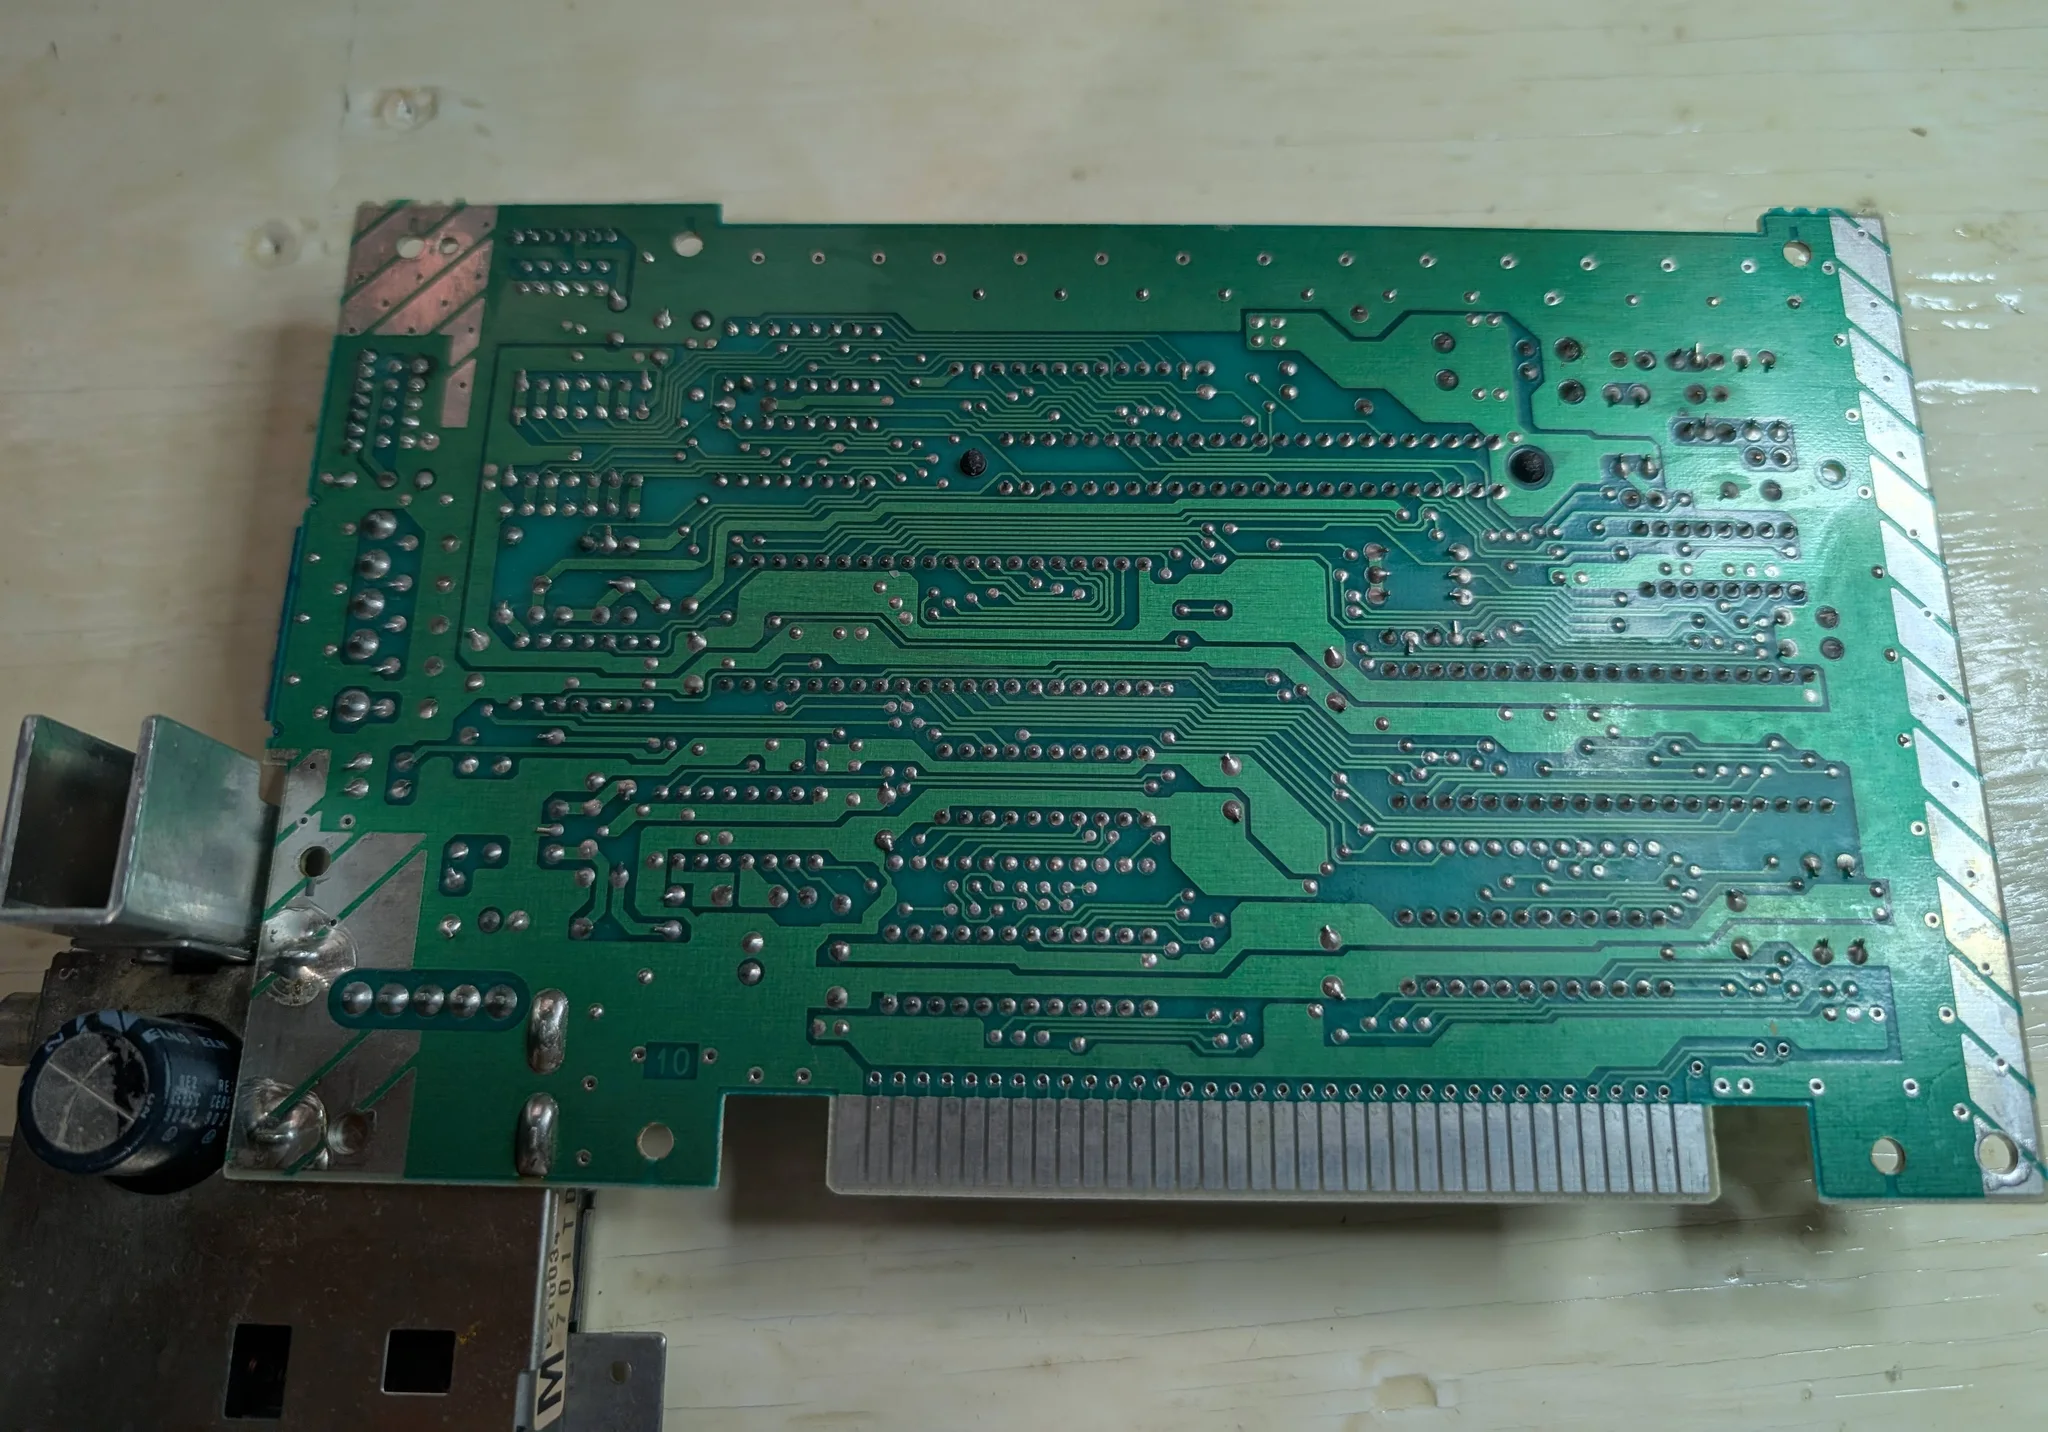
The board needed a cleaning too. It wasn't a disaster, just dirty enough to deal with while everything was apart.
Yoshi's Cookie first
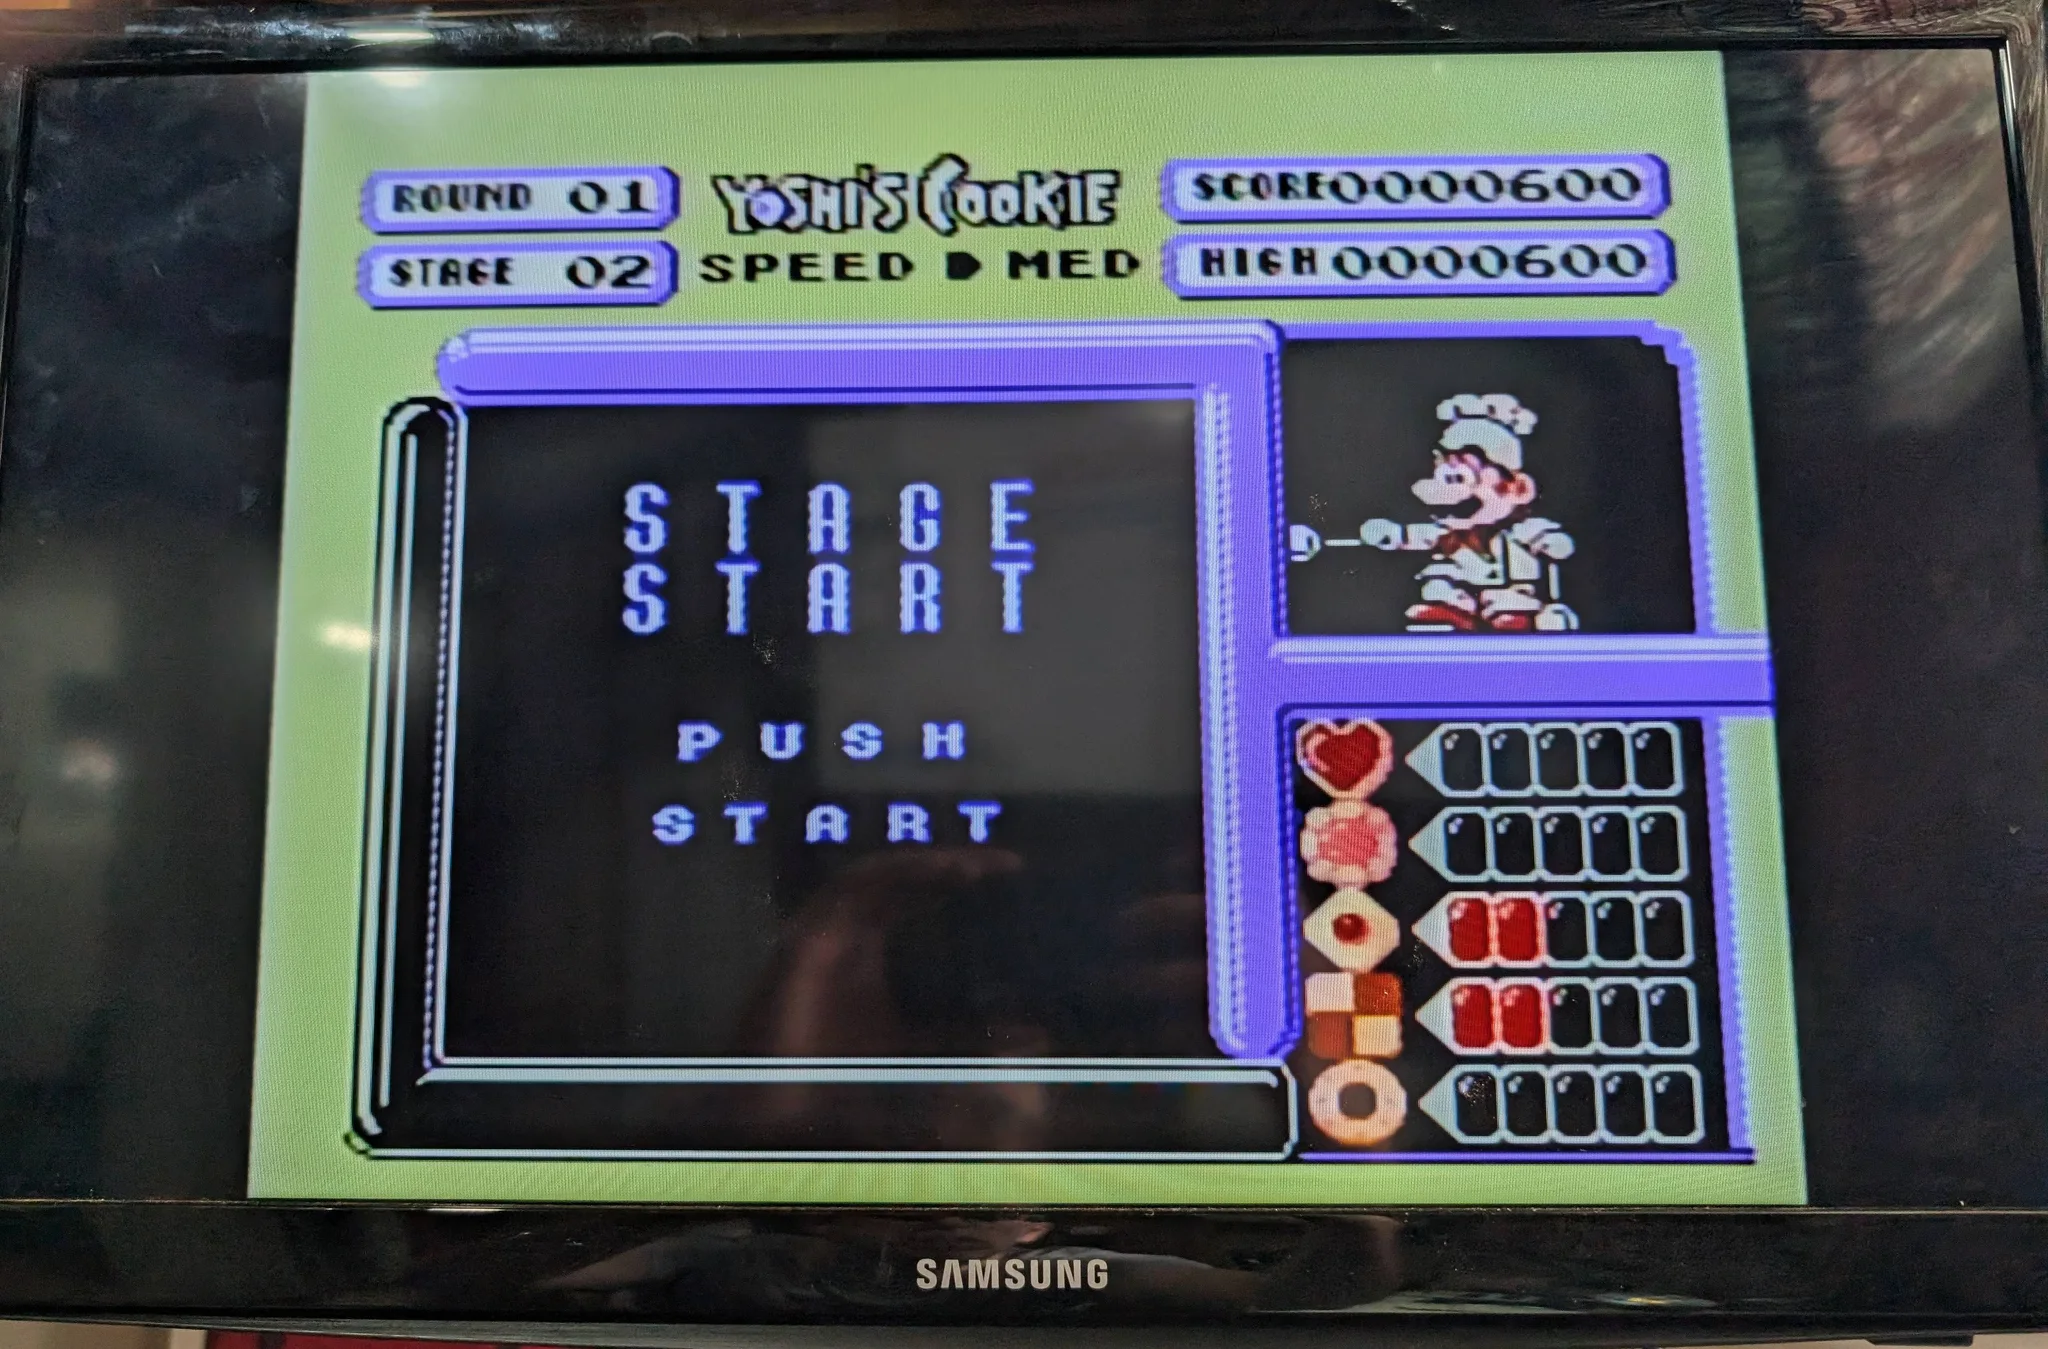
I put it back together and tried Yoshi's Cookie, a game I played a lot as a kid. This time, I got the game instead of a blue screen.
One cartridge wasn't enough to call it fixed, so I tried another classic: Dragon Warrior. That worked too.
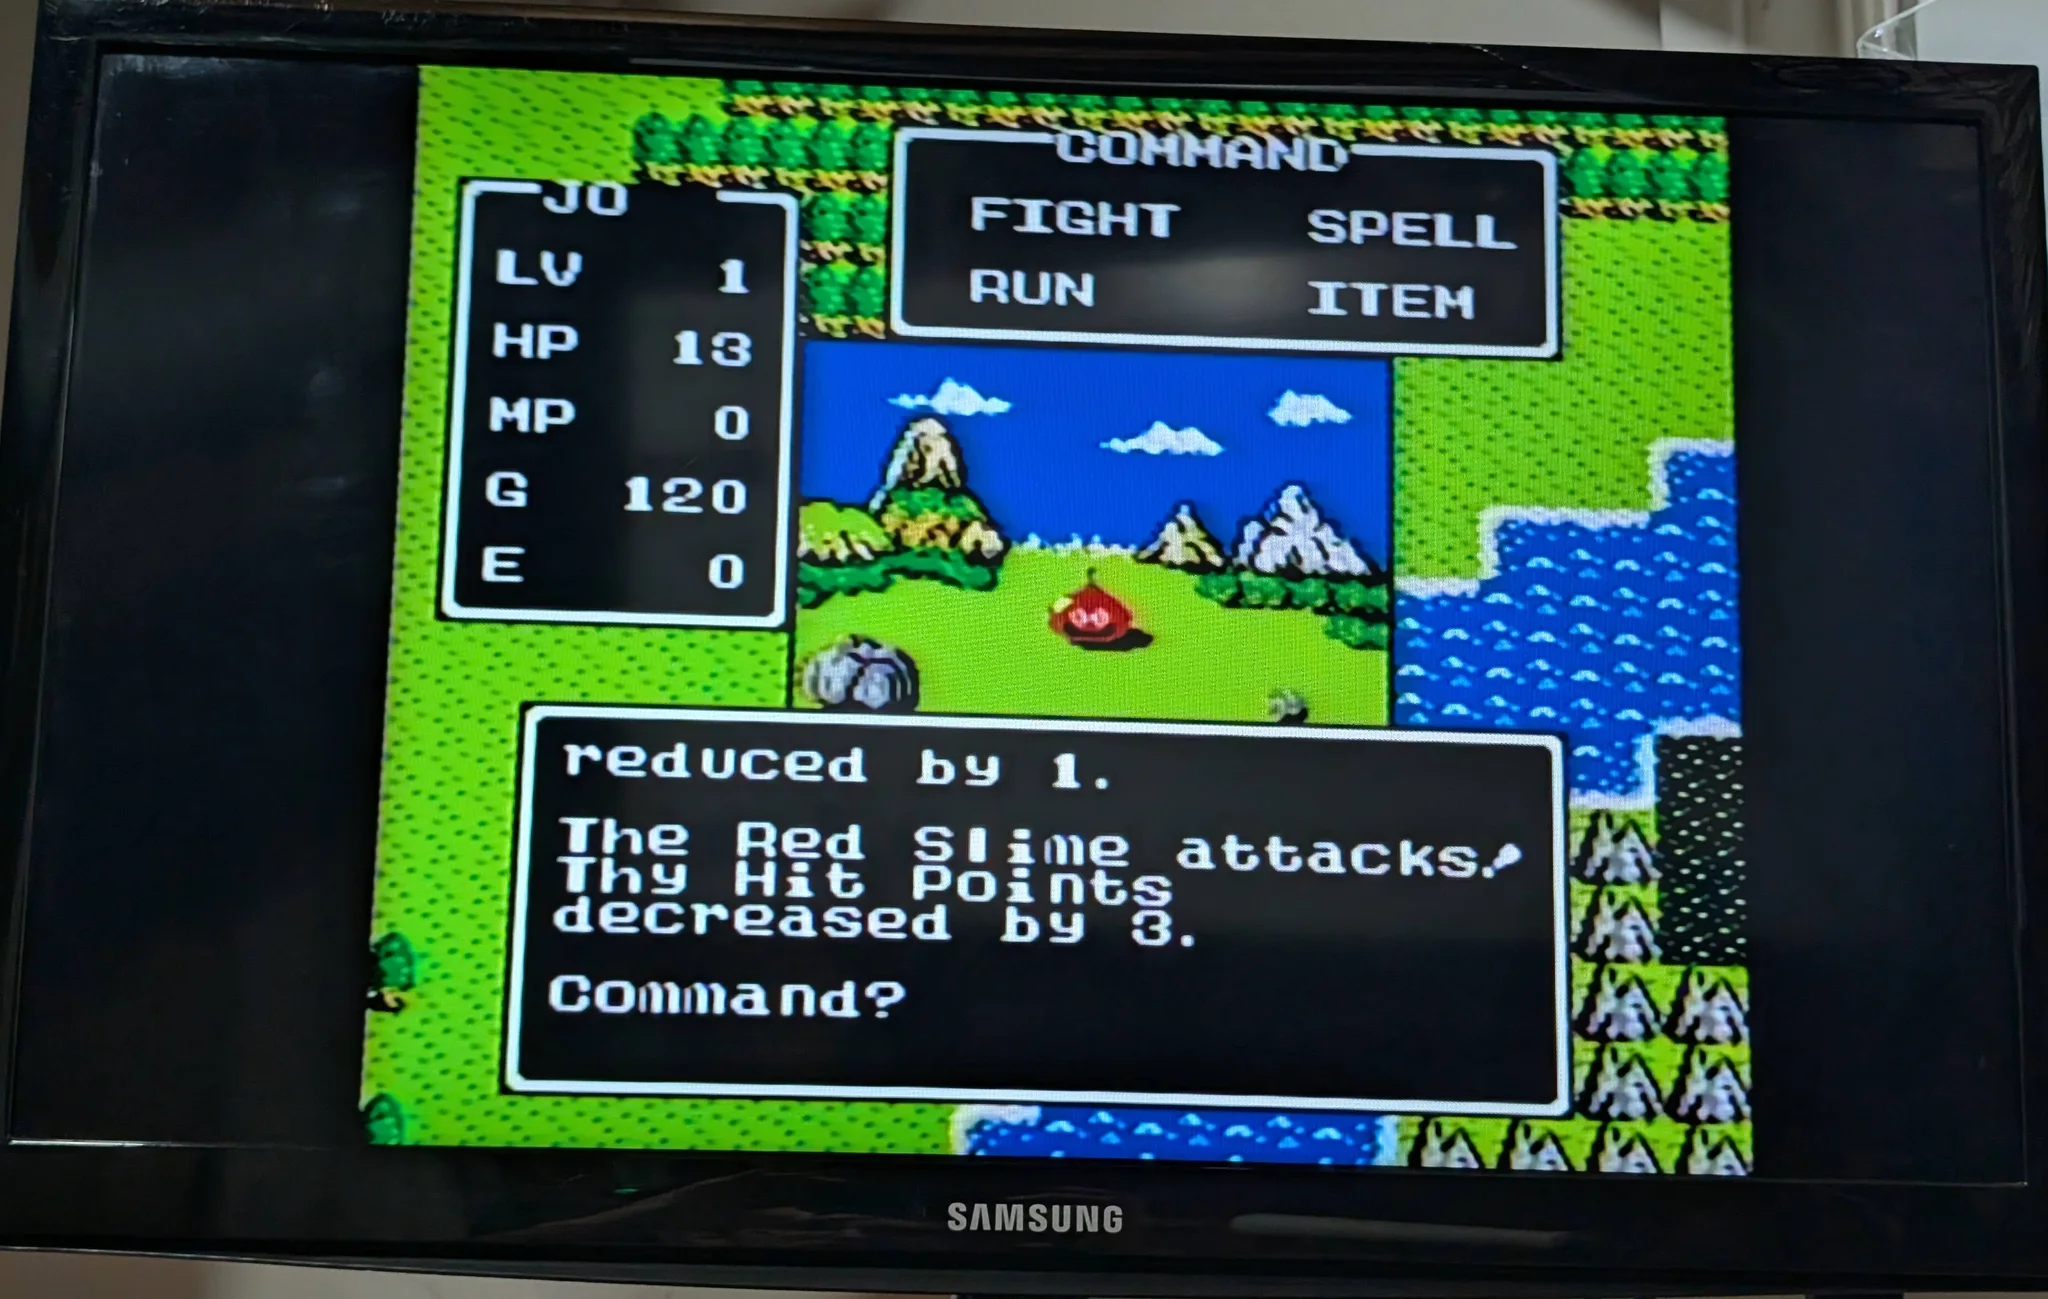
No new connector, no replacement board. Cleaning and bringing the pins back into position had been enough to get both games running.
The logo
The soak didn't add much. Most of the visible improvement had already happened during the days in the vapour container, and the shell was now close to its original grey. Unfortunately, part of the Nintendo logo on the cartridge door had started to disappear during the soak.
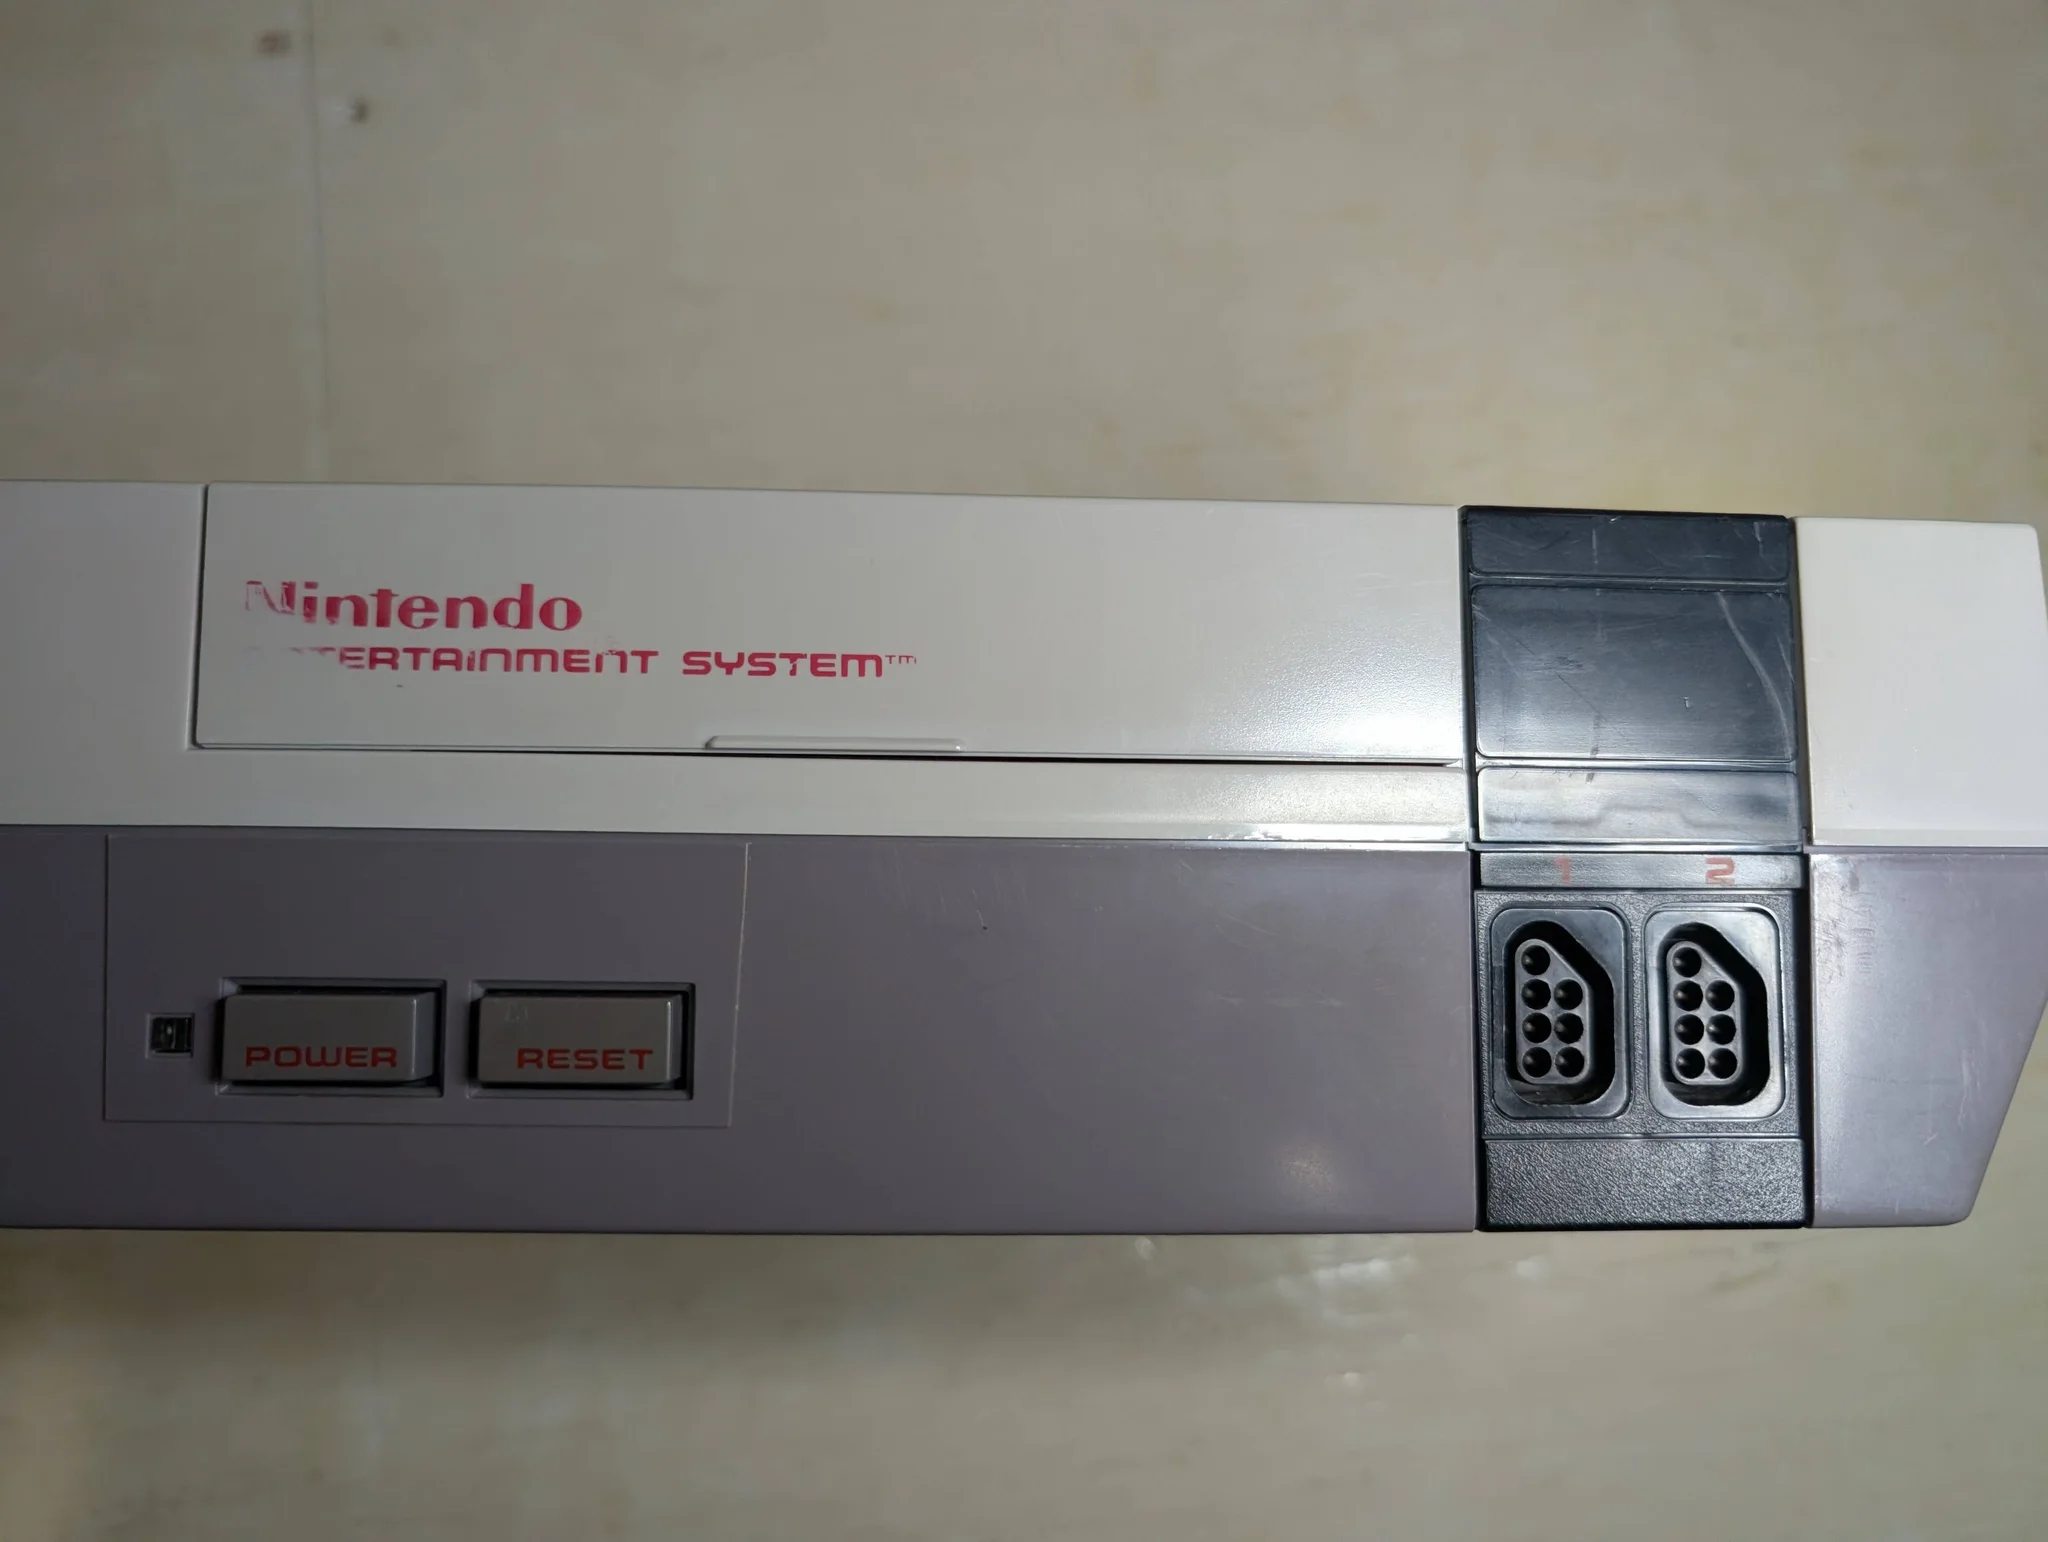
That's the part I wish I'd left alone. I liked the colour I'd recovered, but the little bit I was still chasing wasn't worth losing some of the logo. On this console, the vapour approach gave me the better result. After this first attempt, I don't think I'll try soaking again.
I finished cleaning the rest of the pieces the next morning. The board was already clean; now the rest of the console caught up.
The NES cost nothing. Half a bottle of 12% peroxide was C$10, the XL sealable bag was C$1, and the litre of 3% peroxide was C$5: C$16 in supplies, with no replacement parts. Two games working, a much cleaner console, and a shell that's almost grey again. The faded logo stays in the photos, because that's part of how this one went too.